
How to Make a Custom Window Seat Cushion Without Sewing
Disclosure: This post contains affiliate links. I may earn a commission, but these are products I use, love, and genuinely recommend.
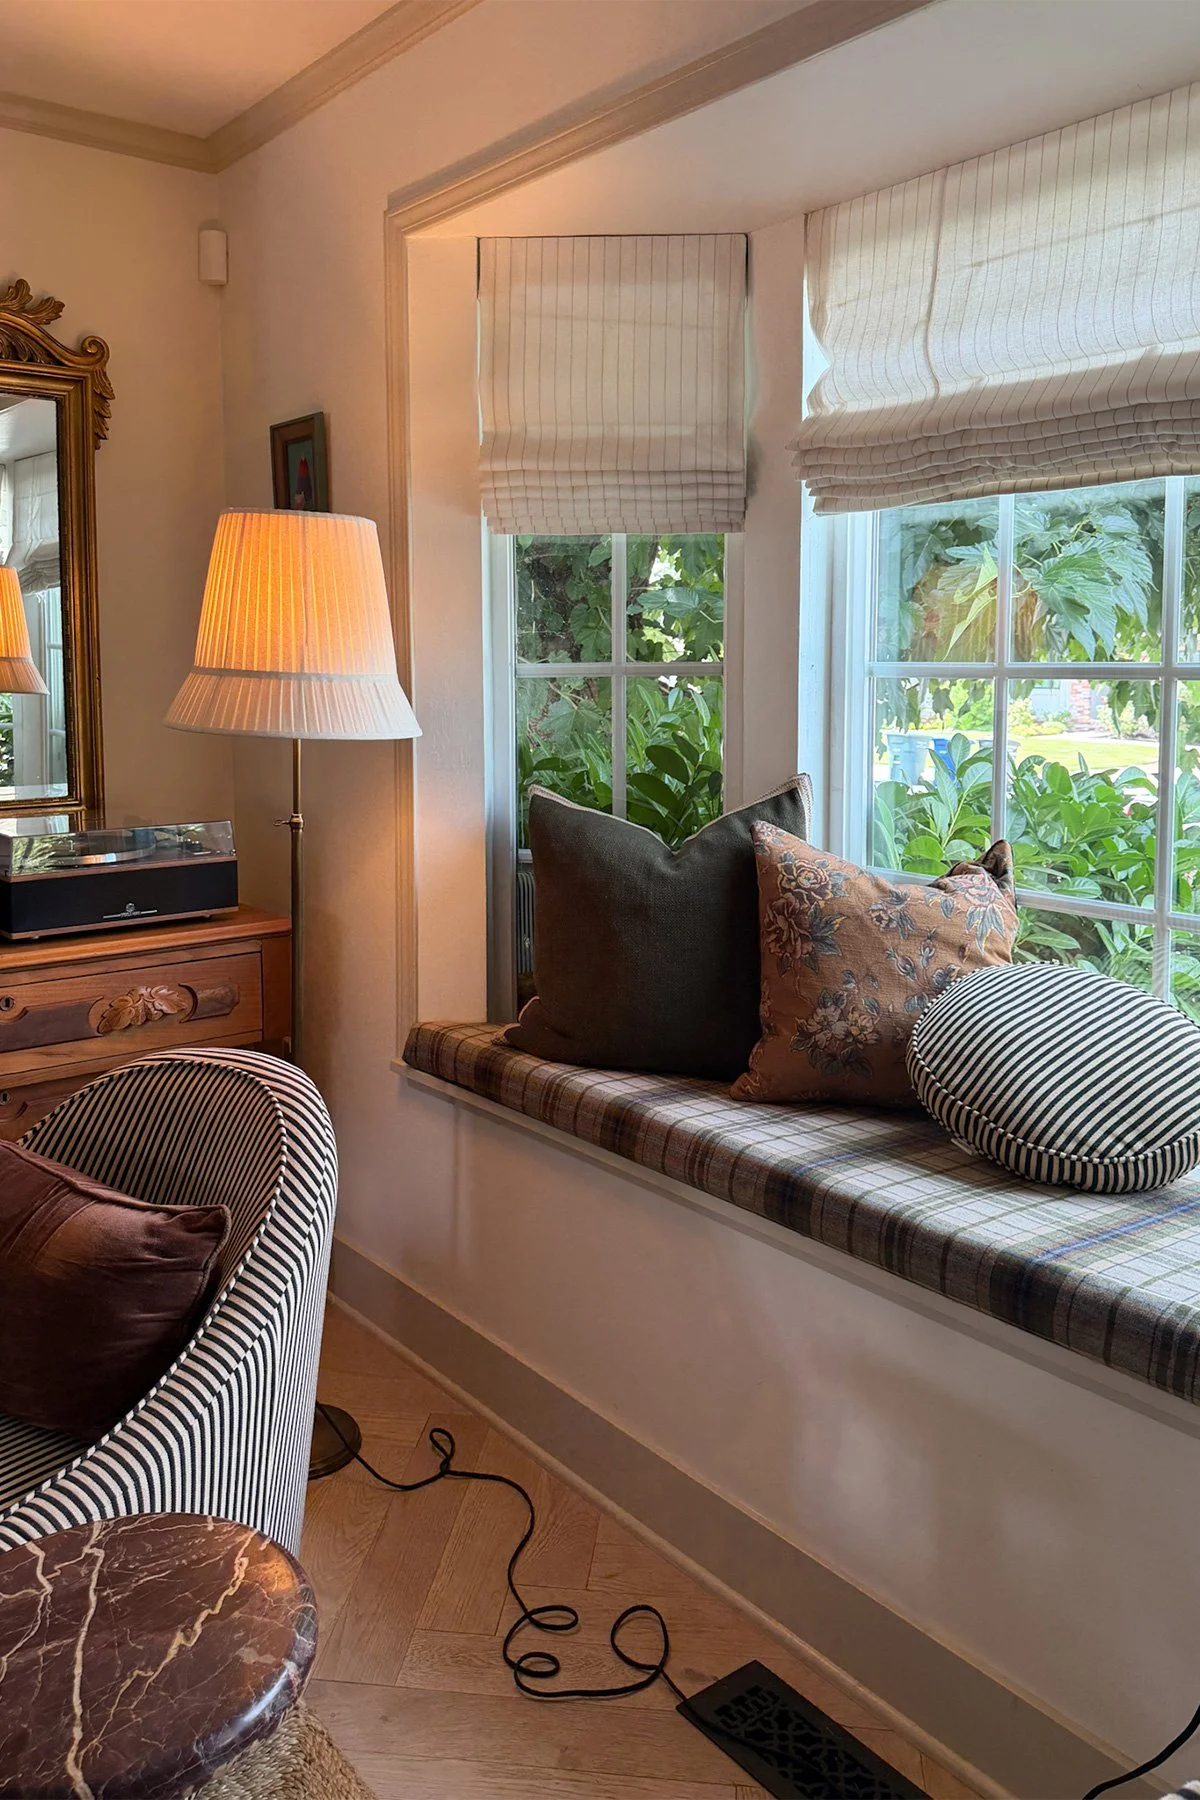
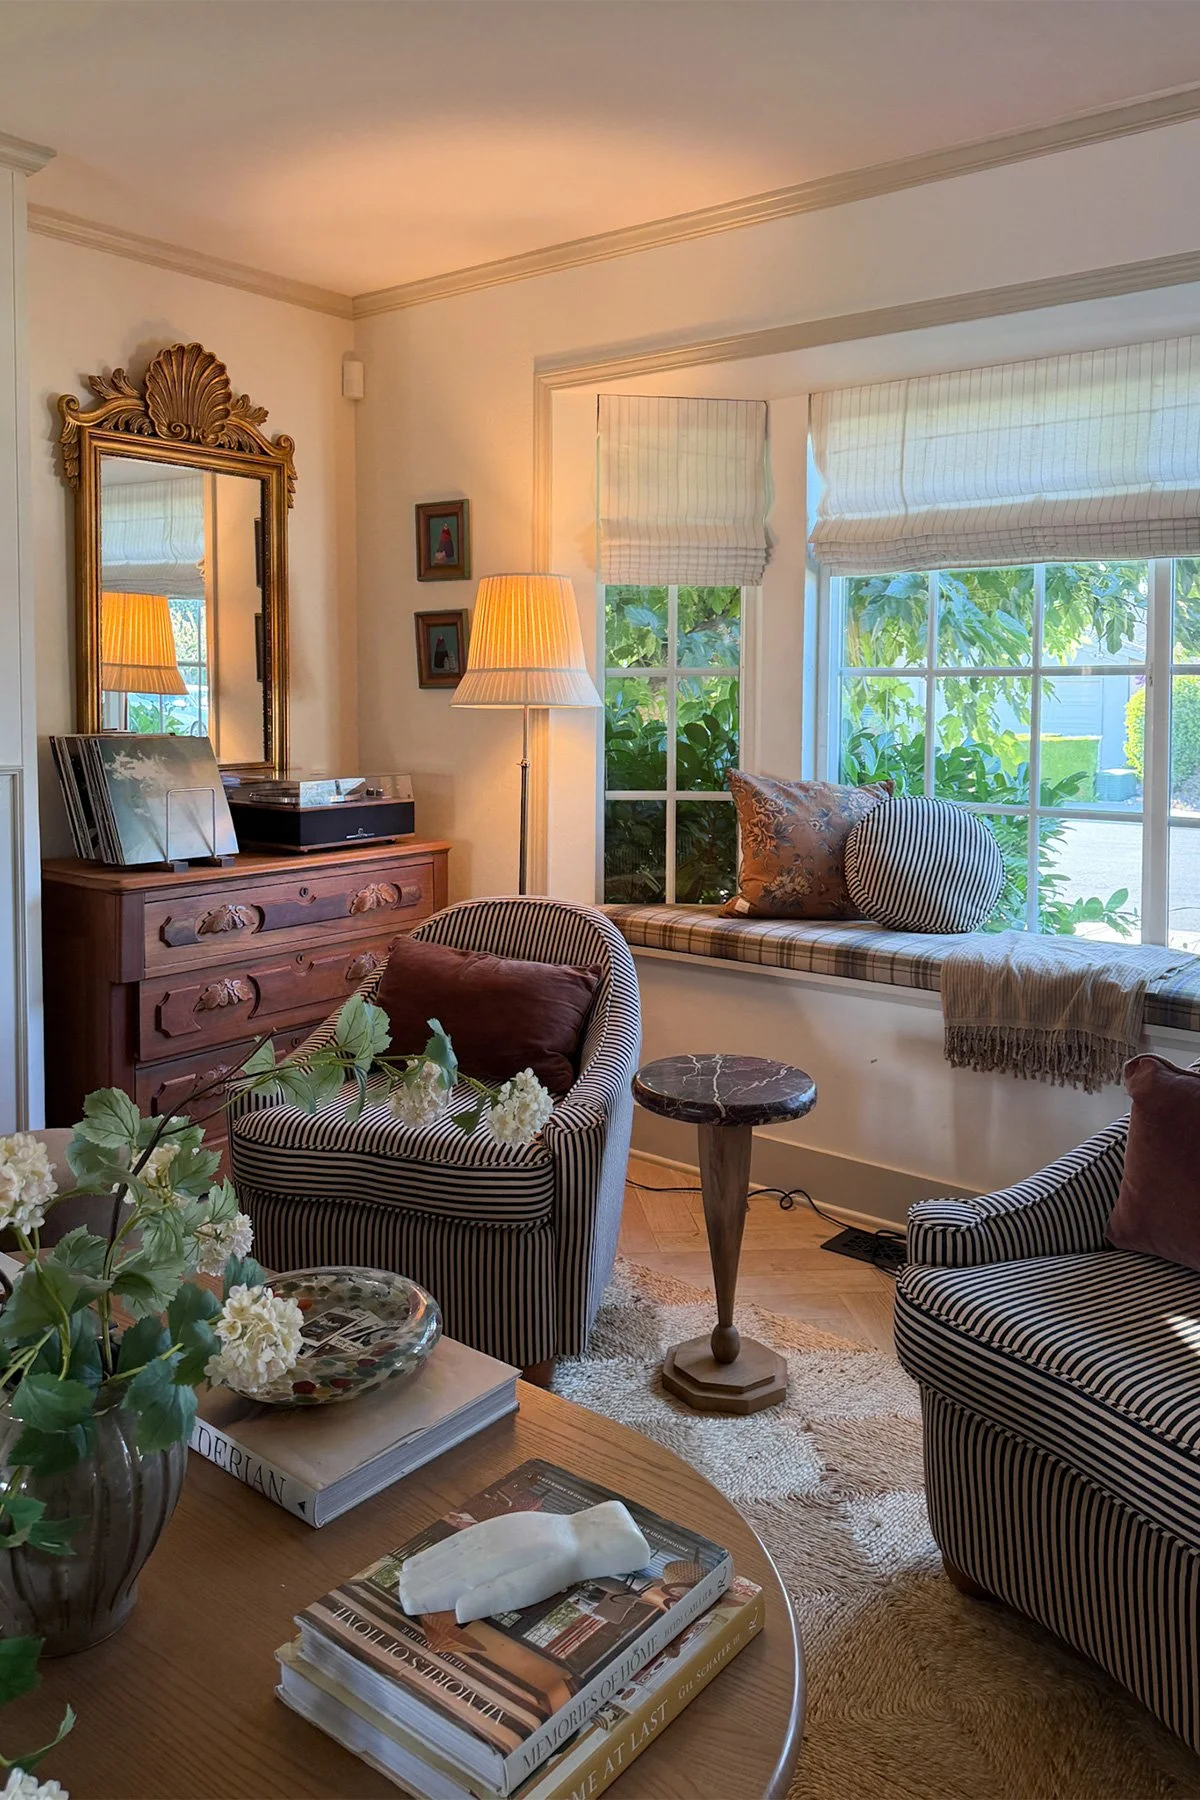
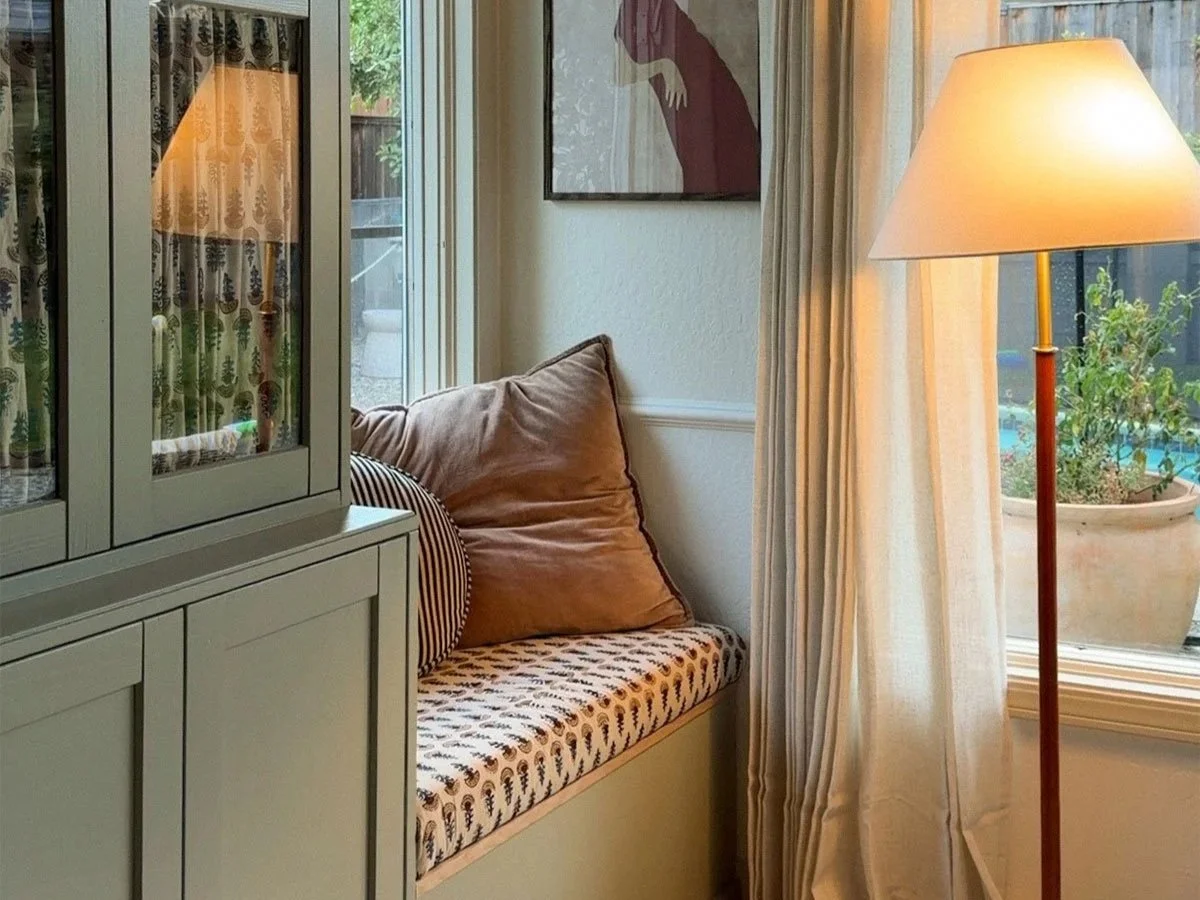
If you’ve ever wanted a custom window seat cushion but don’t know how to sew, this DIY project is for you. Creating a custom window seat cushion is much easier than it looks, and the best part is that you don’t need a sewing machine or any sewing skills.
I originally made this cushion about four years ago, but after Pisco damaged the fabric as a puppy, reupholstering it sat on my project list for way too long. I finally decided it was time to tackle it, and this time, I traded the plain fabric for a pattern. I can’t believe how much of a difference it made! The patterned fabric completely transformed this little corner and gave the window seat so much more personality.
And absolutely no sewing required!
What You’ll Need
½-inch plywood, cut to size (I recommend making it about ¼ inch smaller than your sitting surface or opening)
Upholstery batting, as needed
Fabric of your choice (I used this one)
How to Make a DIY Window Seat Cushion
1. Cut the Plywood to Size
Start with a piece of ½-inch plywood cut to fit your window seat or desired sitting area. Make it approximately ¼ inch smaller than the opening so the finished cushion has a little room and can easily be placed in and removed from the space.
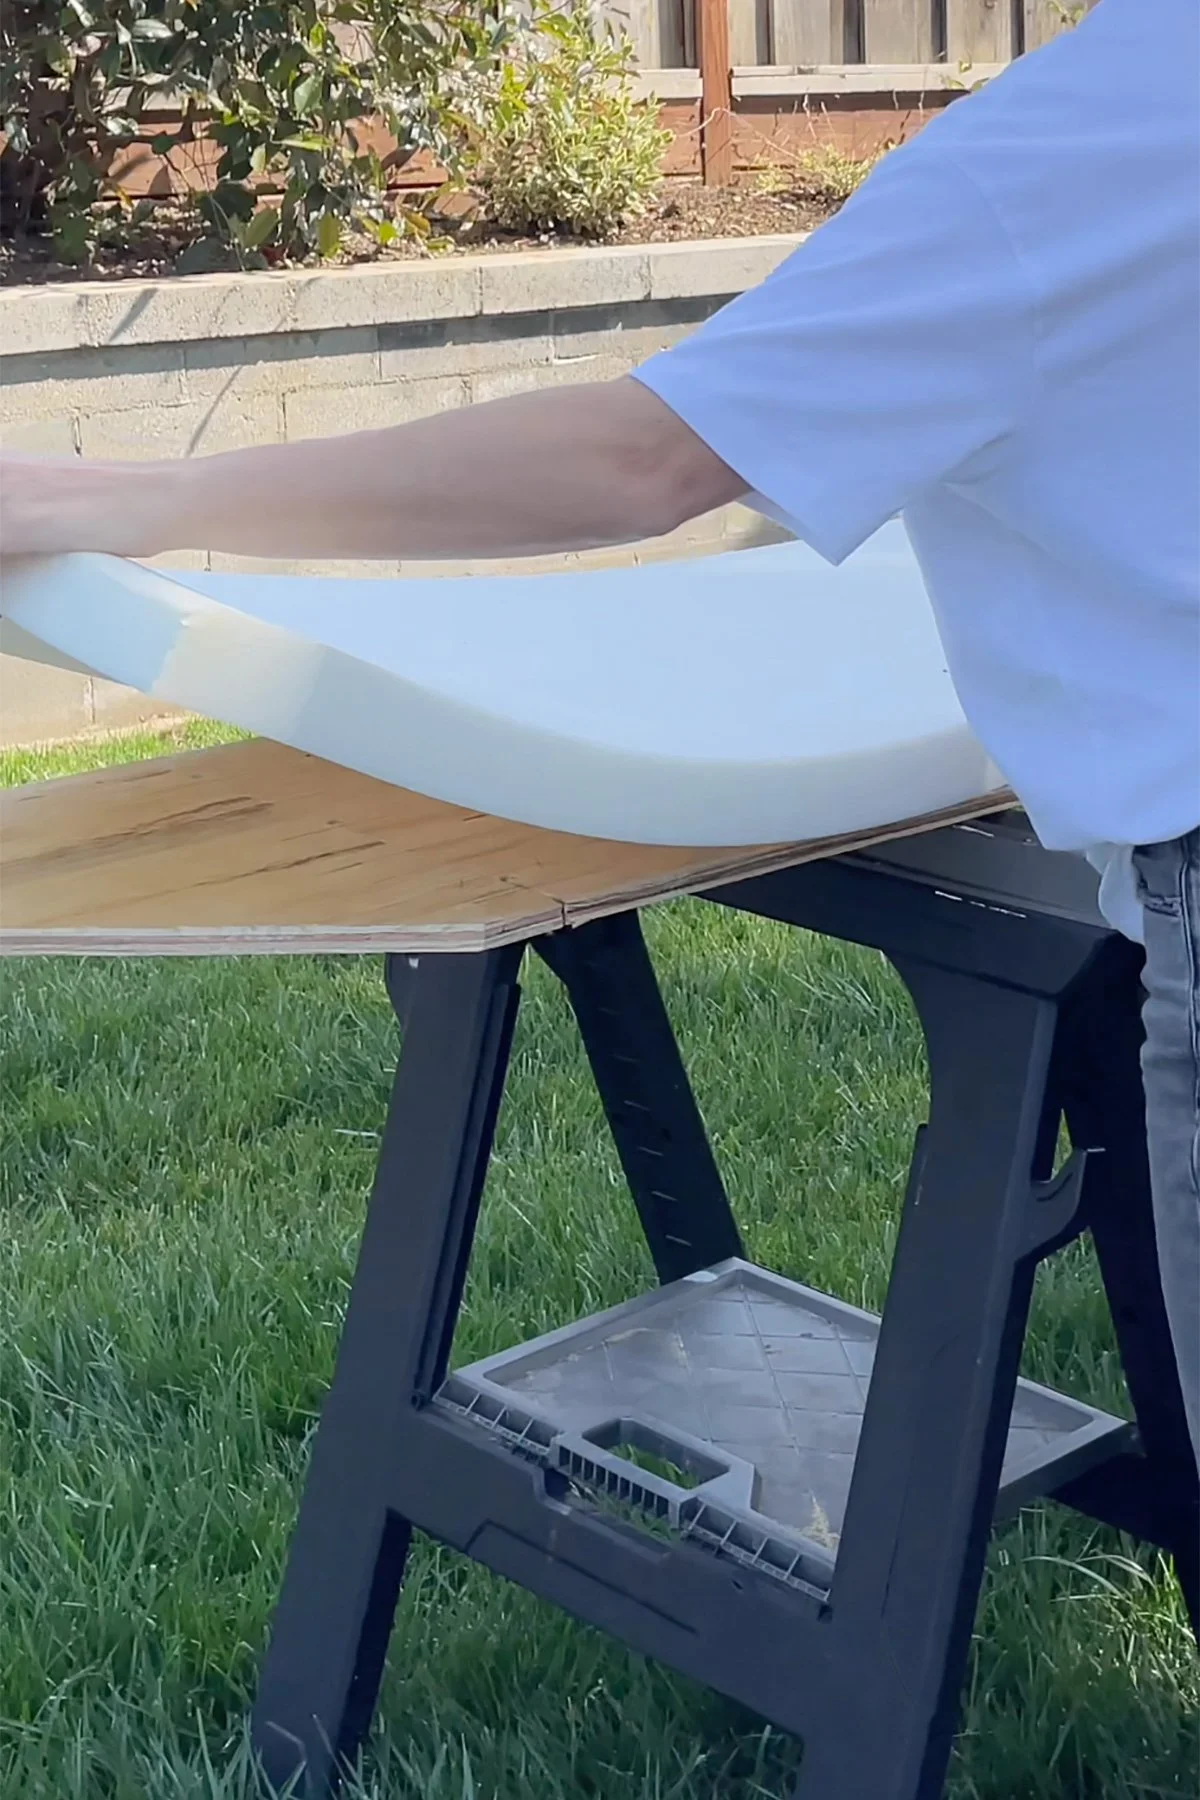
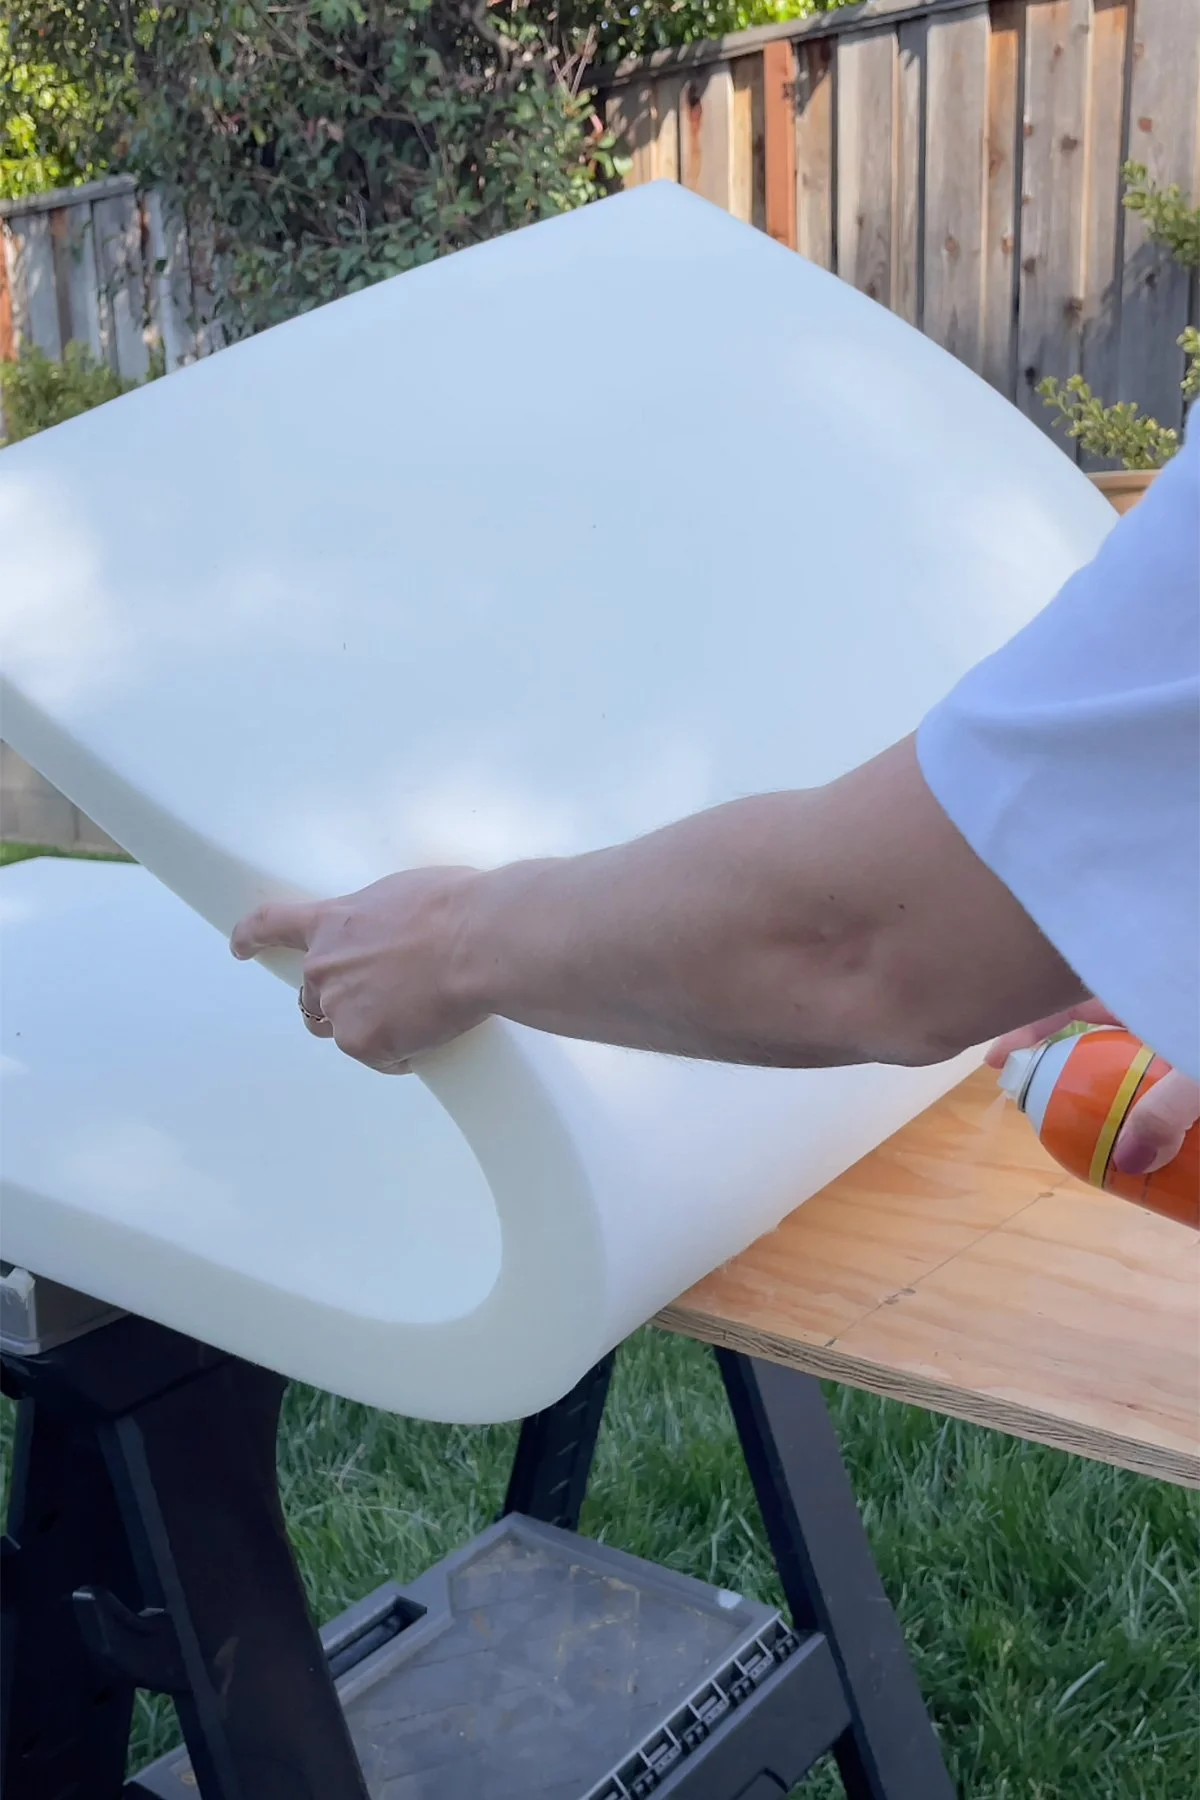
2. Attach the Foam
Once your plywood is ready, use spray adhesive to attach the high-density foam directly to the top of the plywood. Make sure the foam is centered and covers the entire sitting surface.
You might also like this post:
DIY Cozy Built-In Window Seat on a Budget
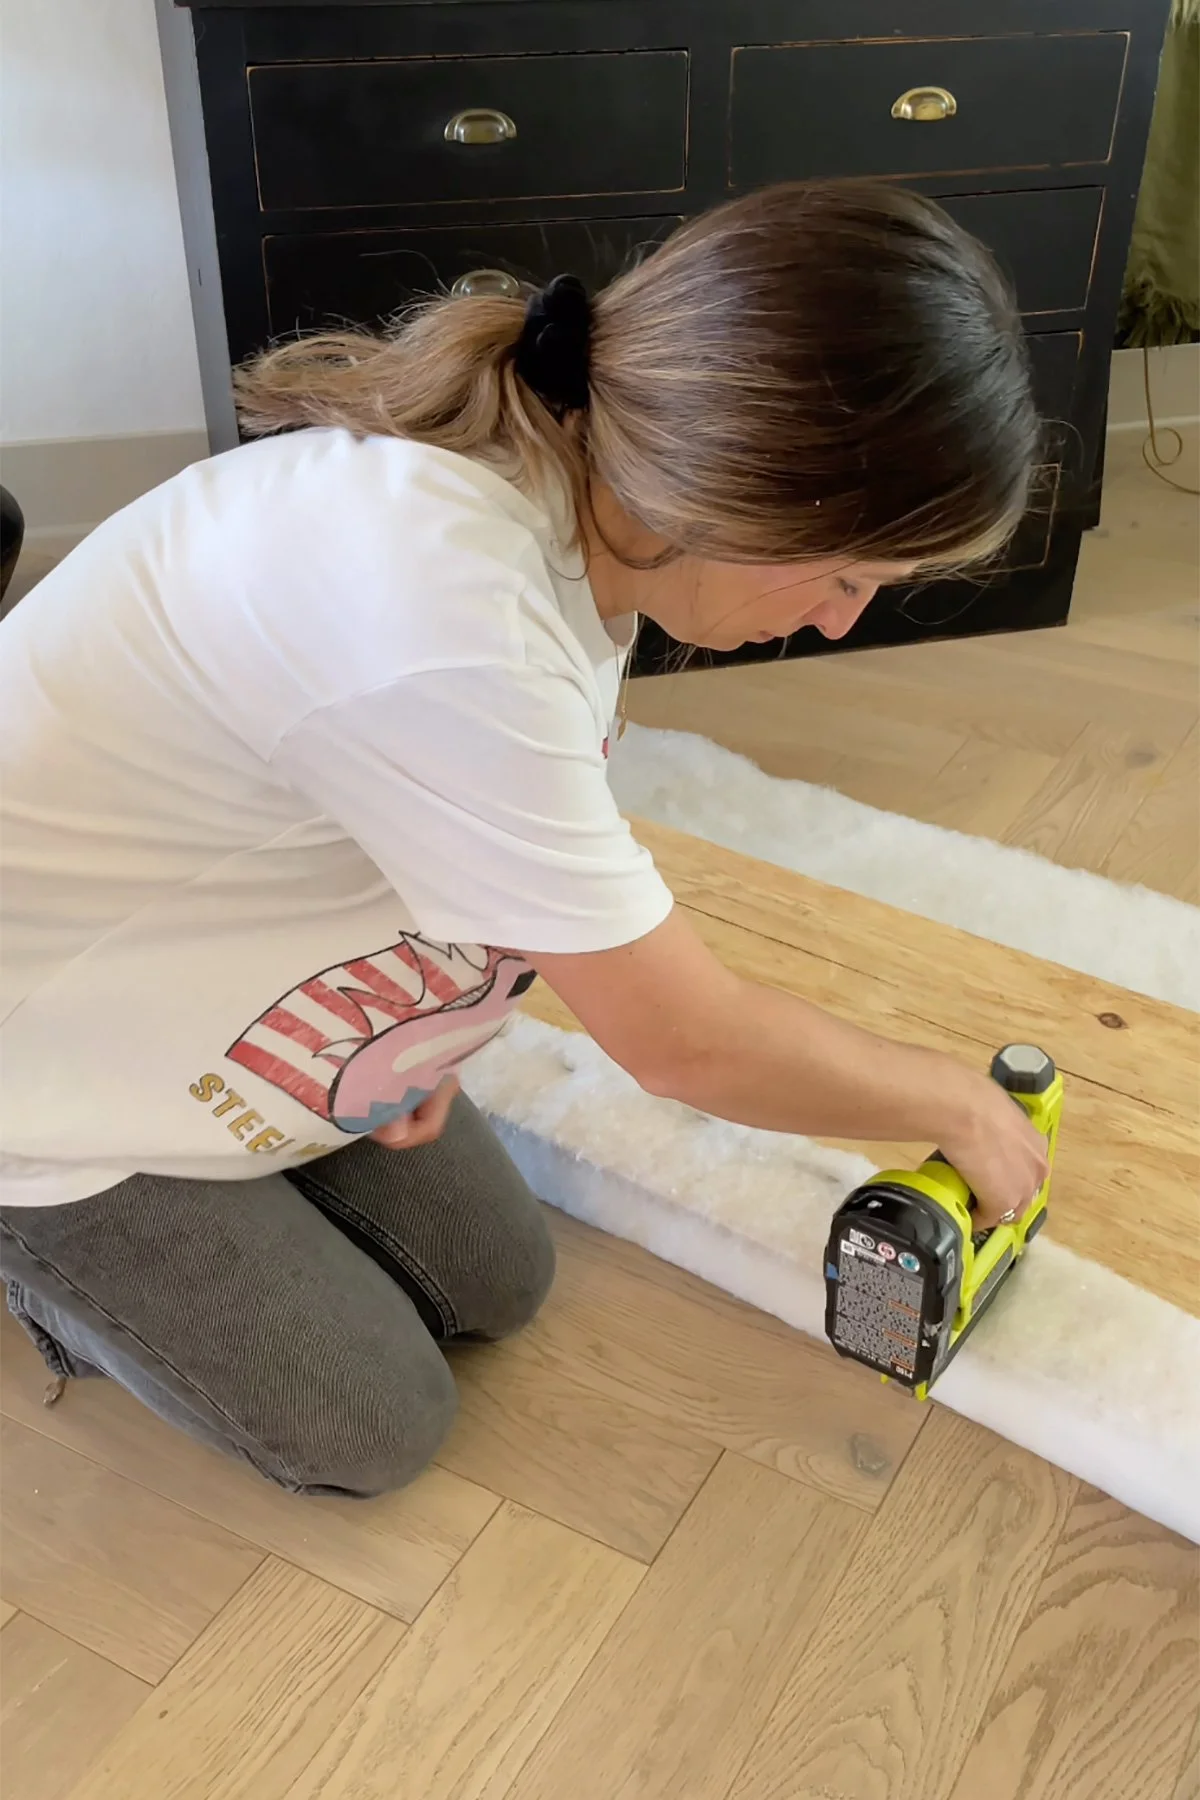
3. Add the Batting
Place the upholstery batting over the foam, pulling it gently around the edges of the plywood. Use a staple gun to secure the batting to the underside of the plywood.
You want the batting to be snug enough to create a smooth finish without pulling it so tightly that it changes the shape of the cushion.
4. Add Your Fabric
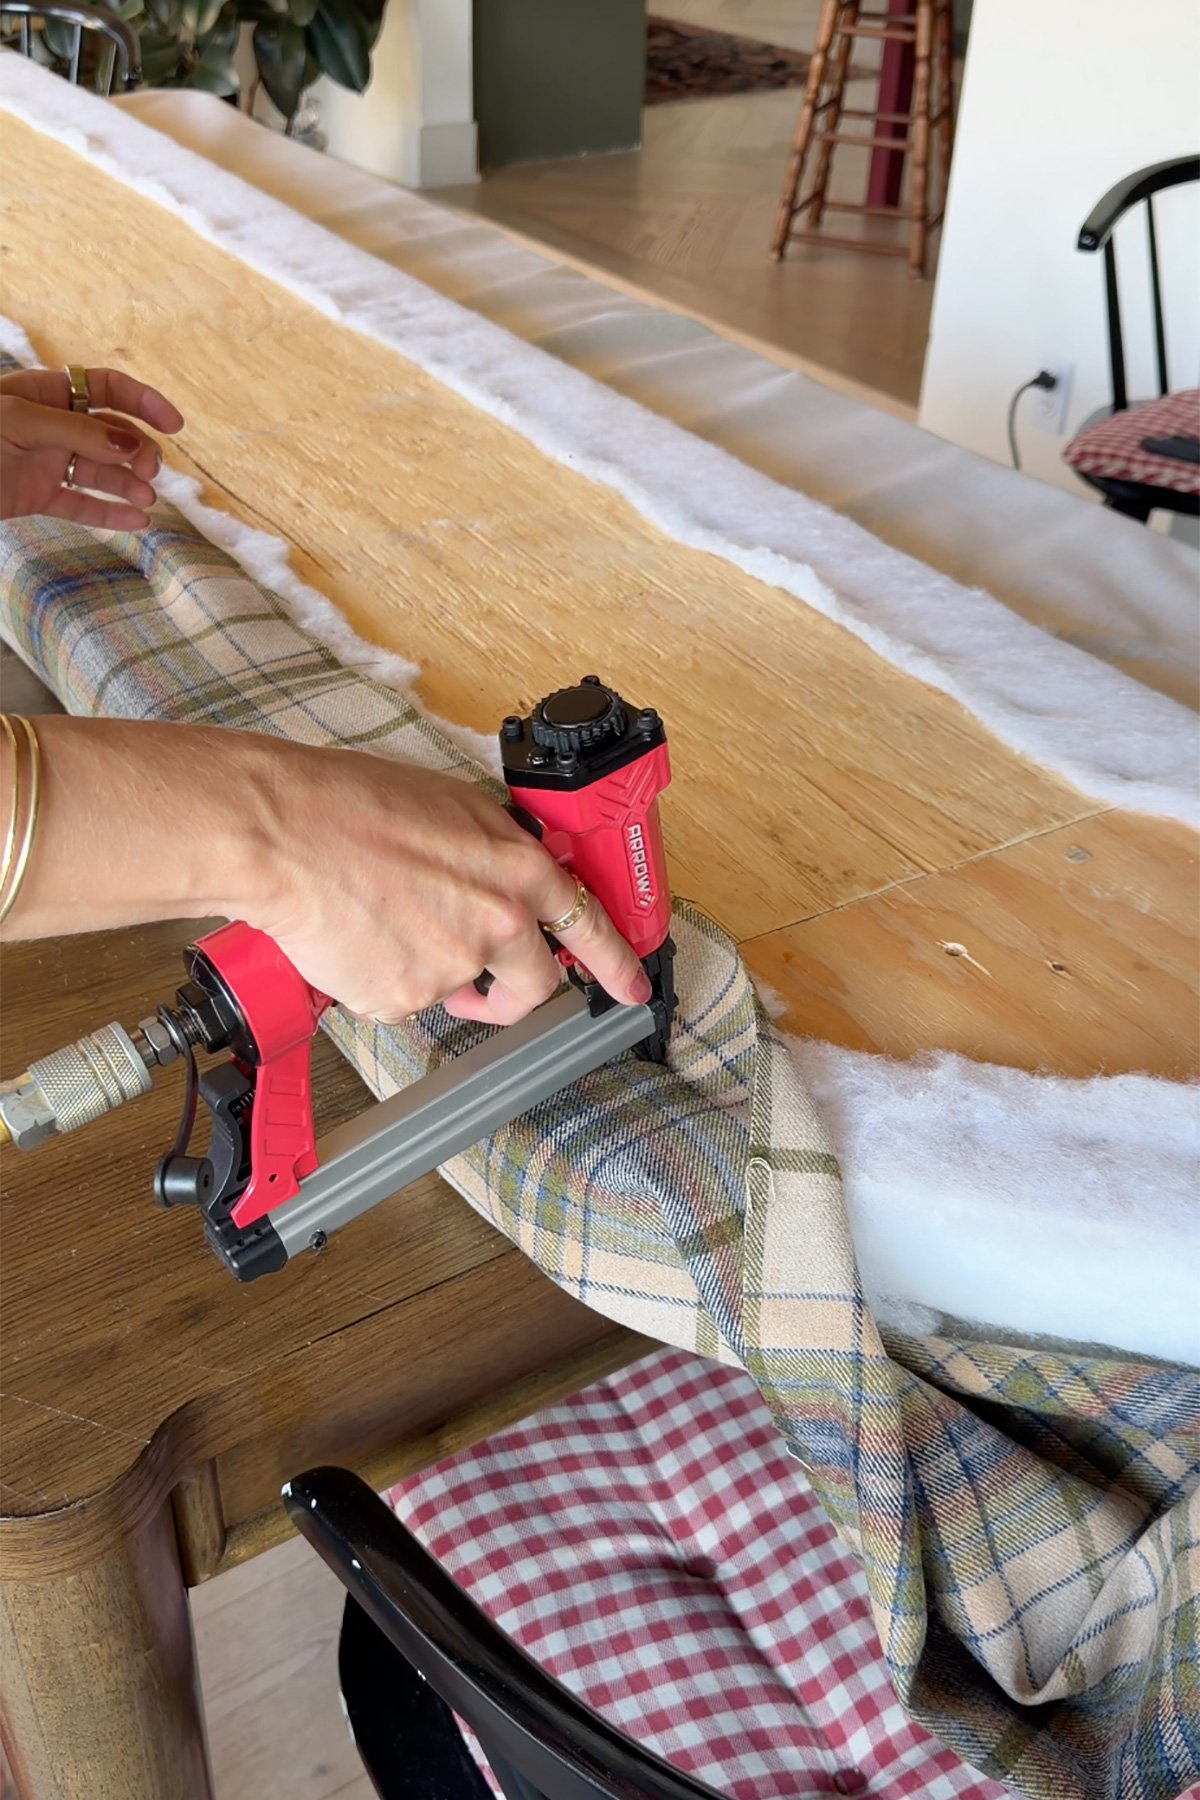
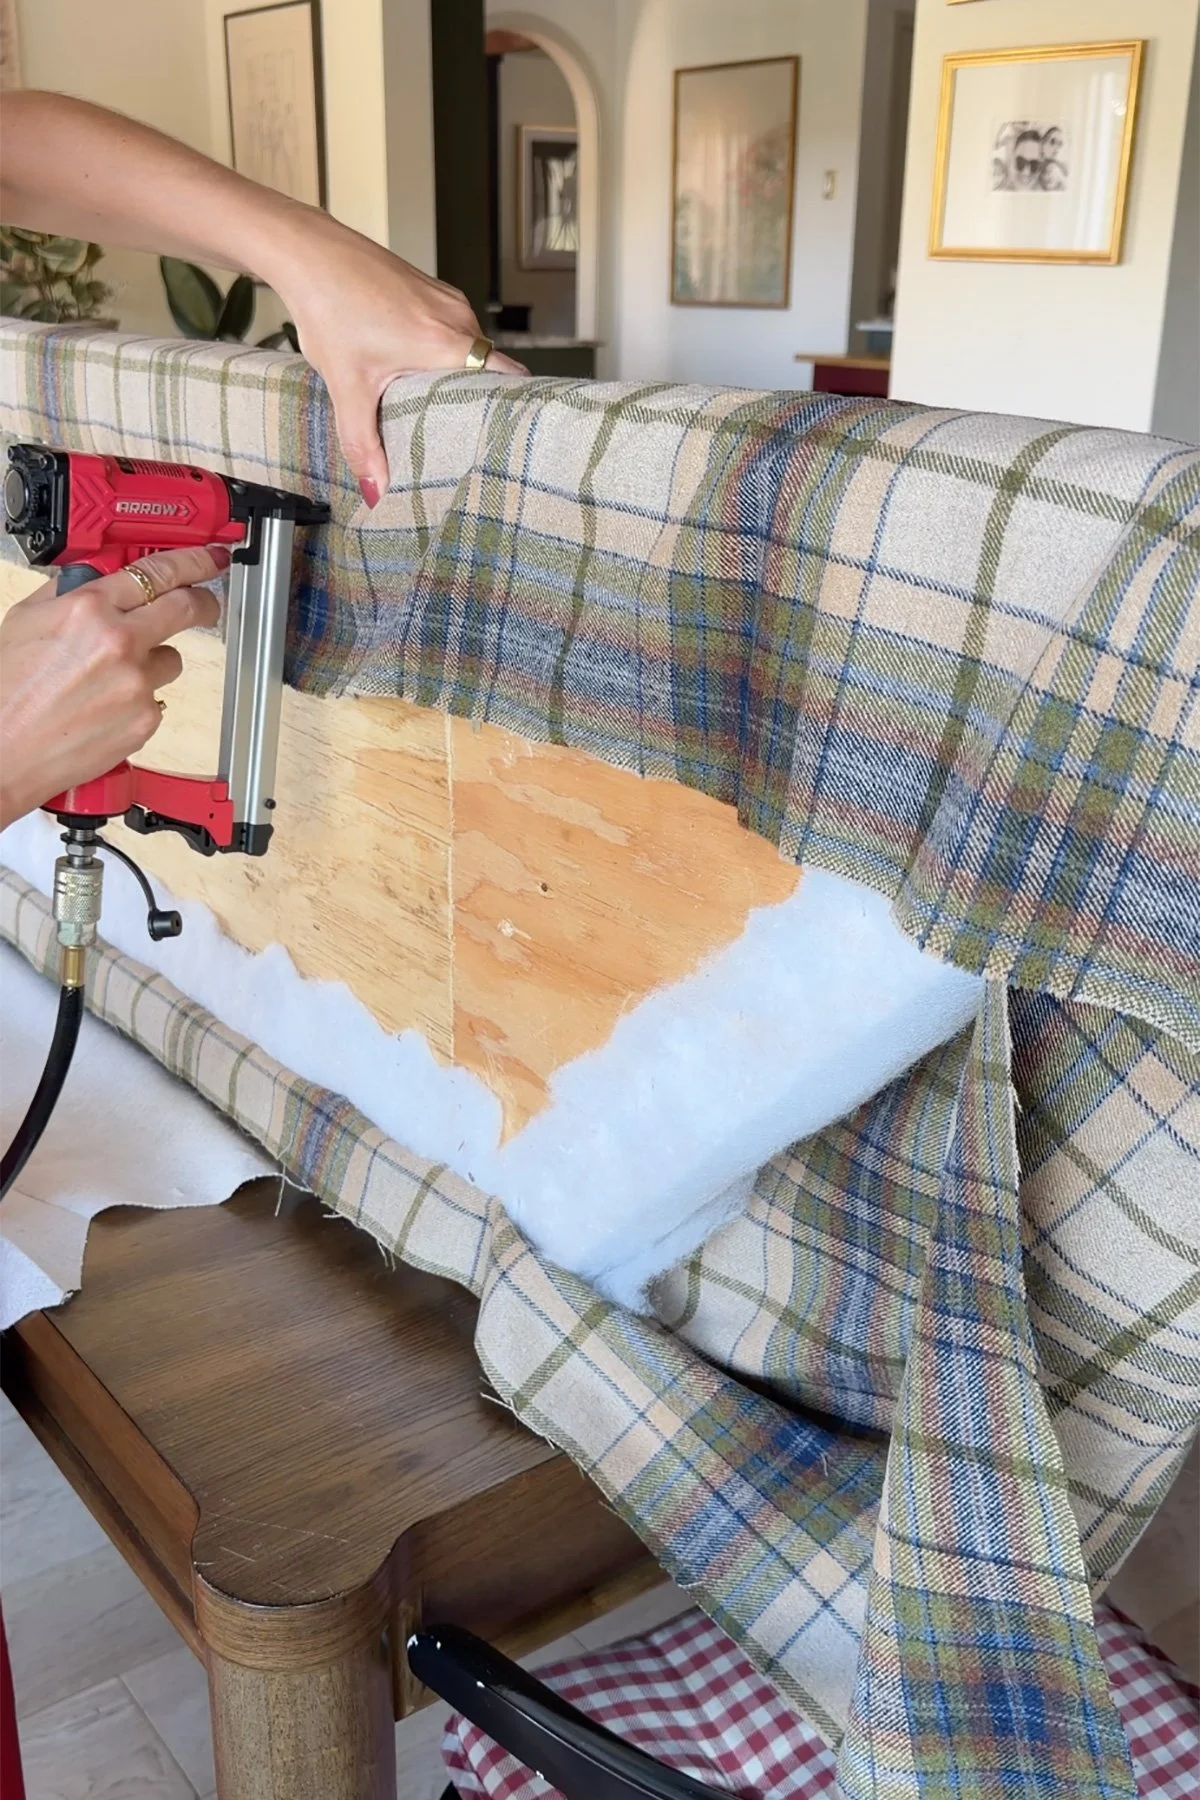
Now comes the fun part! Lay your fabric over the cushion, making sure your pattern is positioned exactly how you want it before you start stapling.
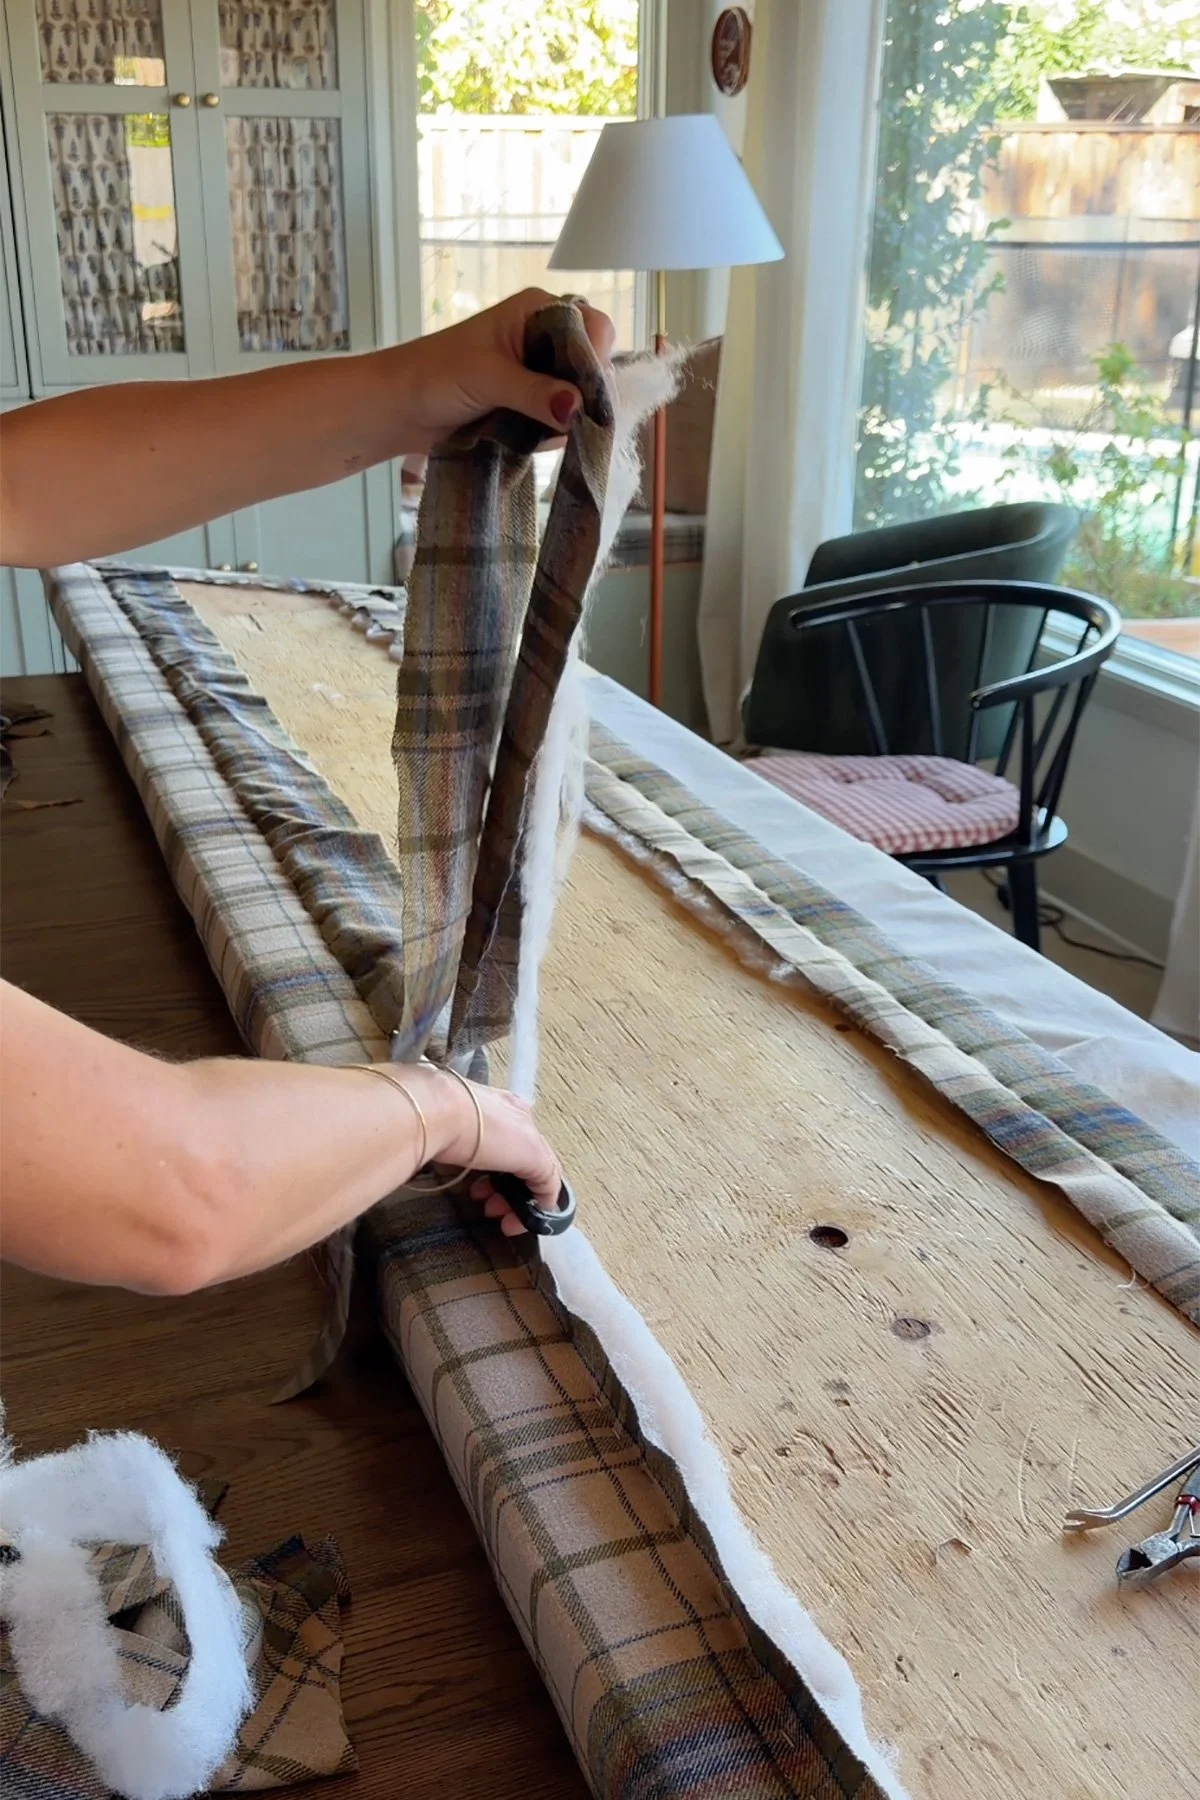
Pull the fabric around the edges and secure it to the underside of the plywood with your staple gun. Work your way around the cushion, keeping the fabric smooth and taut as you go.
If you're using a patterned fabric, take a little extra time with this step to make sure the pattern is straight and centered.
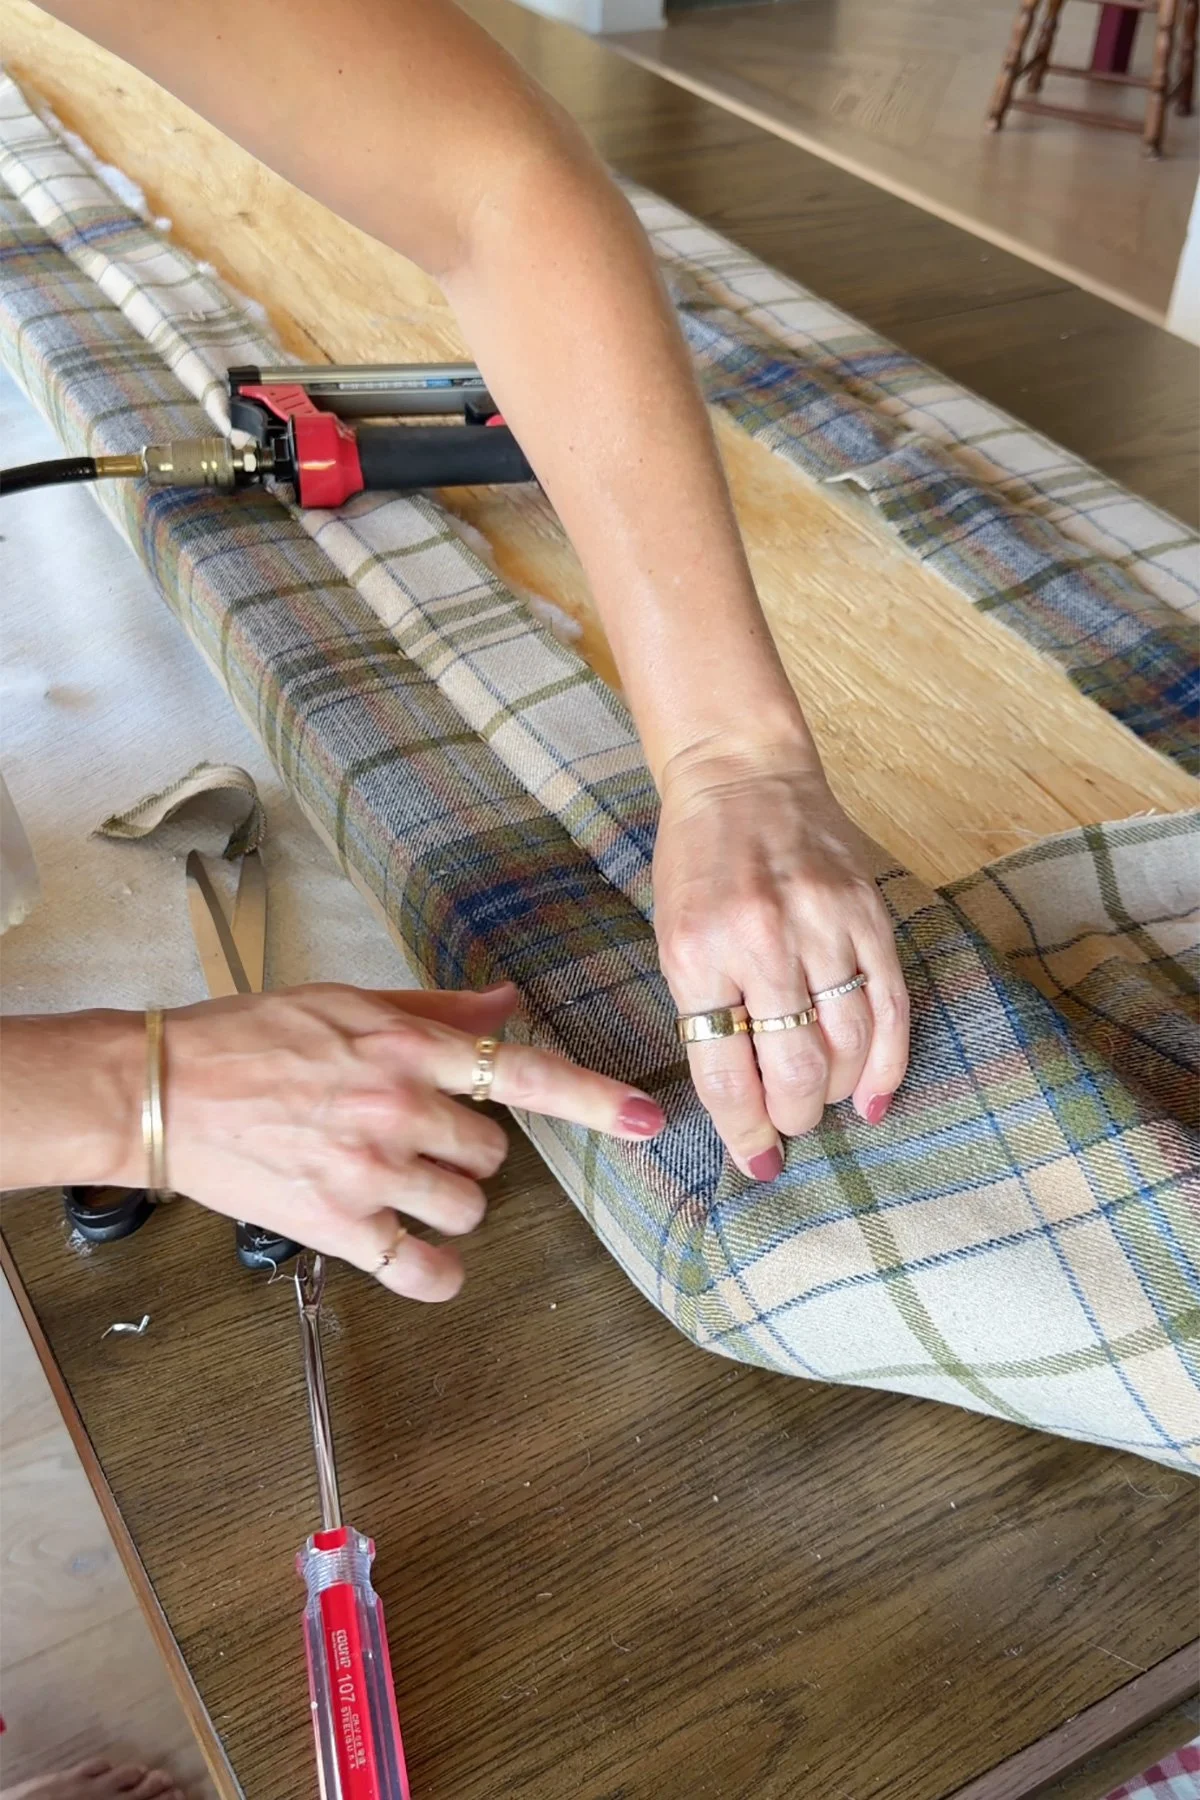
5. That’s It!
Once everything is stapled securely, trim away any excess fabric and turn your cushion over. Your custom window seat cushion is done!
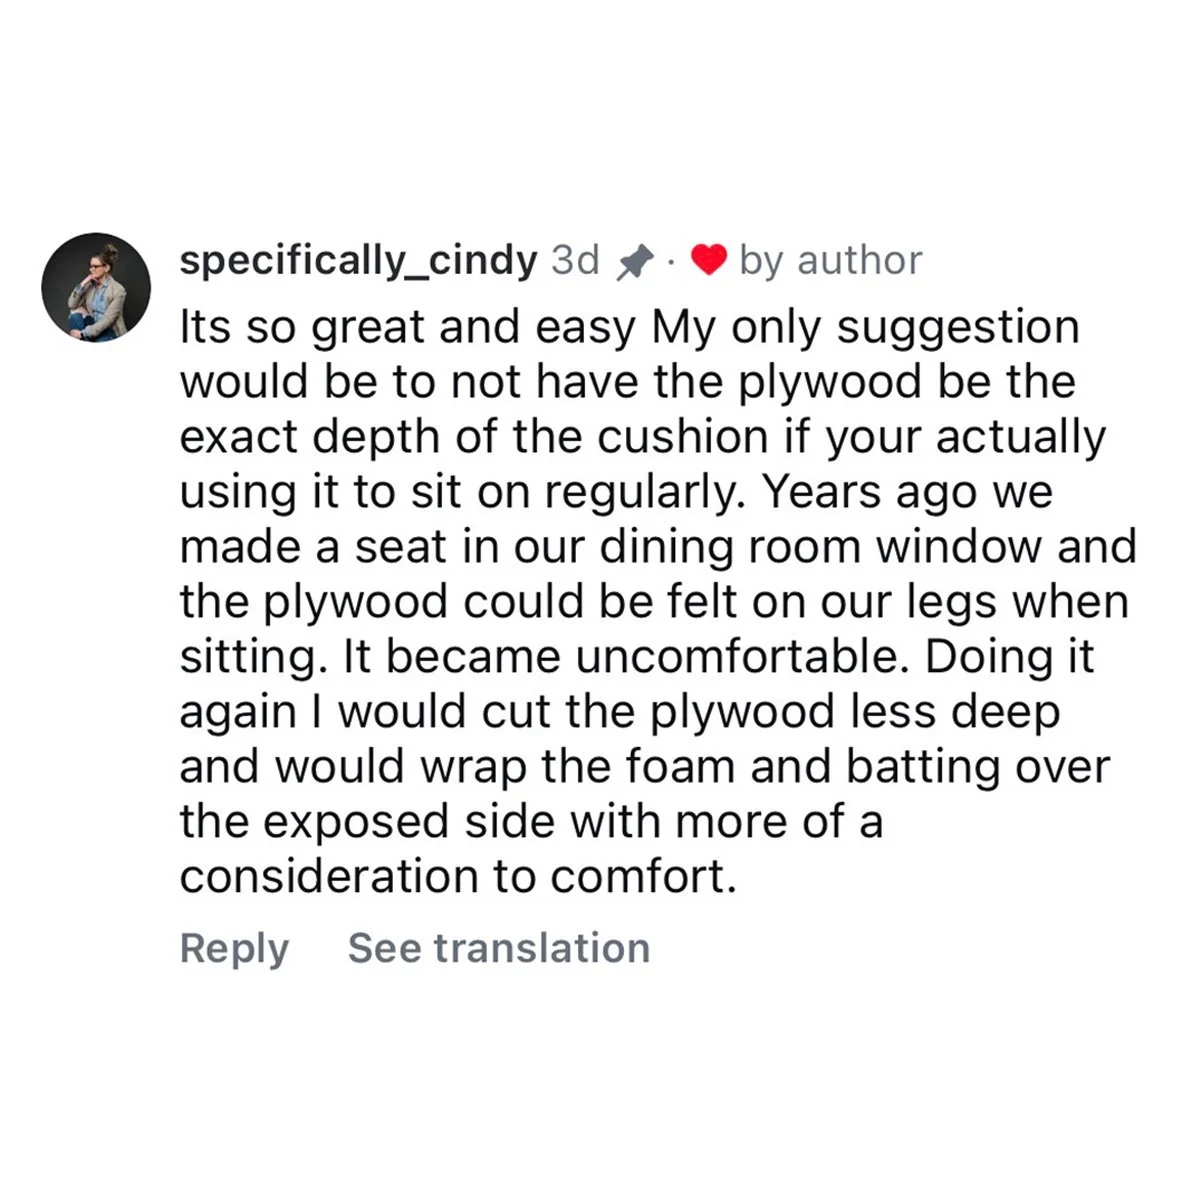
From Our Community
I love hearing from you! Here are a few tips and suggestions from my readers that are worth sharing.
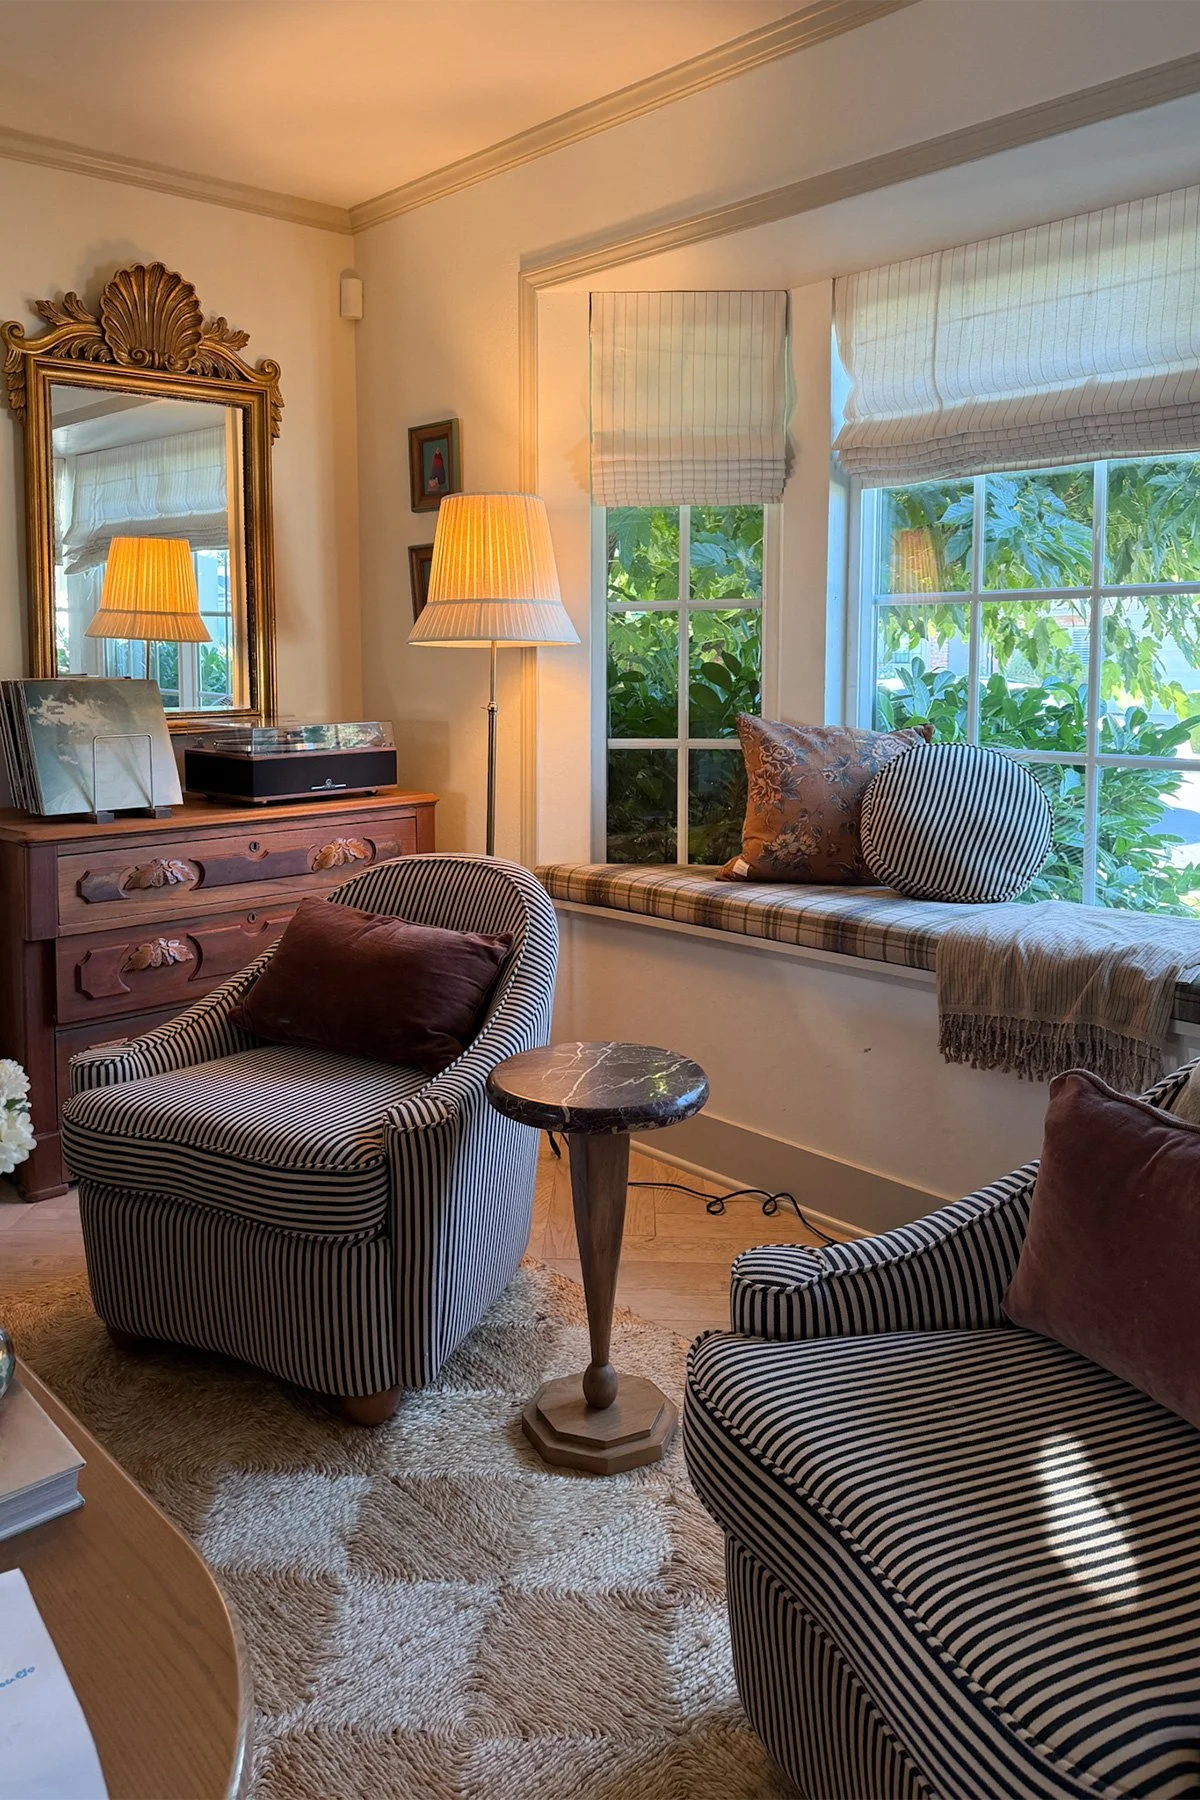
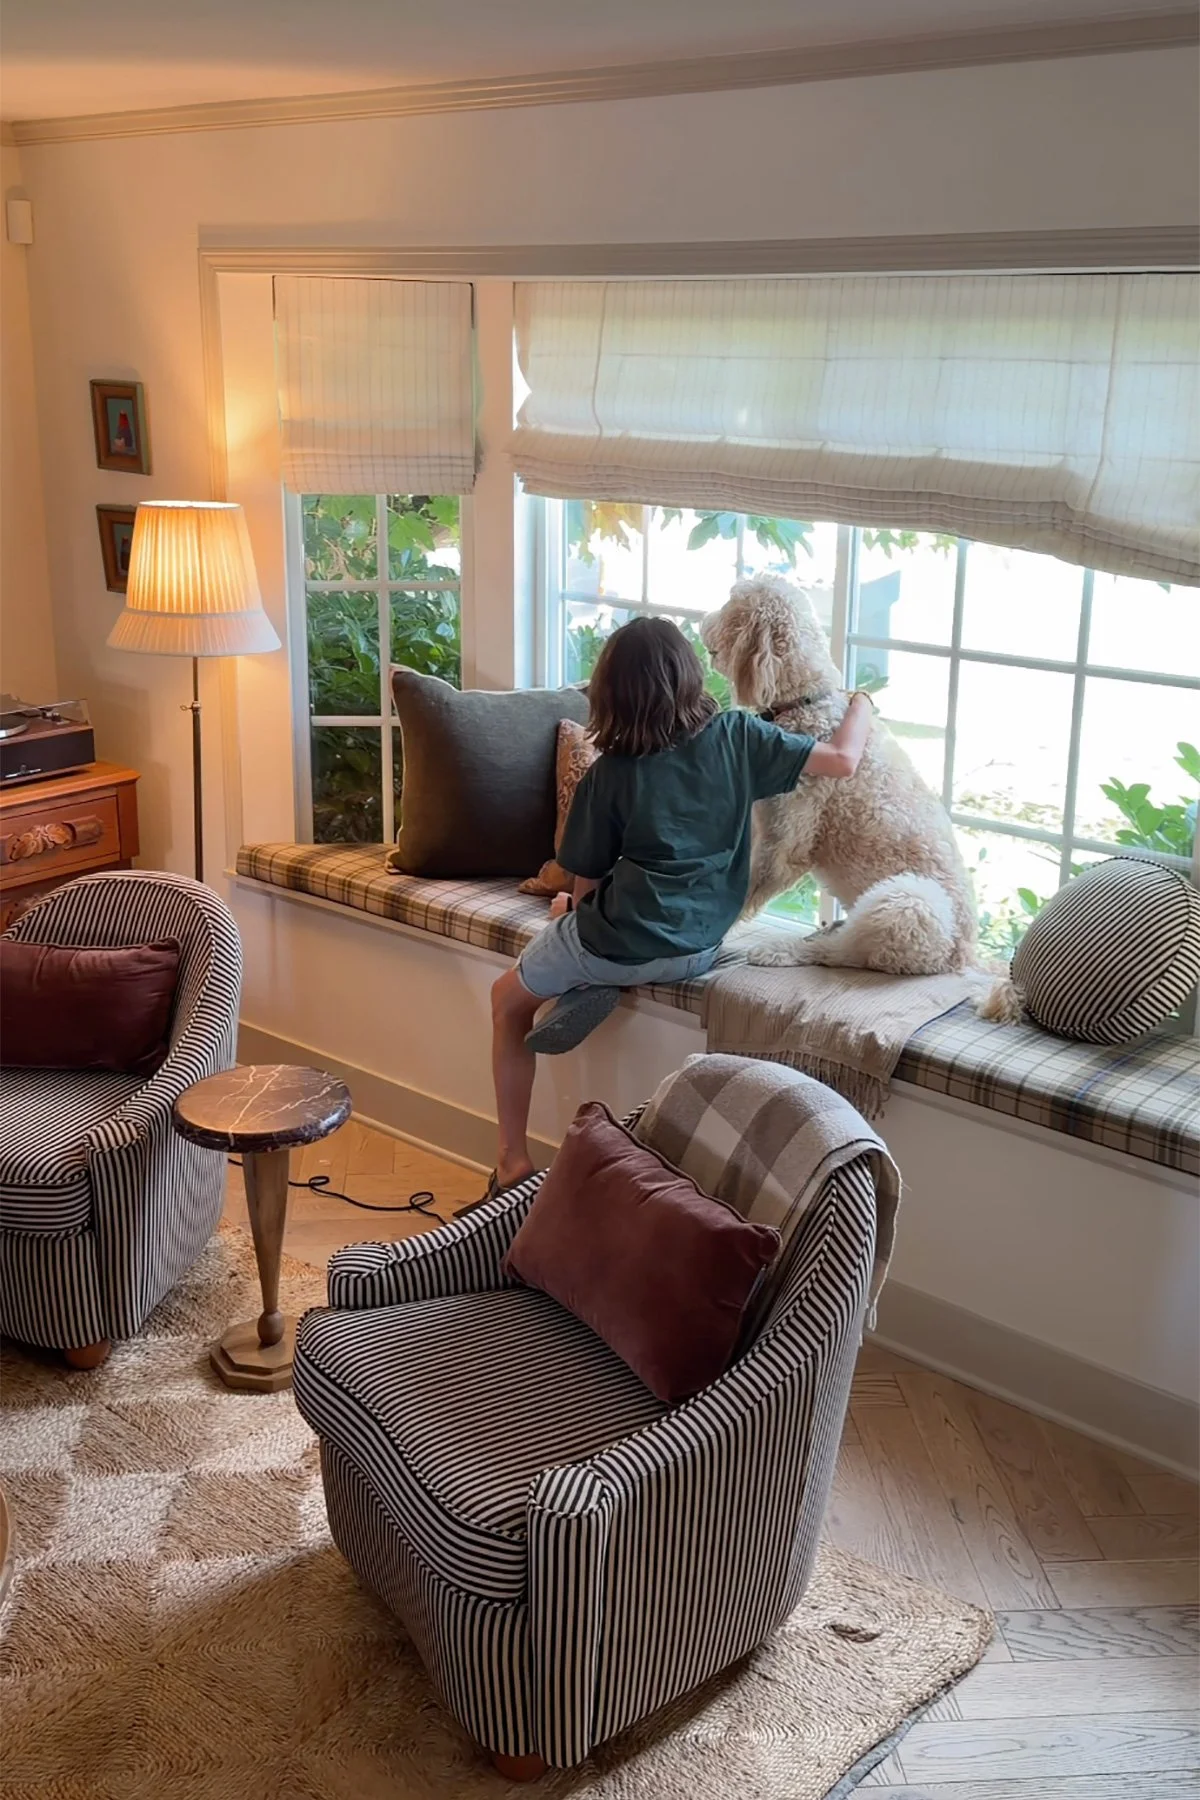
This is such a simple way to create a custom-sized cushion that fits your space perfectly without having to know how to sew. It’s also an easy way to add color, pattern, and personality to a window seat, reading nook, bench, or any other small space in your home.
Sometimes, a small DIY home decor project can make the biggest difference. And in this case, all it took was a little plywood, foam, pretty fabric, and a staple gun.
Shop this post:



If you love the flavors of apple pie and cinnamon rolls, this easy Apple Pie Cinnamon Roll Casserole is the best of both worlds, and it couldn’t be easier to make. With refrigerated cinnamon rolls, sweet apples, warm cinnamon, and a few simple ingredients, you can have a cozy fall breakfast or dessert without making anything from scratch.