
Our IKEA PAX Closet Hack: How We Made It Look Custom
If you’ve been around here for a while, you know I love a good high/low moment. Give me something practical, affordable, maybe even a little basic… and I’ll happily dream about how to turn it into something that feels special and built just for our home. That is exactly what happened with our IKEA PAX wardrobe.
What started as a simple storage solution became one of my favorite transformations in our bedroom. And the best part? We didn’t need a fully custom millwork budget to get there. Let me tell you how we did it.
The BEFORE
Why We Chose the PAX System
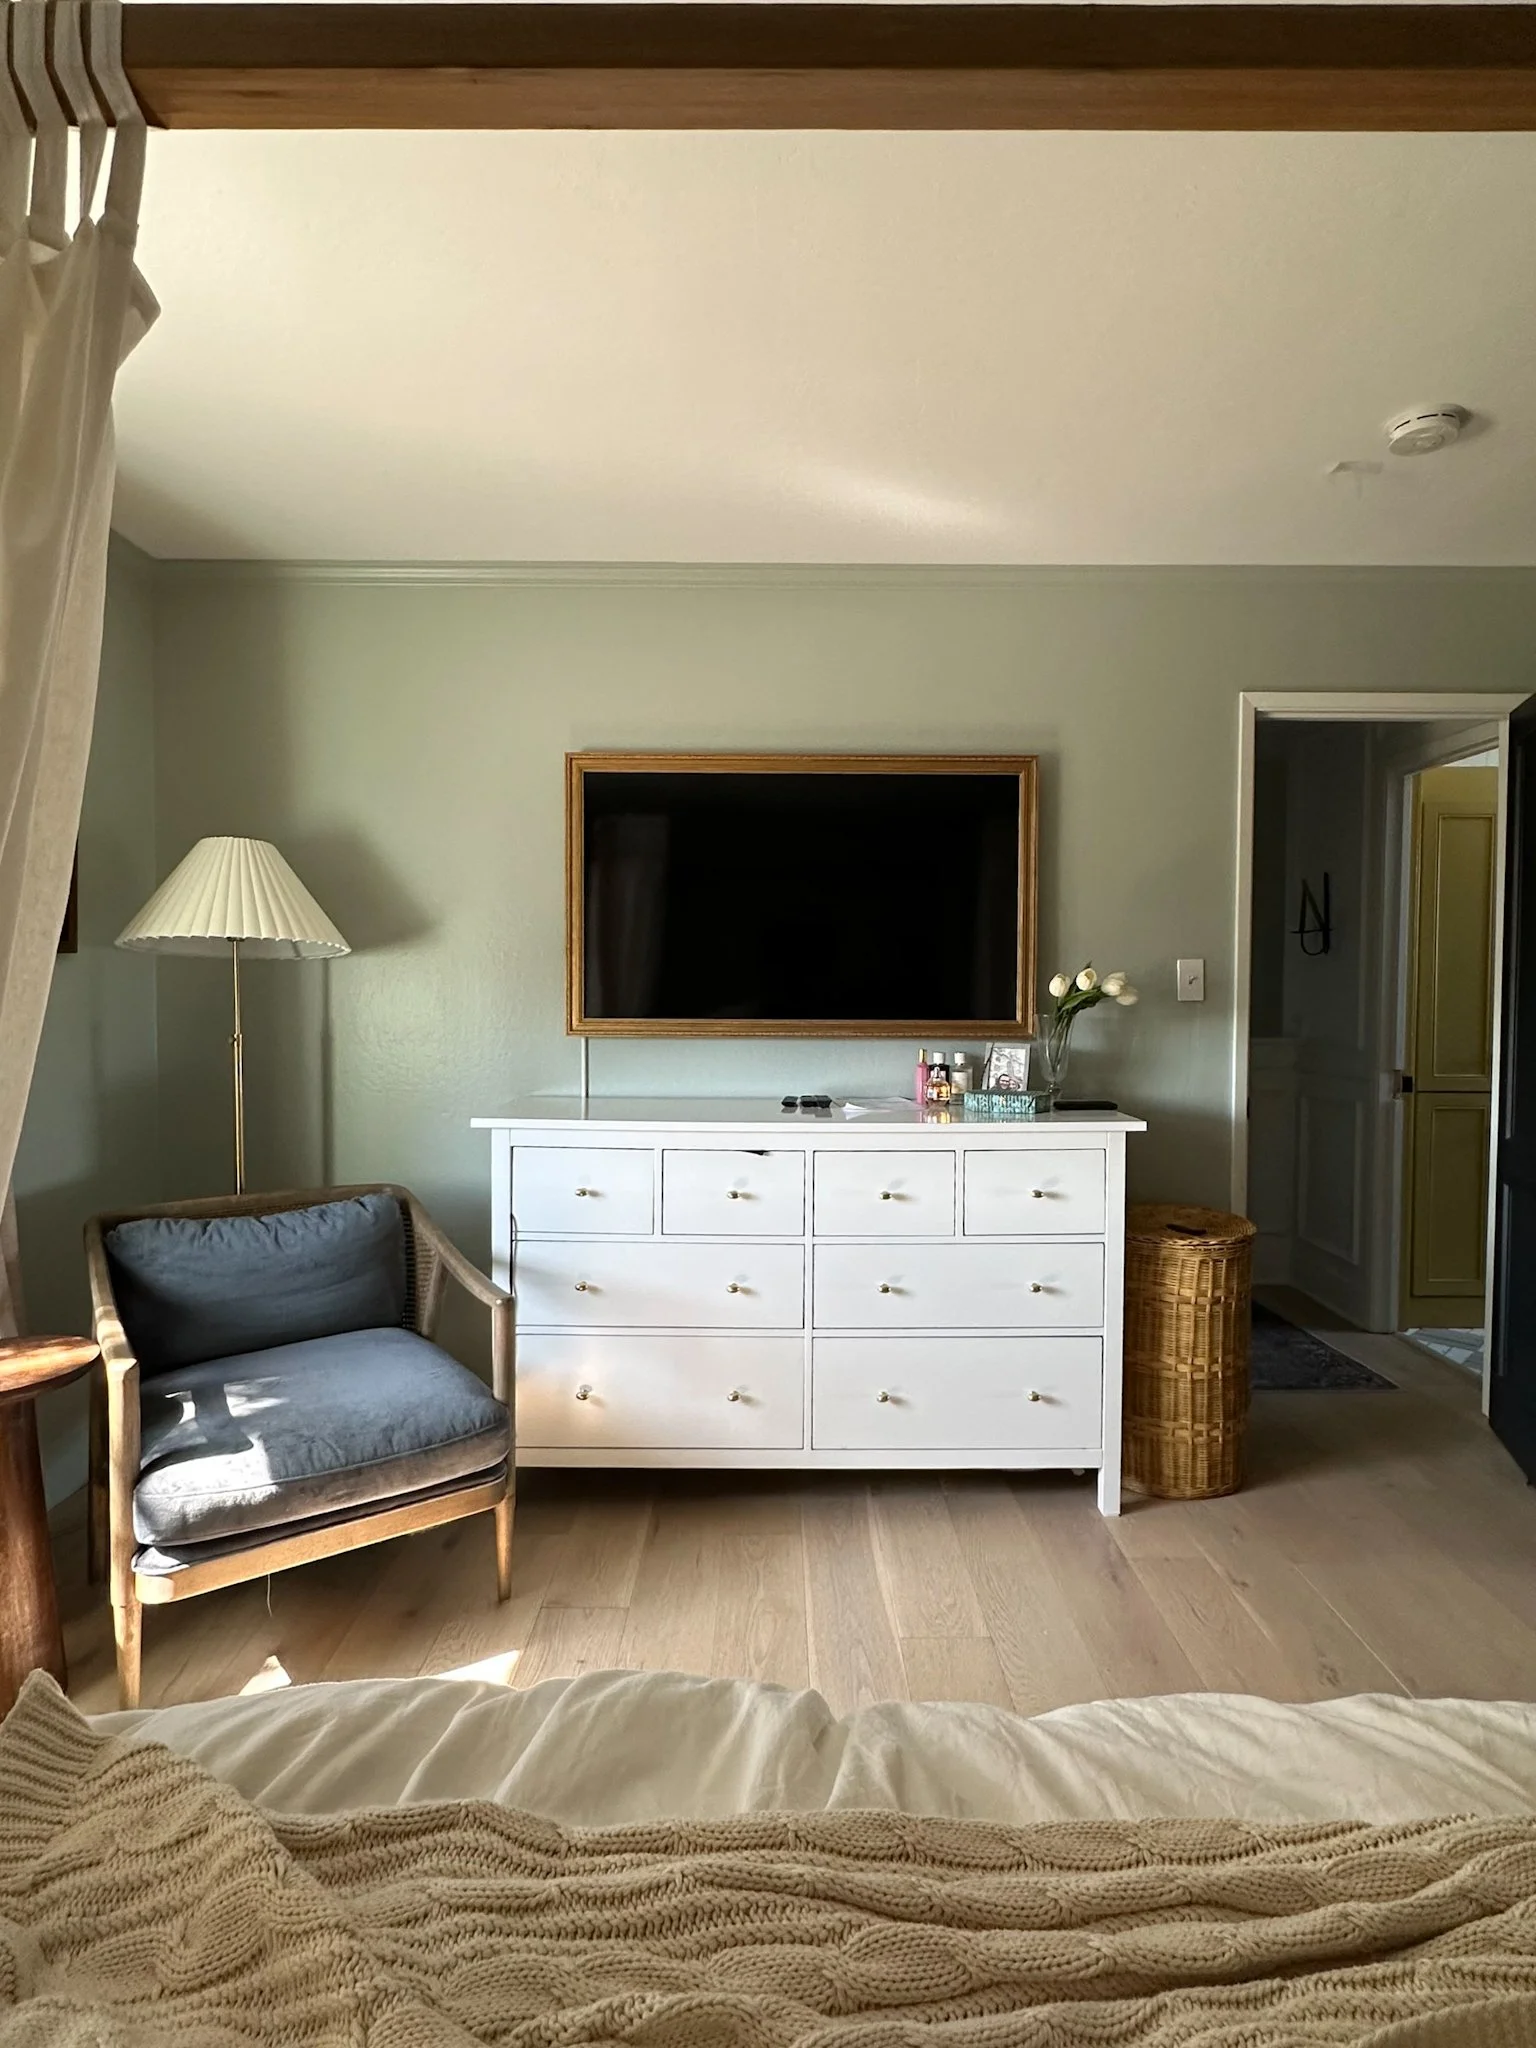
Before the makeover, our bedroom storage was a mix of pieces collected over time. A dresser here, a random chair there…it functioned, but it never felt intentional. There was visual clutter, not enough organization, and honestly it didn’t match the direction I wanted the room to go.
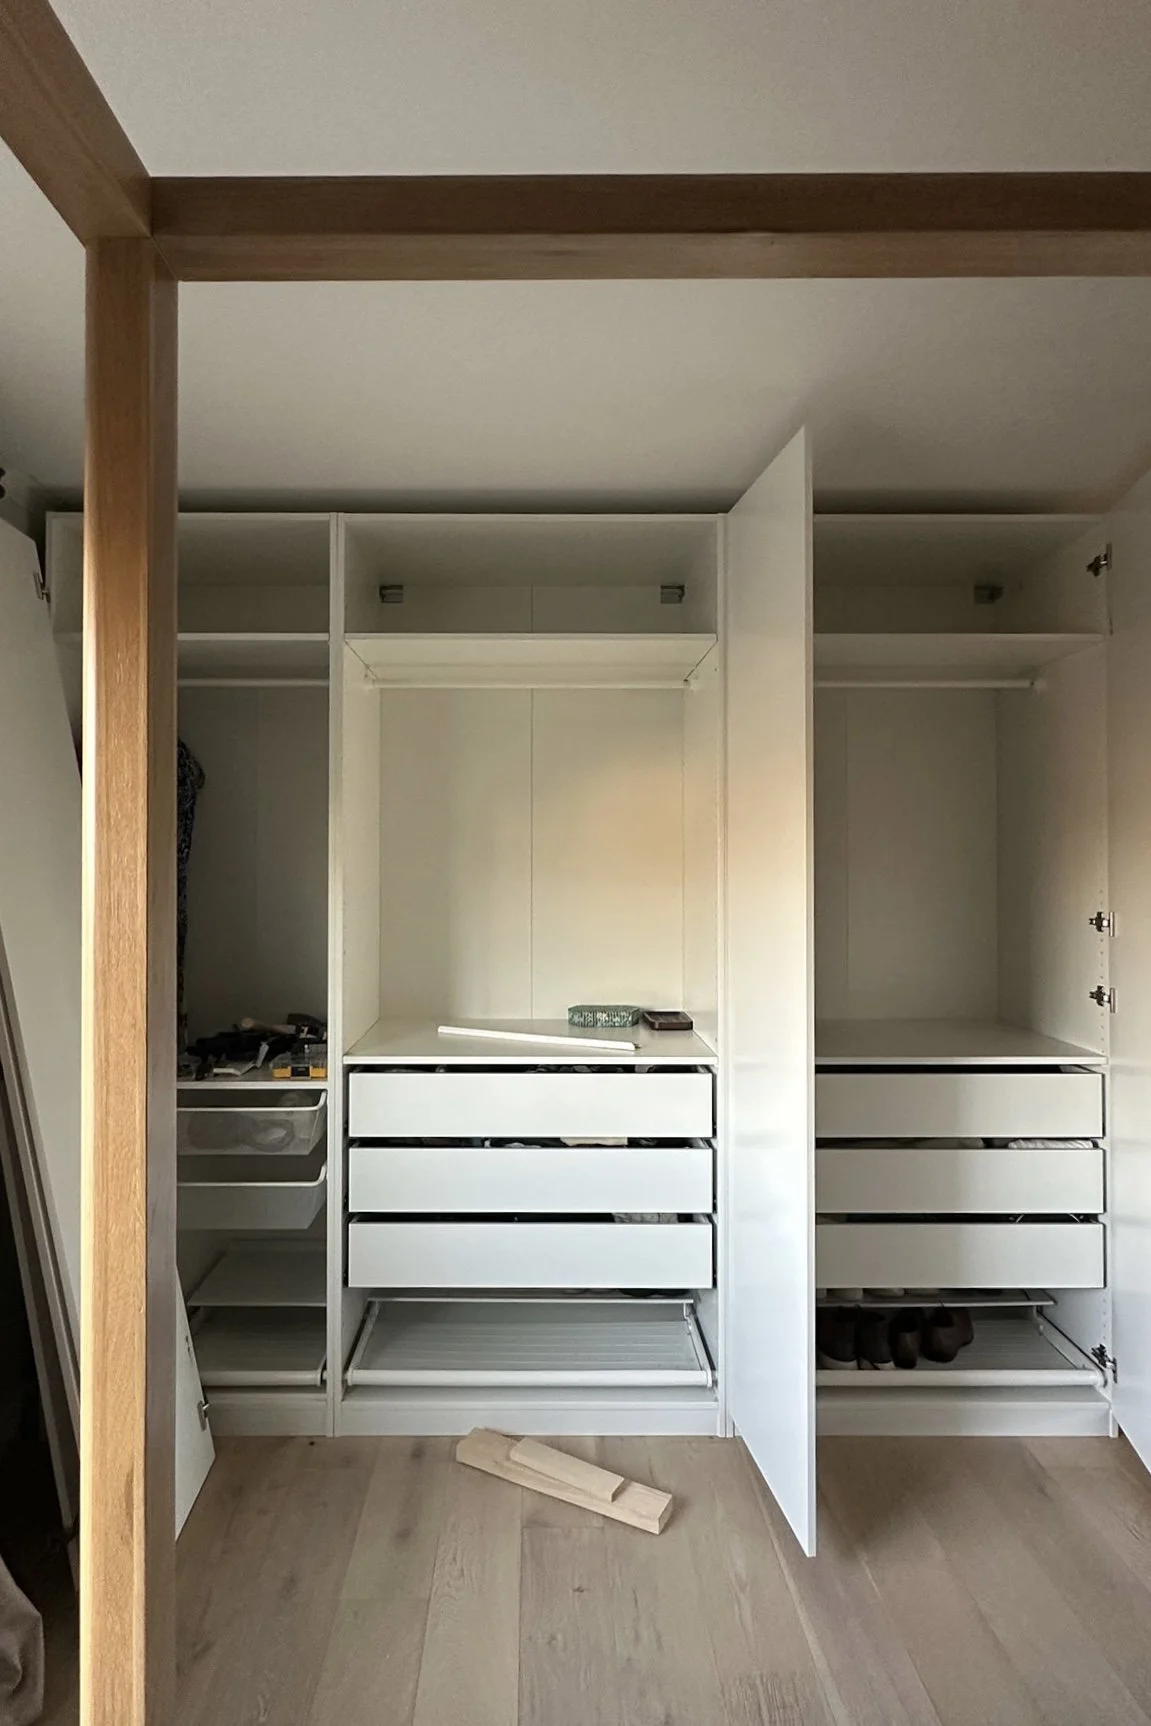
We needed something practical, customizable, budget friendly and big enough to truly change how the room worked. The PAX system checked every box. It gave us the interior organization we desperately needed, while also acting as a blank canvas for the design lover in me.
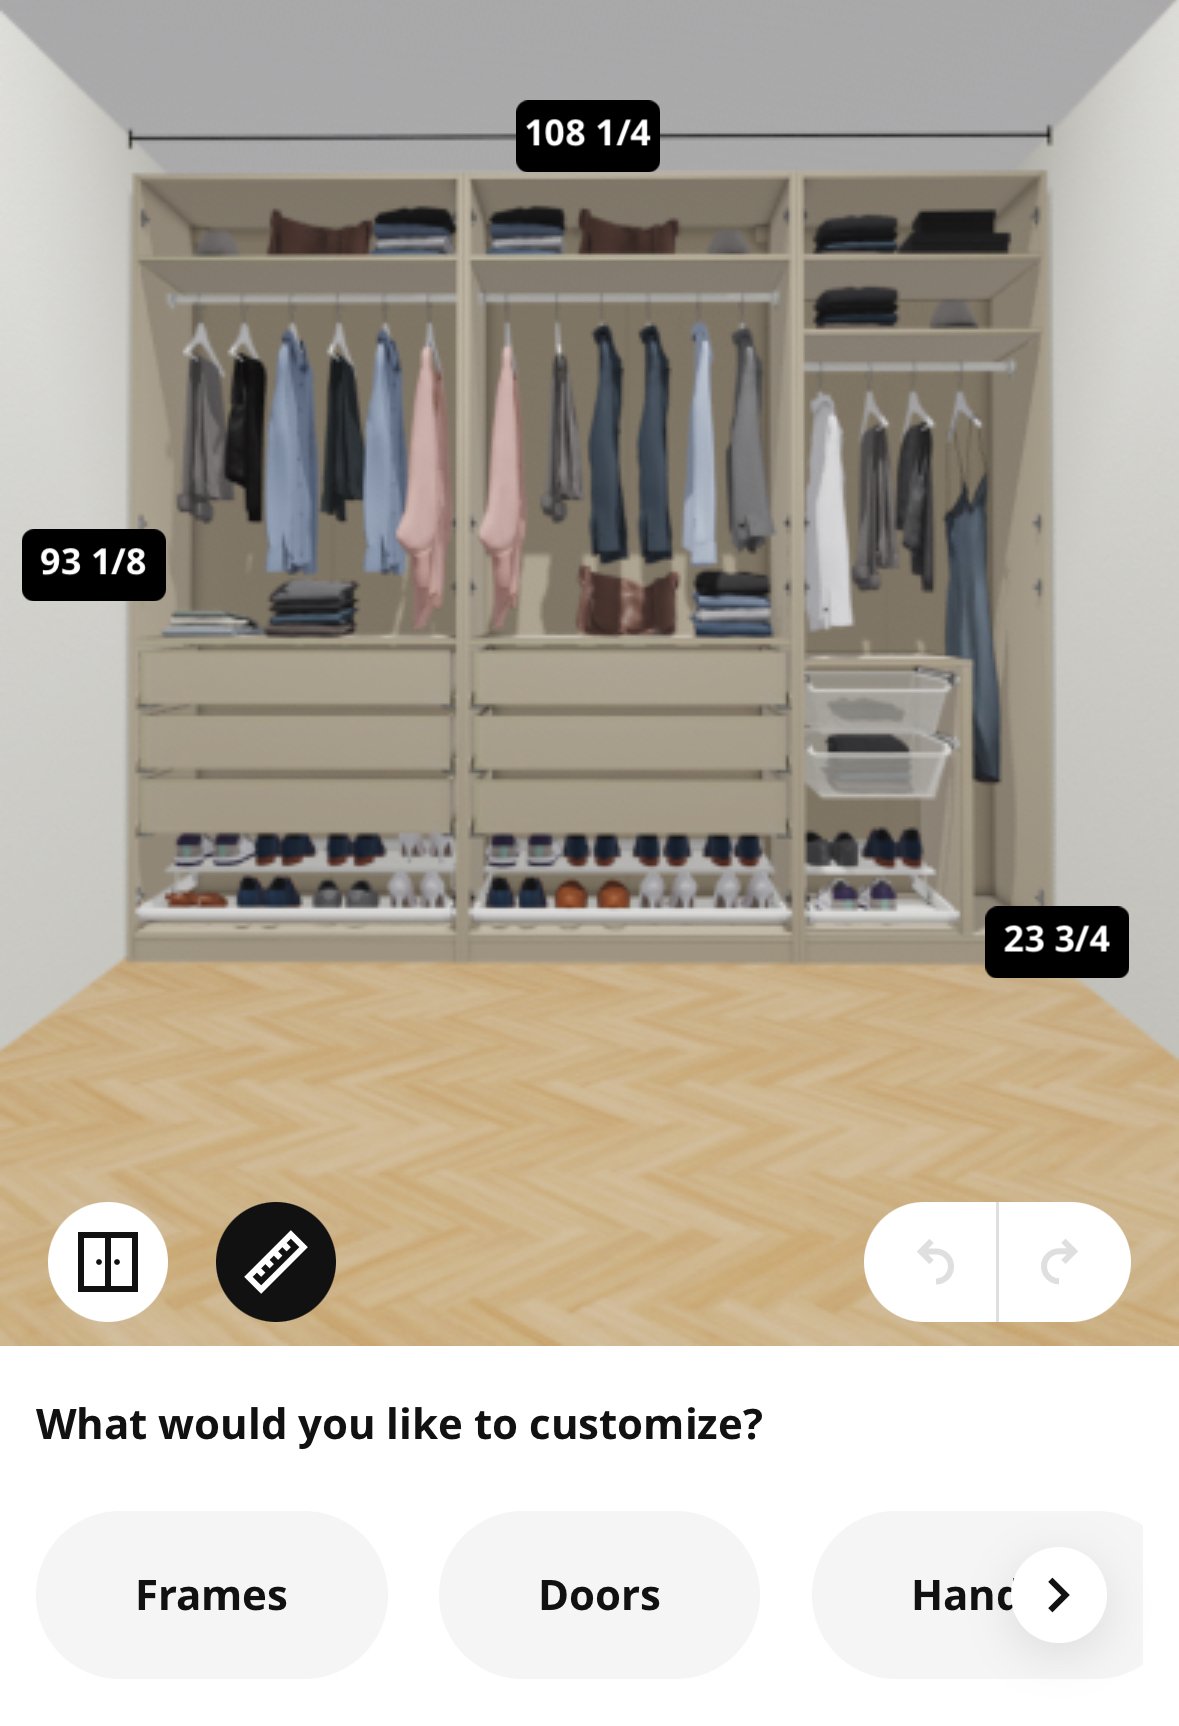
We couldn’t fit three units in the same size, which made this part particularly tricky; I had to get creative and find a way to make the design dilemma work in the end. We purchased one 29 1/5” pax unit and two 39 3/8” units. For the doors I got the flat panel doors, Forsand since I was planning on adding molding to them.
Part 1: Planning and Installing
We originally had two separate closets inside our bathroom. A layout that felt very 1960s. While a full bathroom renovation is still on our long-term project list, removing those closets felt like the right place to start.
Ideally, we would have loved to open up a wall and create a full walk-in closet. That’s still the dream. But since that wasn’t in the cards, we decided to move the closets into our bedroom instead and create a custom built-in look using the IKEA PAX system.
Because our ceilings are only eight feet tall, we decided not to build a base under the PAX units. That decision left us with a gap at the top, so we glued down wood scraps to create a surface for the crown molding to sit on. At the bottom, we cut baseboards to size to hide the seams and make everything feel cohesive.
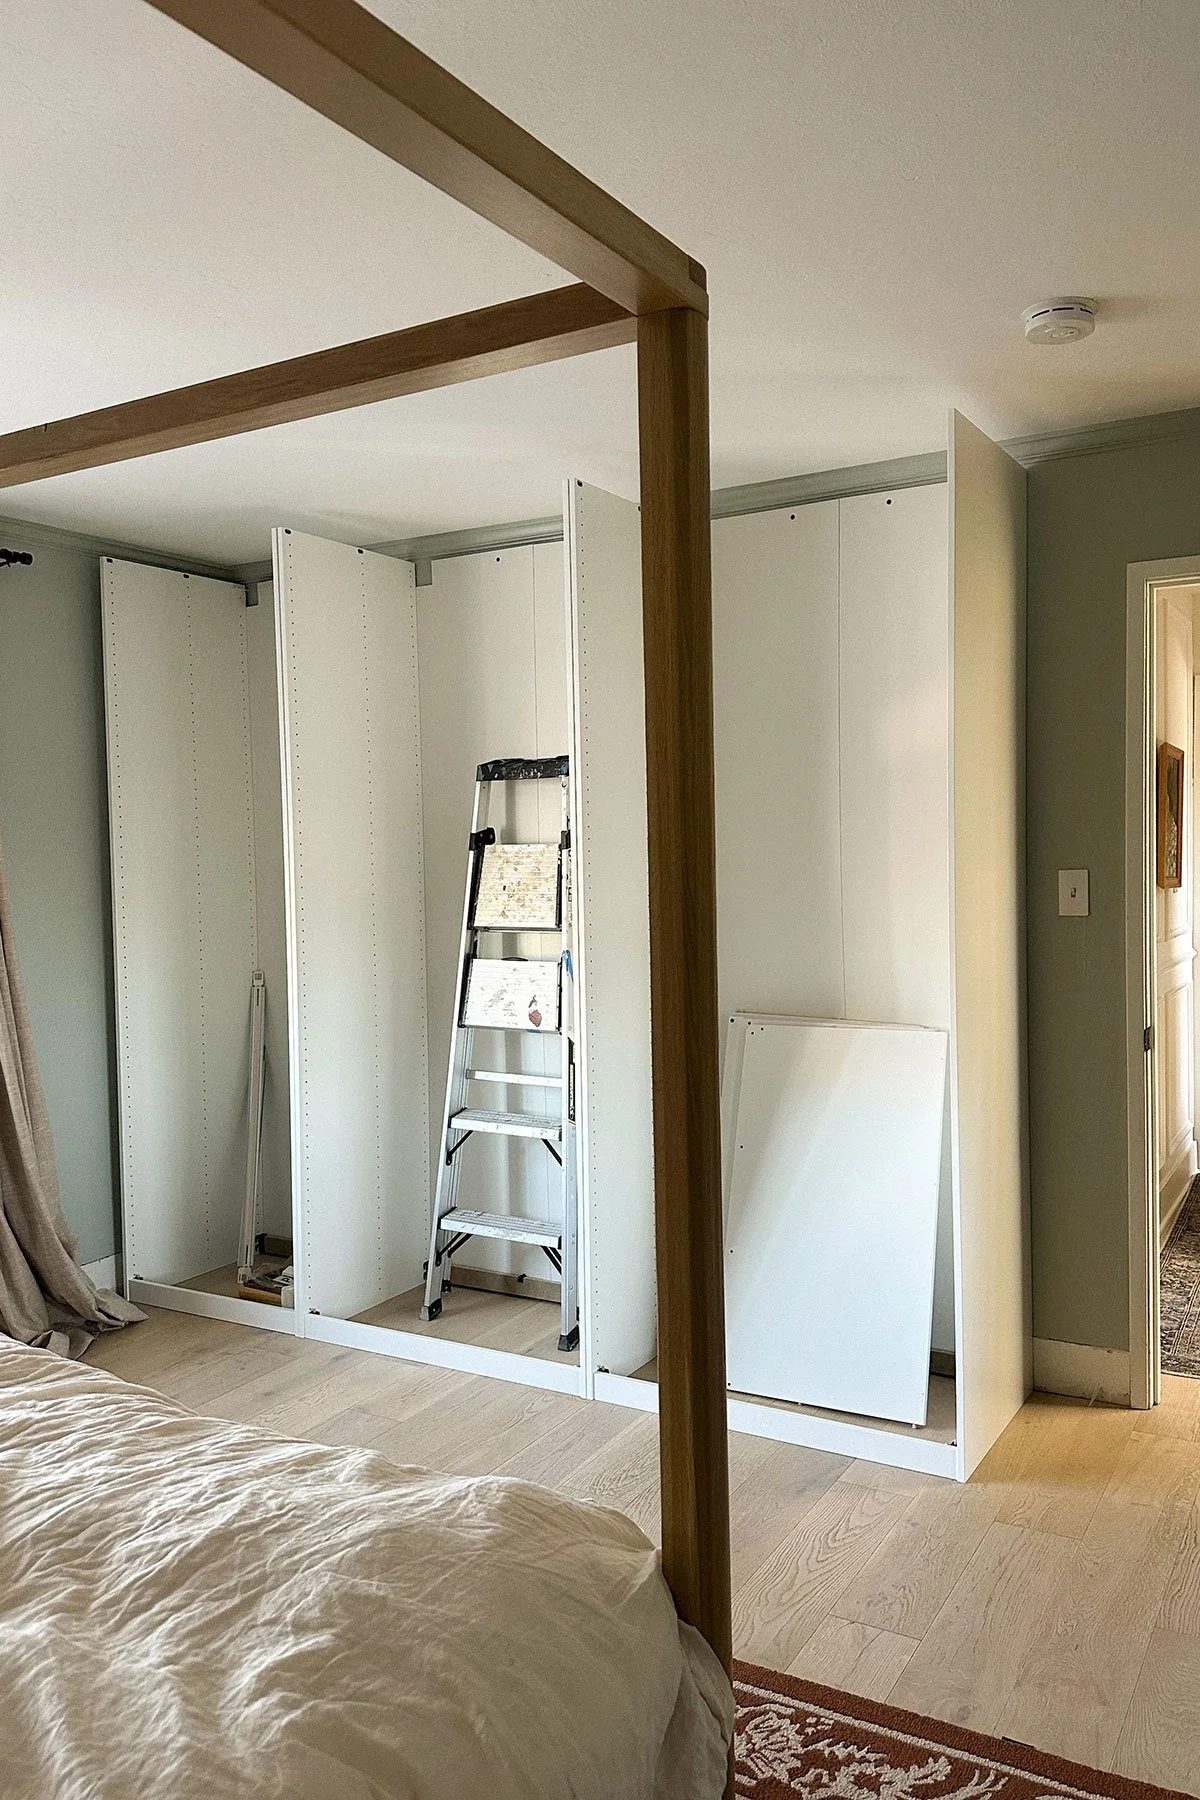
First step was to remove the baseboards so the closet can sit flush against the walls.
Part 2: Making it Look Custom
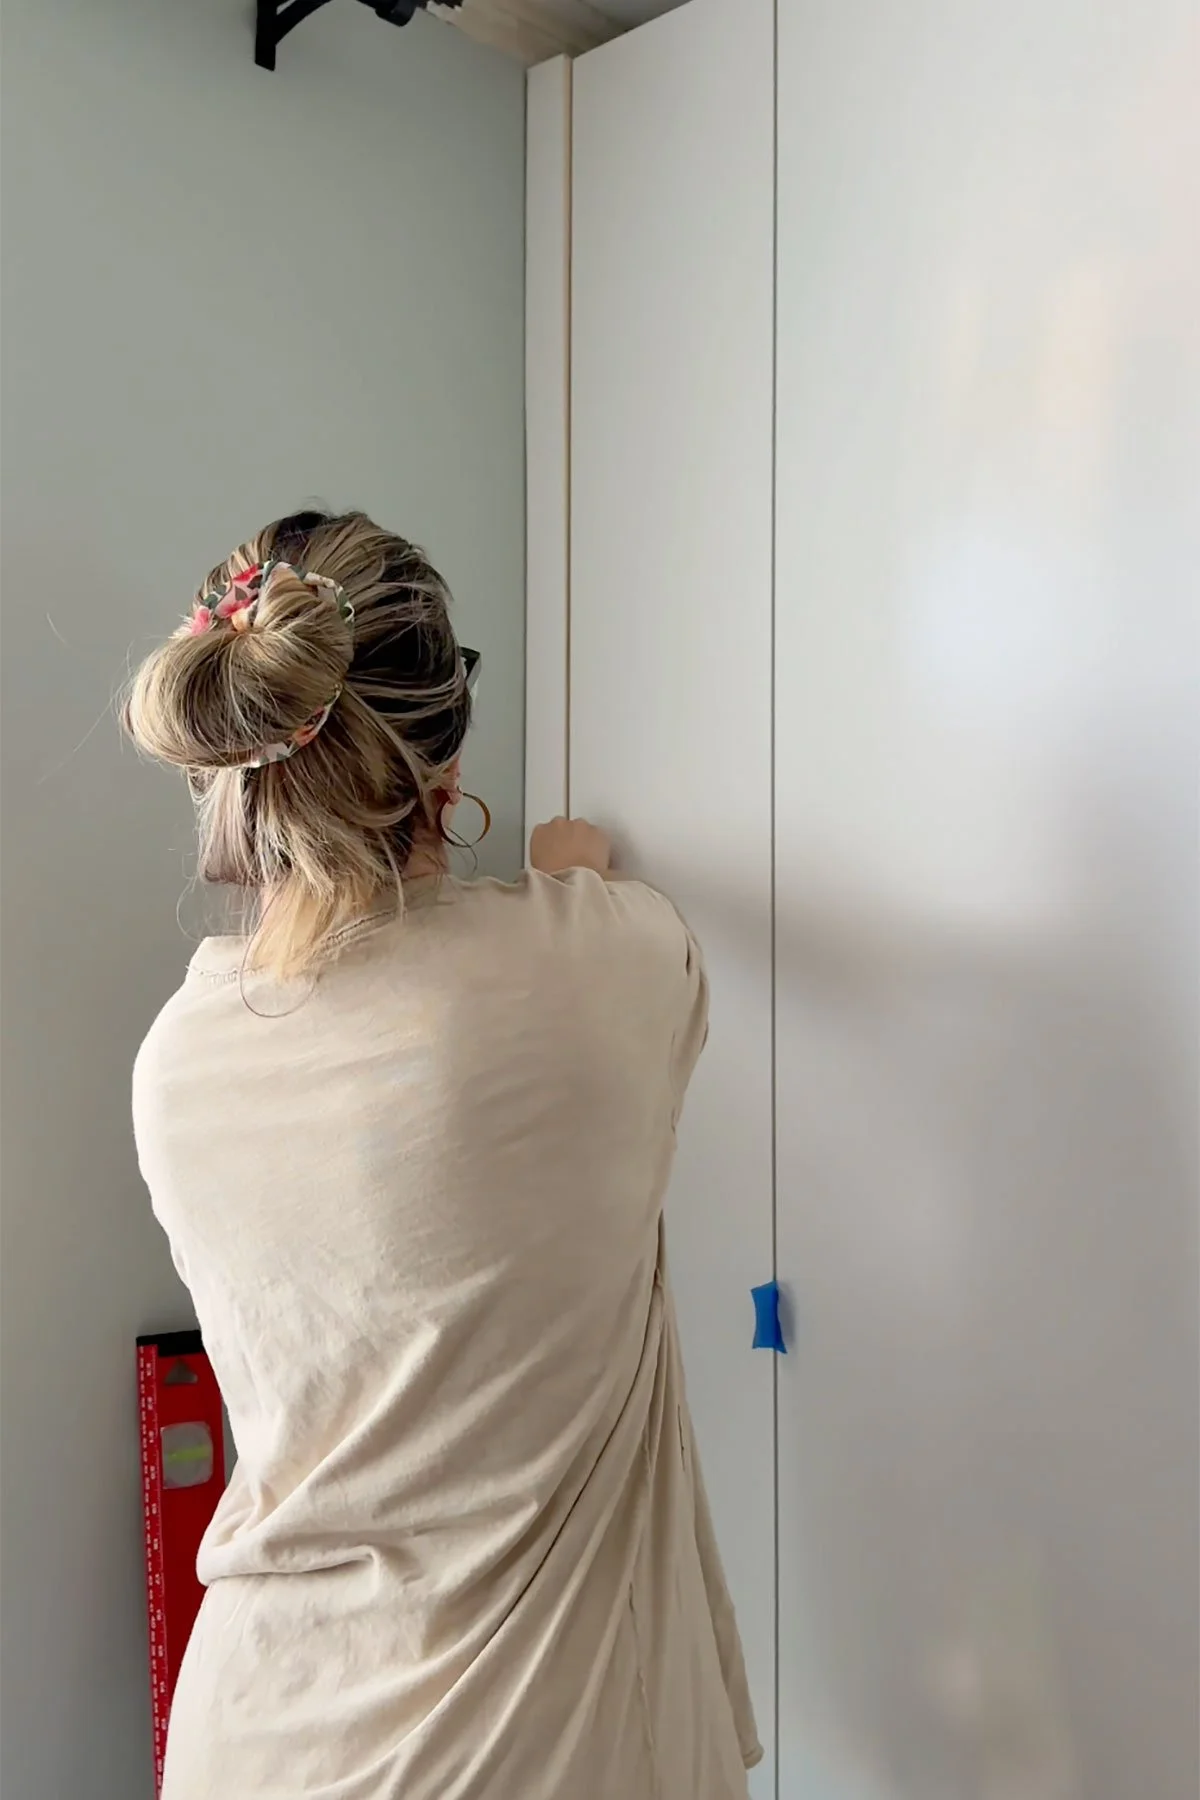
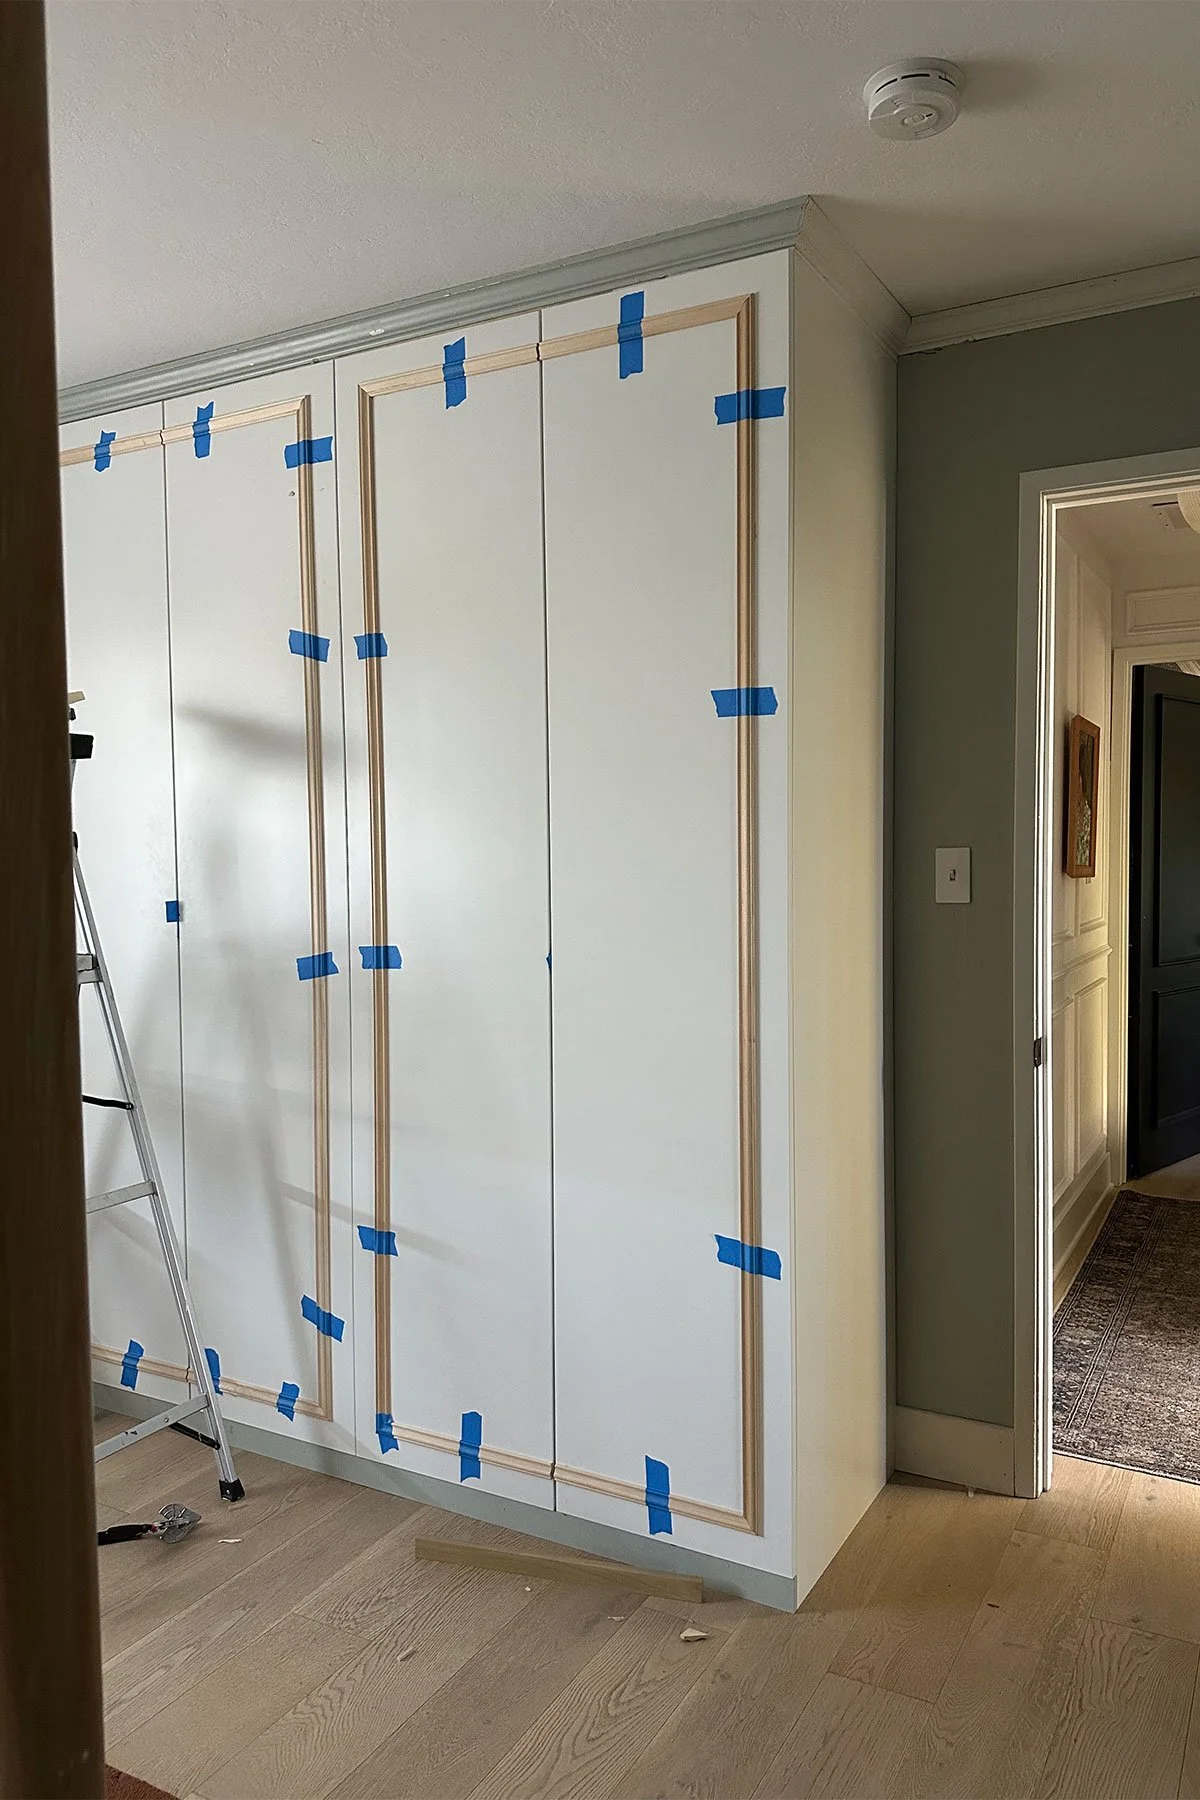
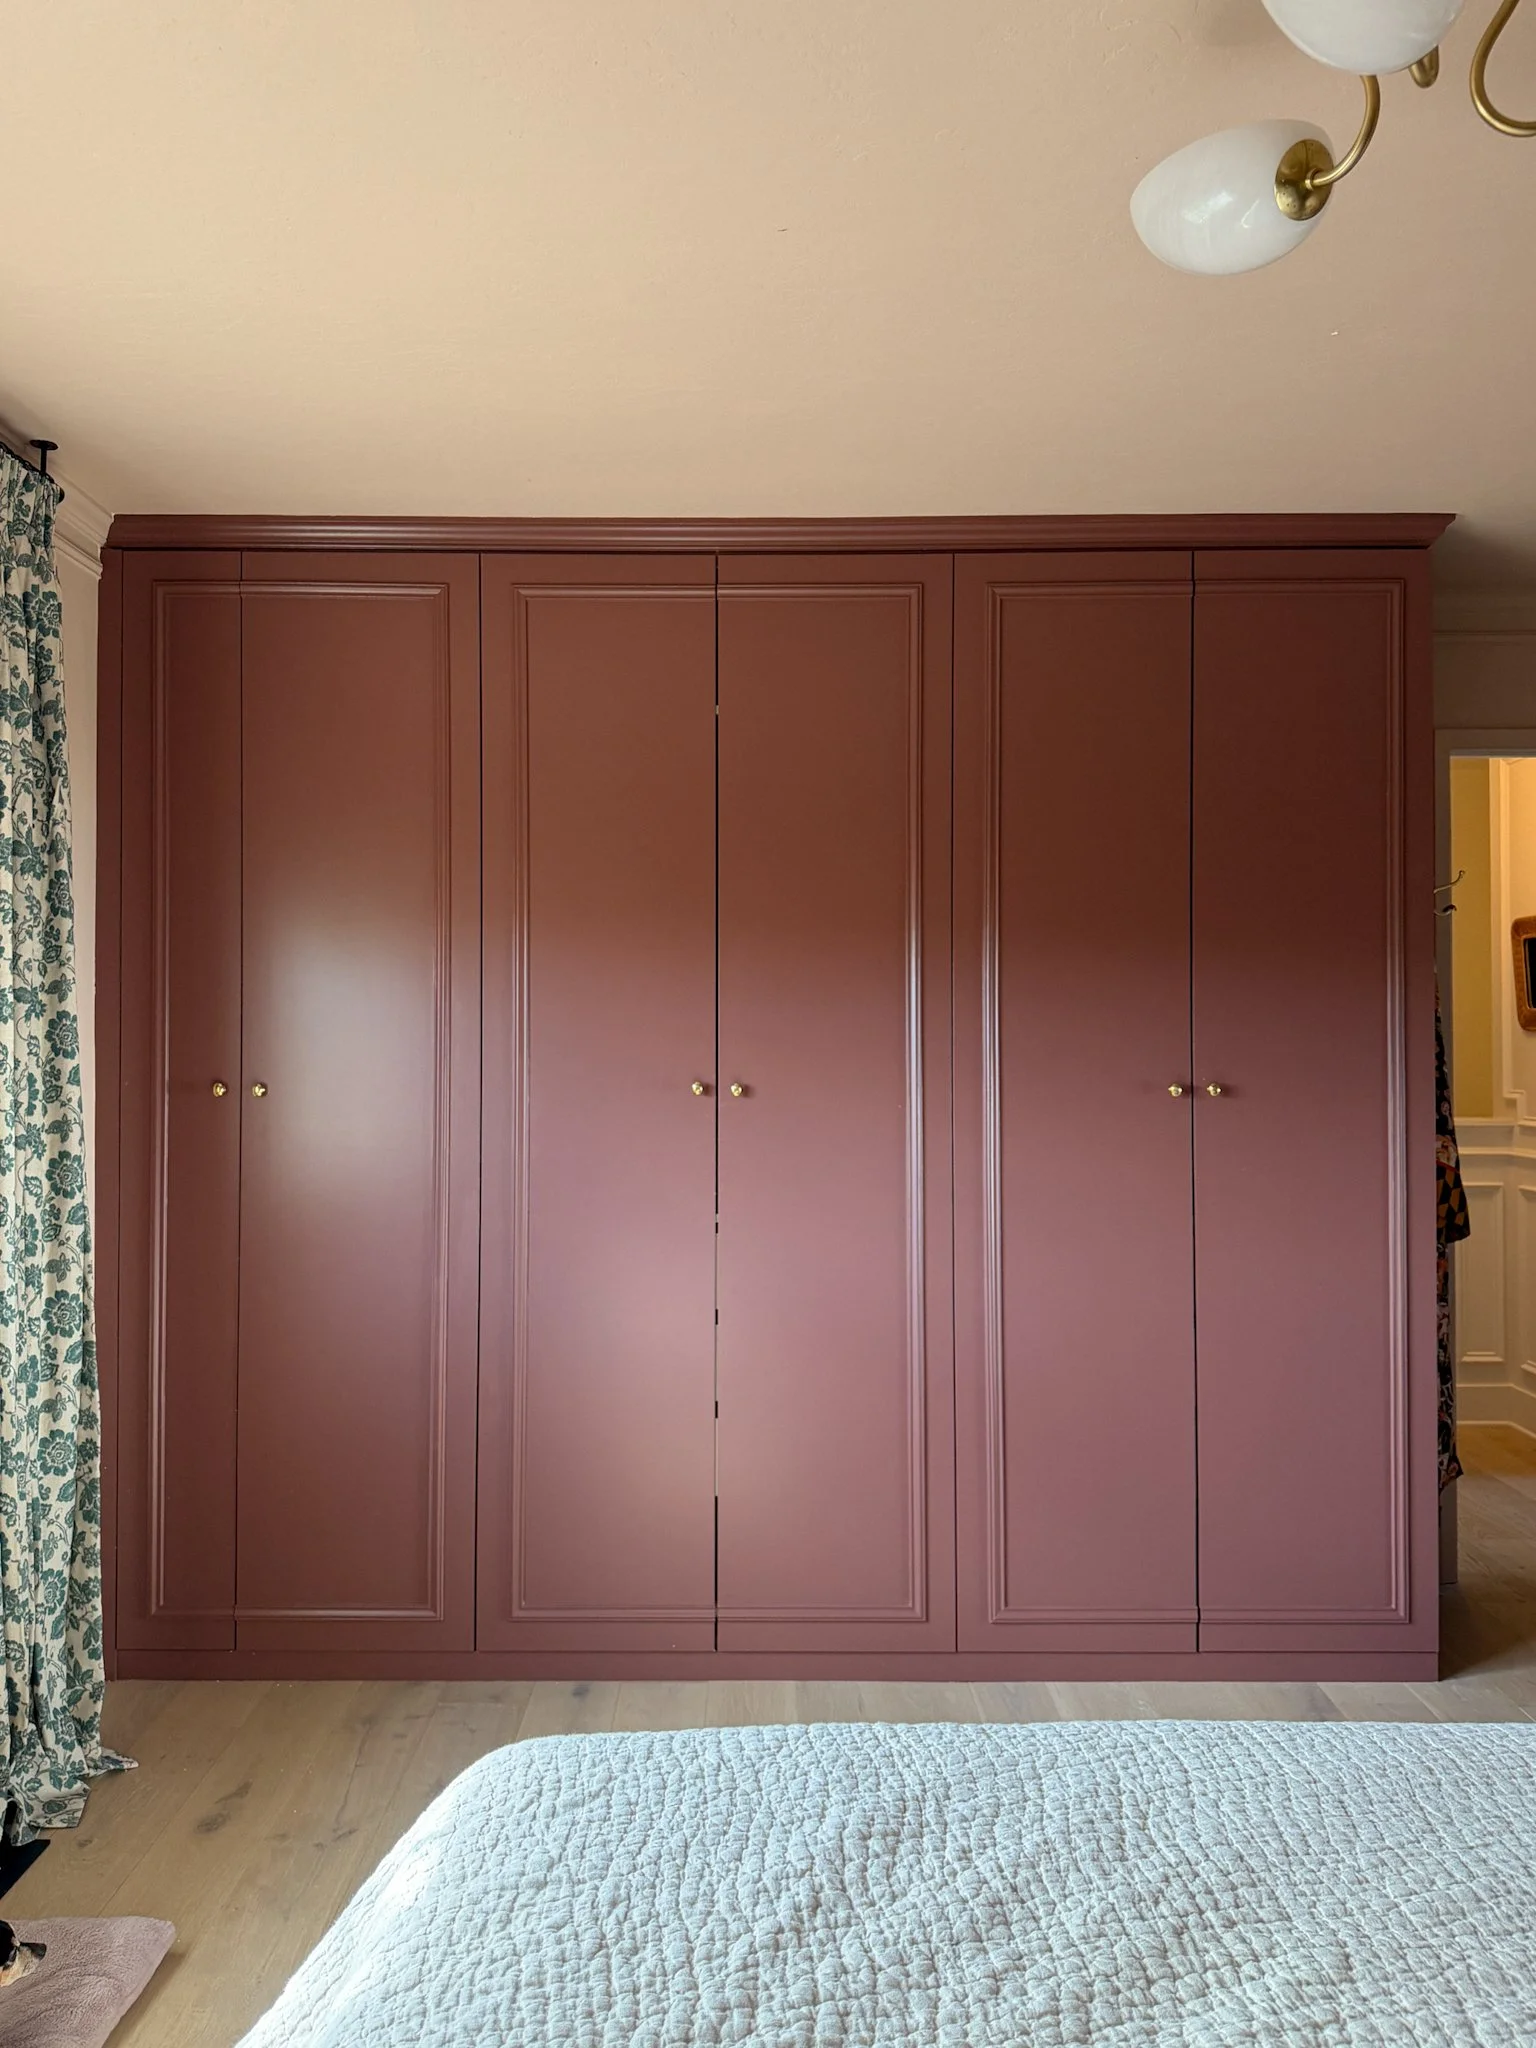
From the beginning, I didn’t want it to scream I bought this yesterday and assembled it with an Allen key. I wanted something that looked like it had always been part of the house. So the plan became to install the wardrobes wall-to-wall and then treat them like custom cabinetry.
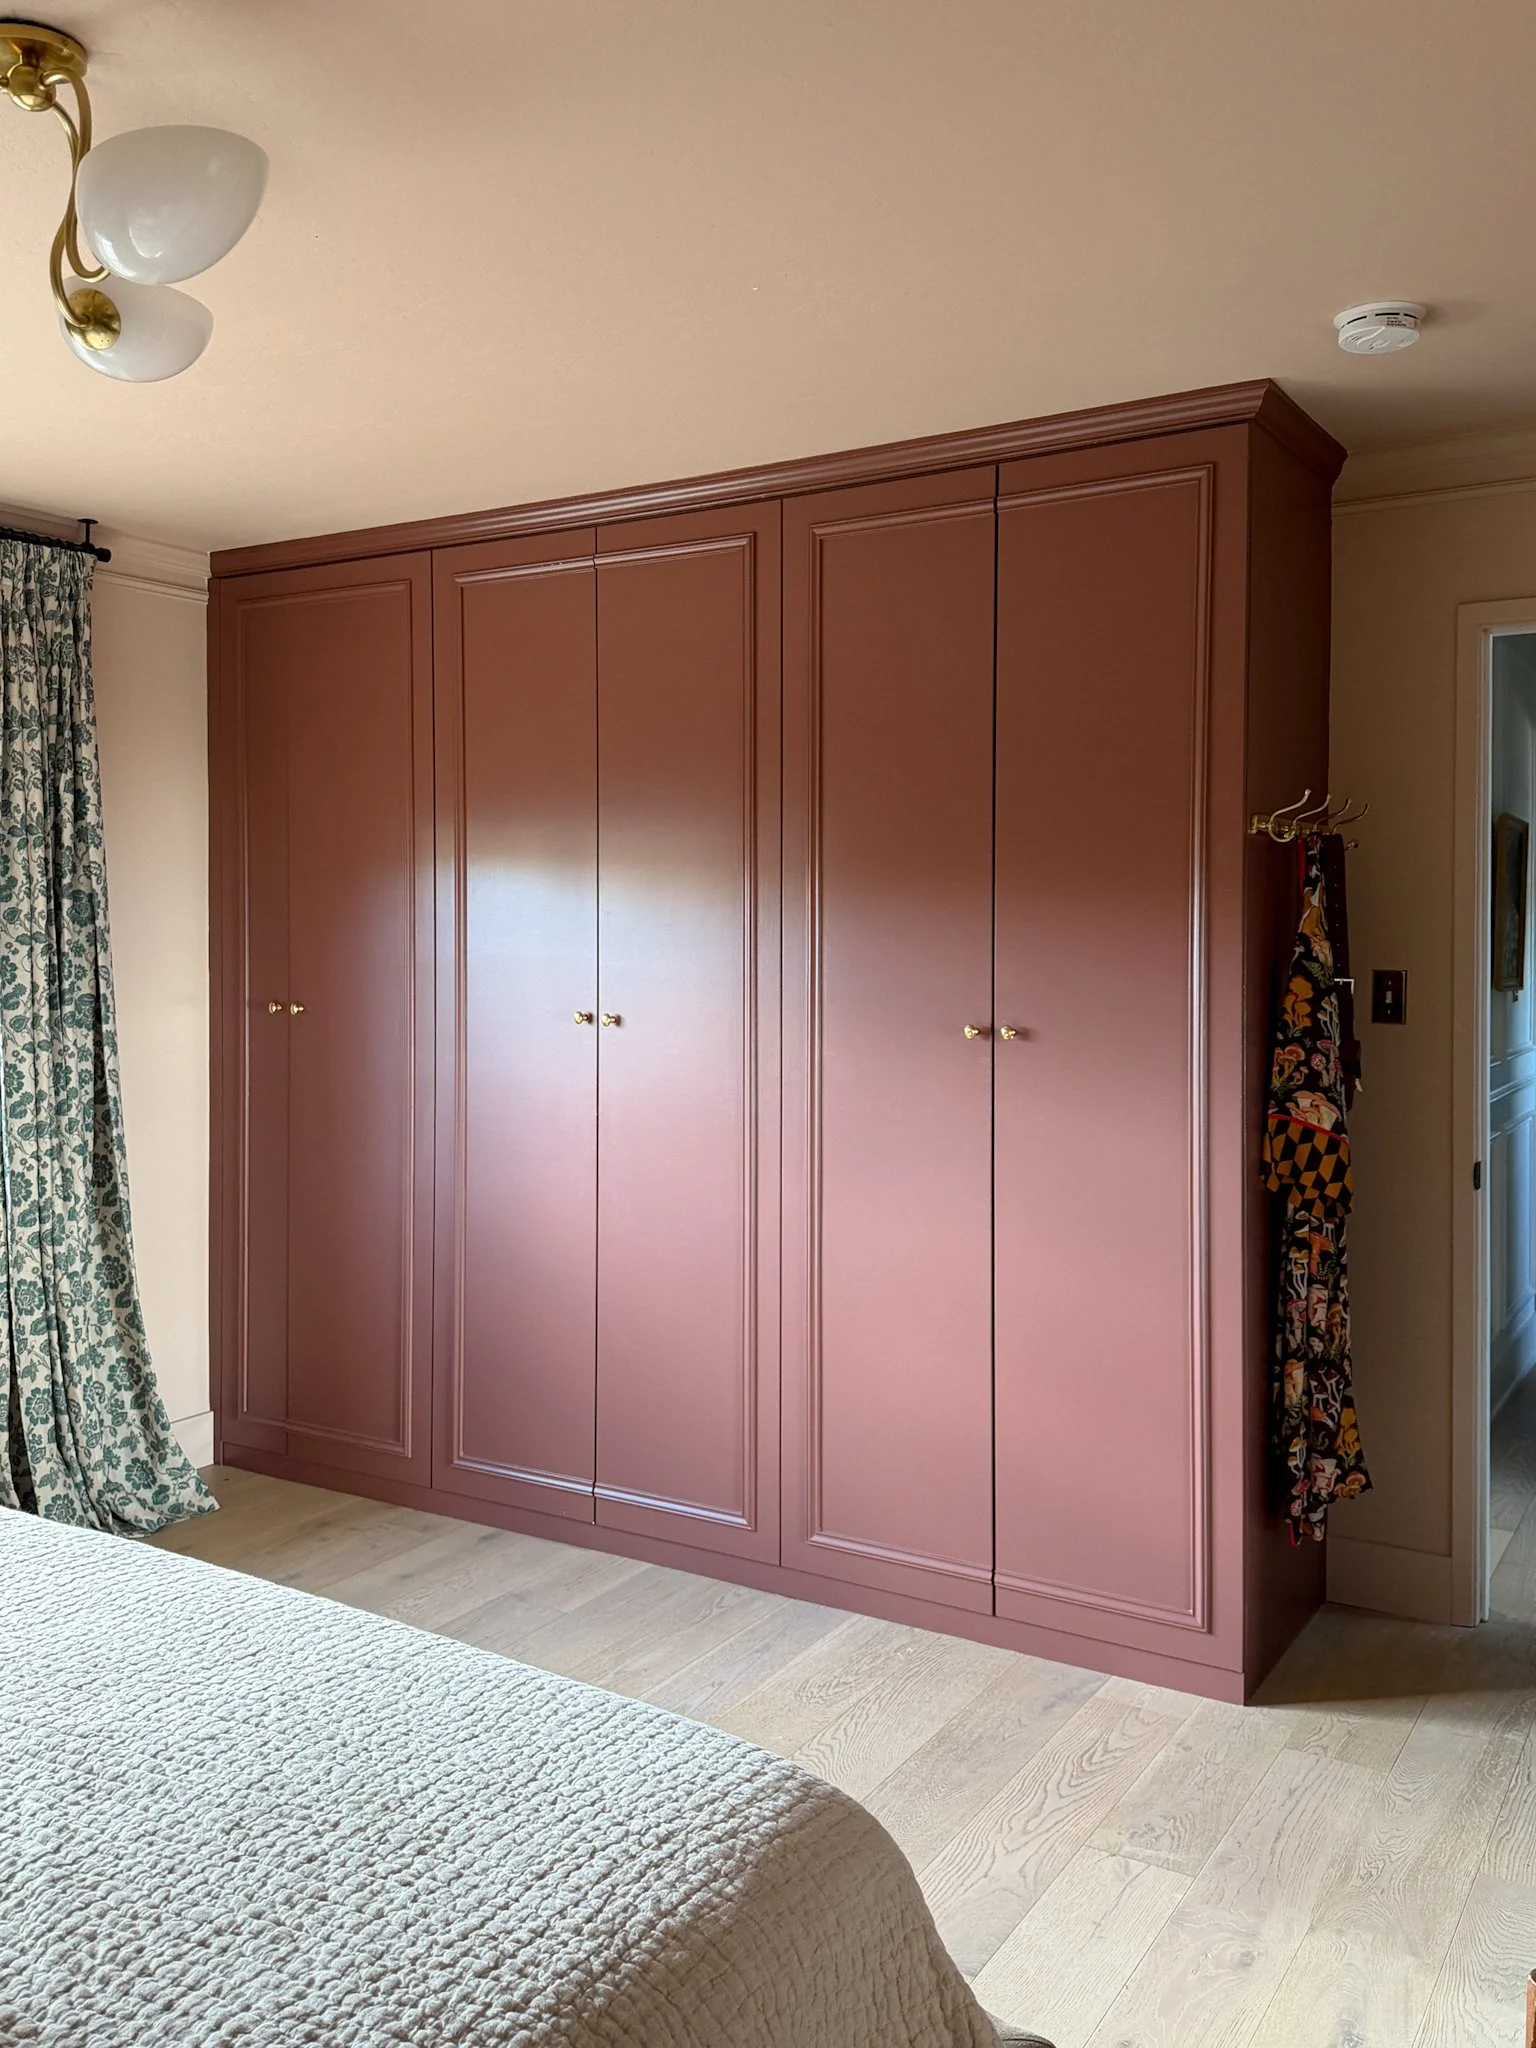
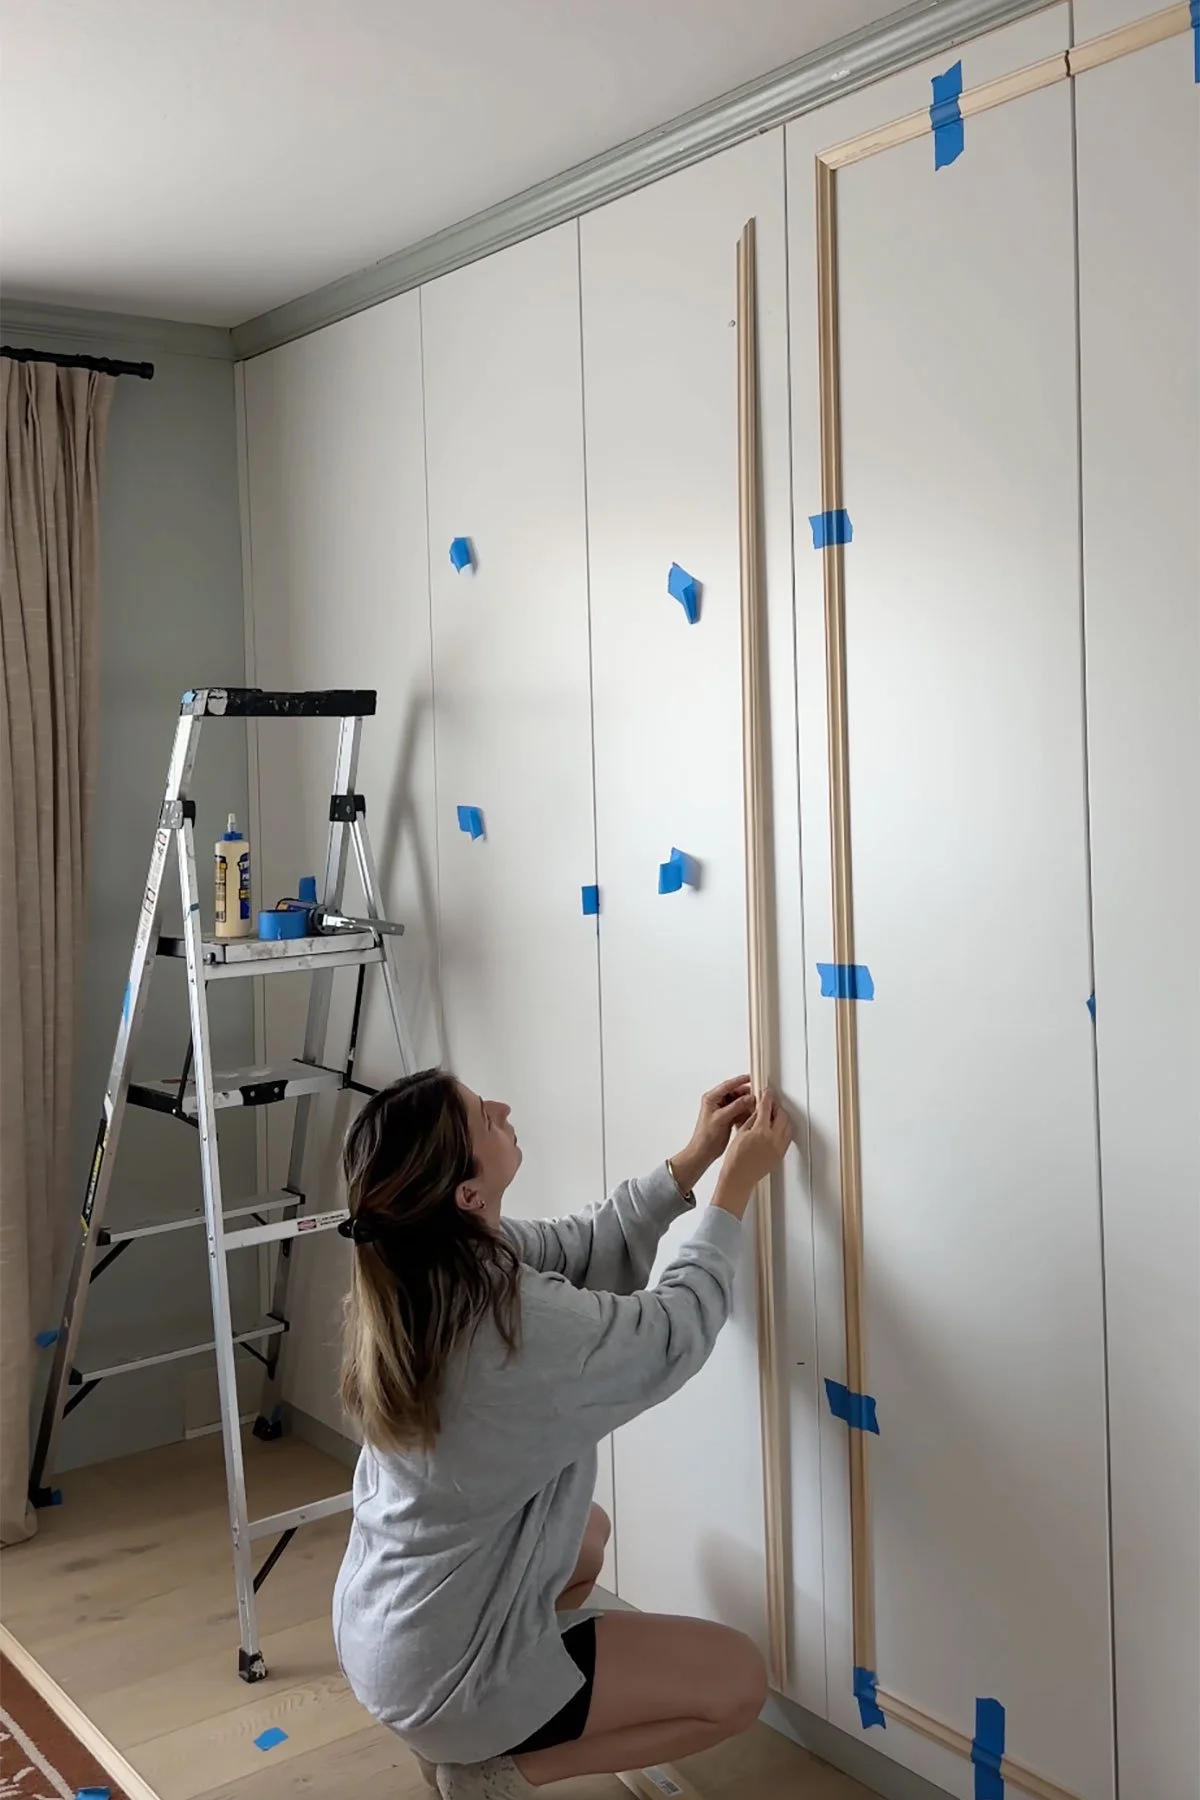
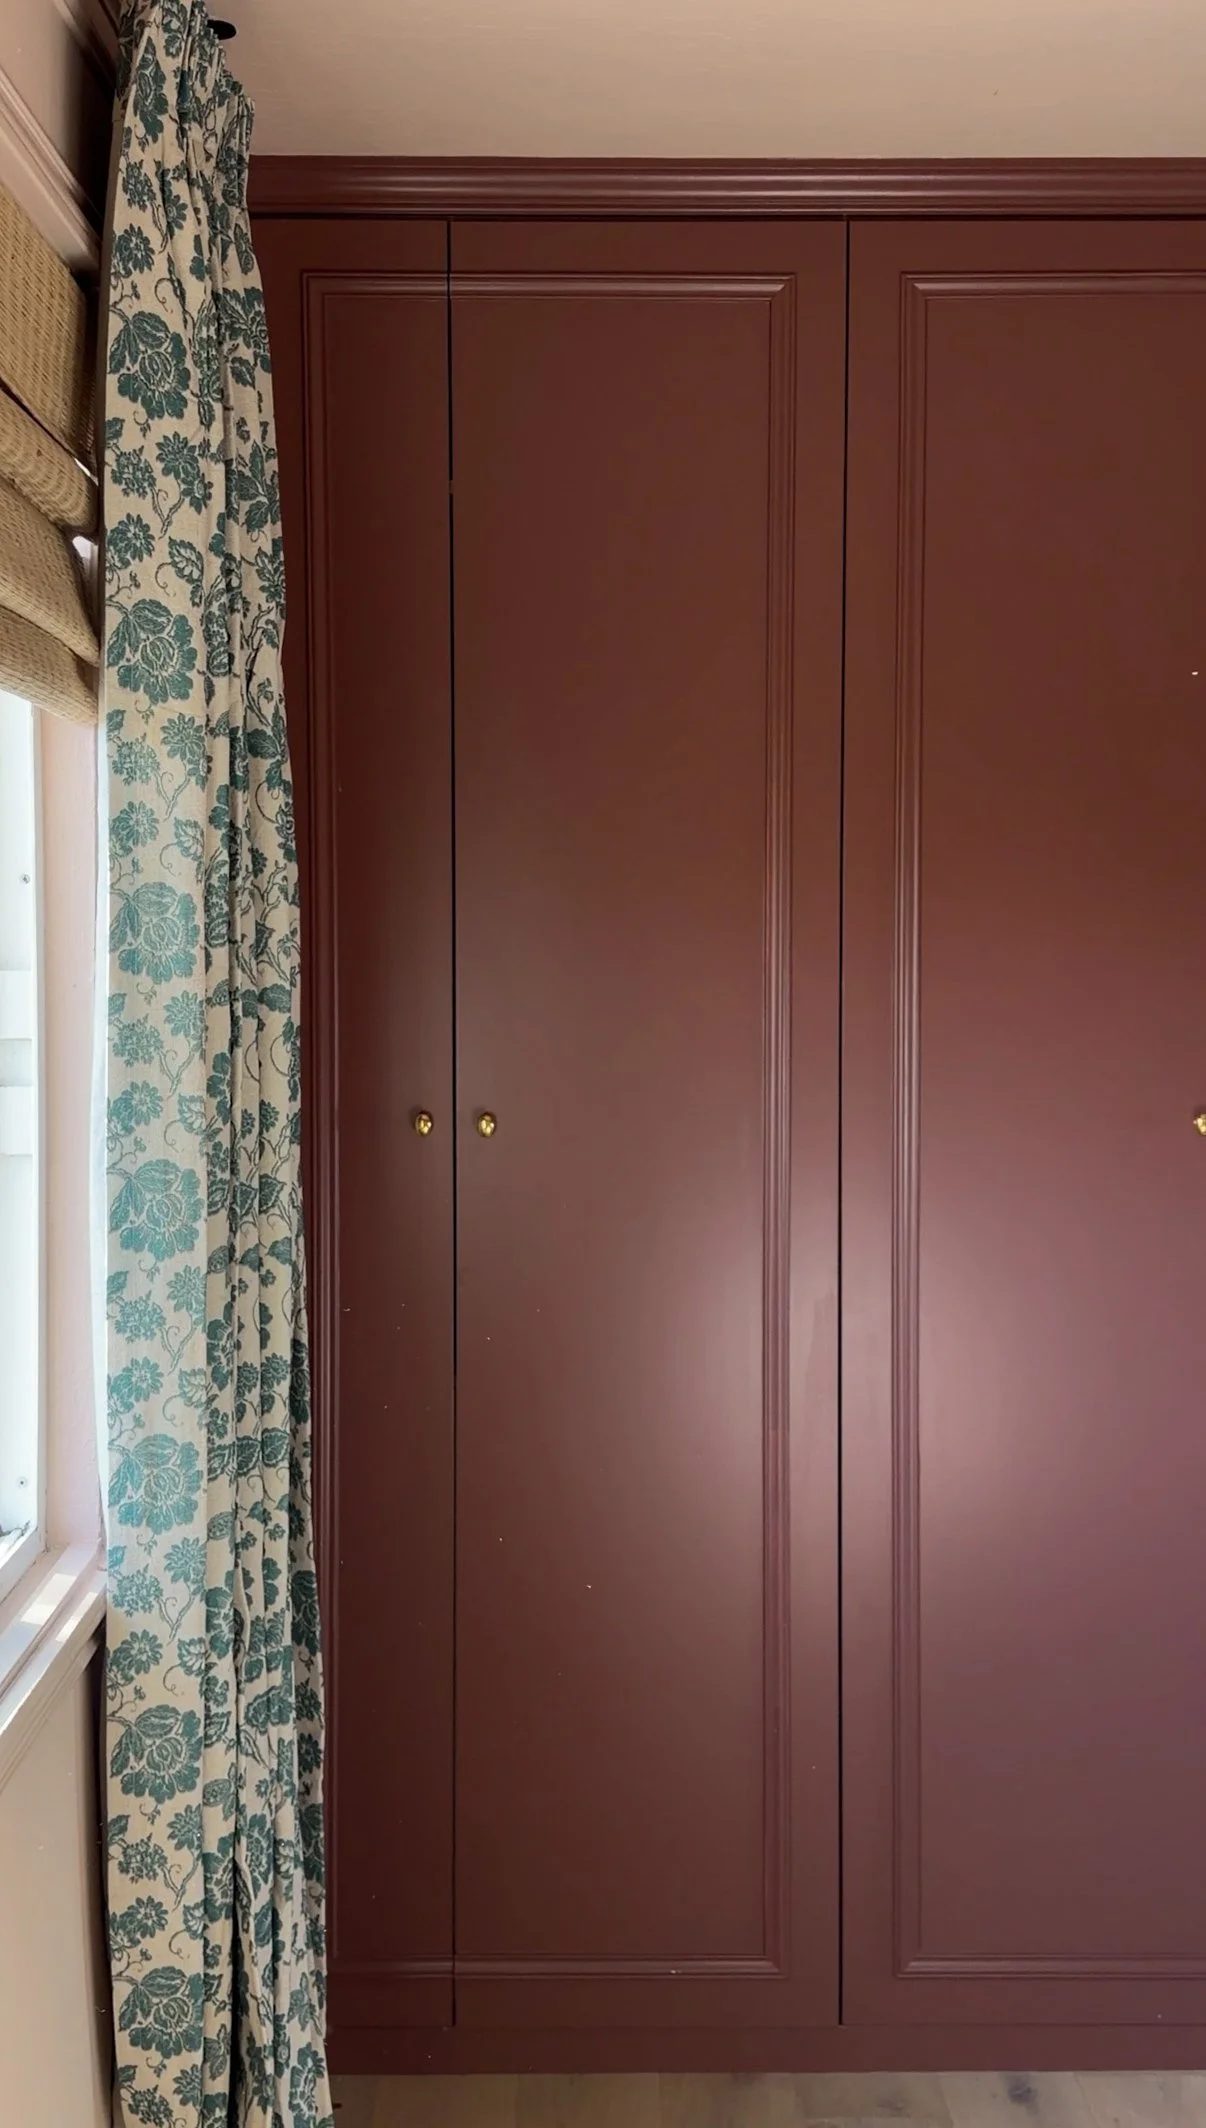
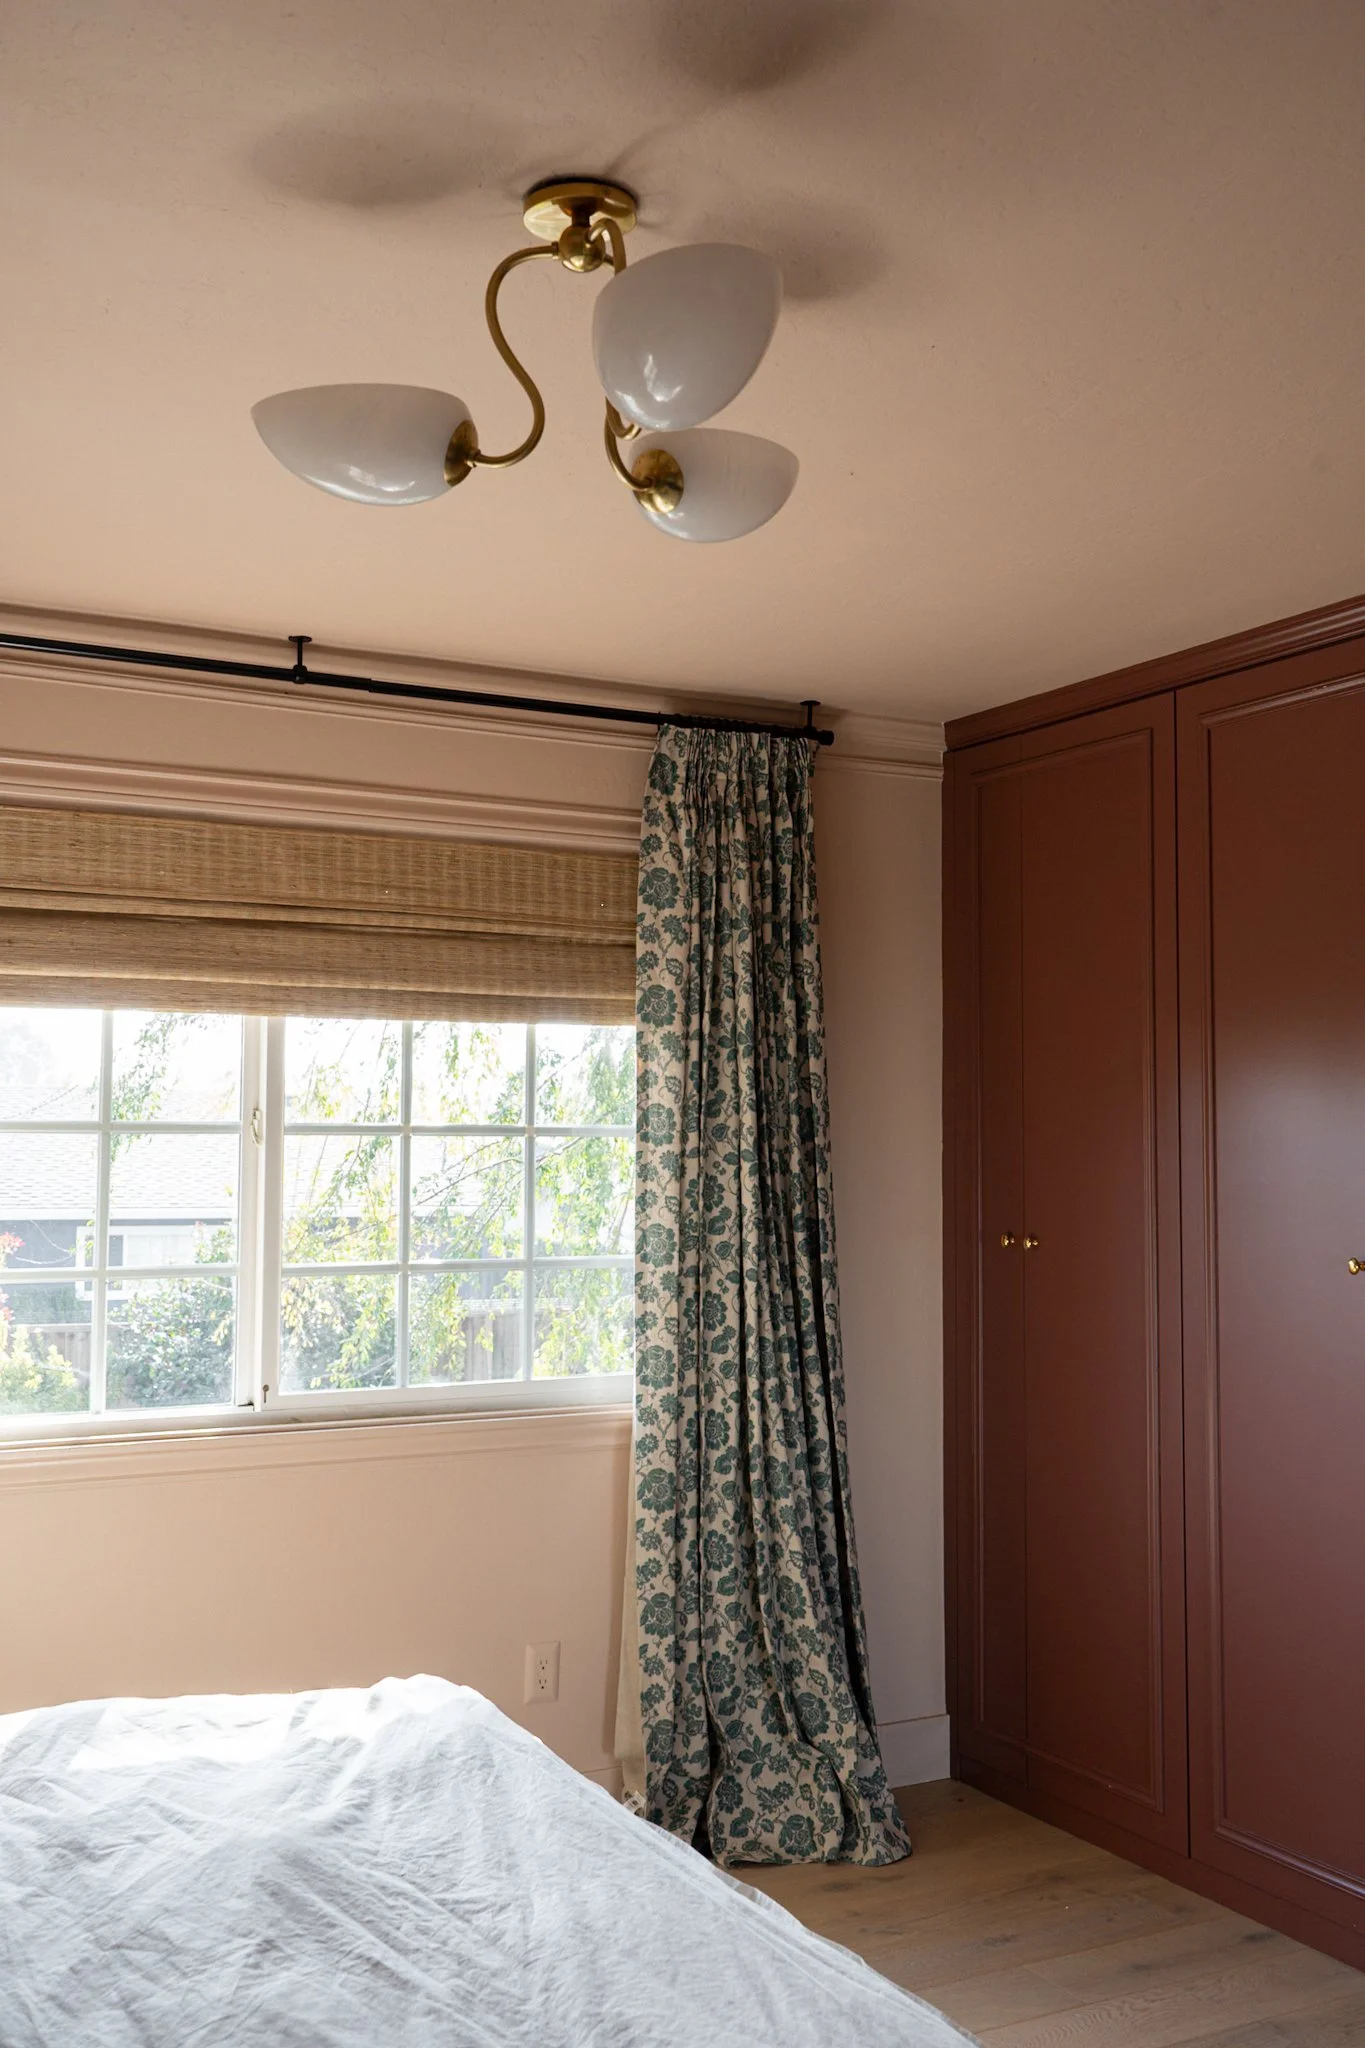
Once the PAX closet was installed and seamless with the crown molding, we added molding to the doors. As soon as the trim went up, the transformation was immediate. The wardrobes no longer looked like standalone units, but like true built-ins.
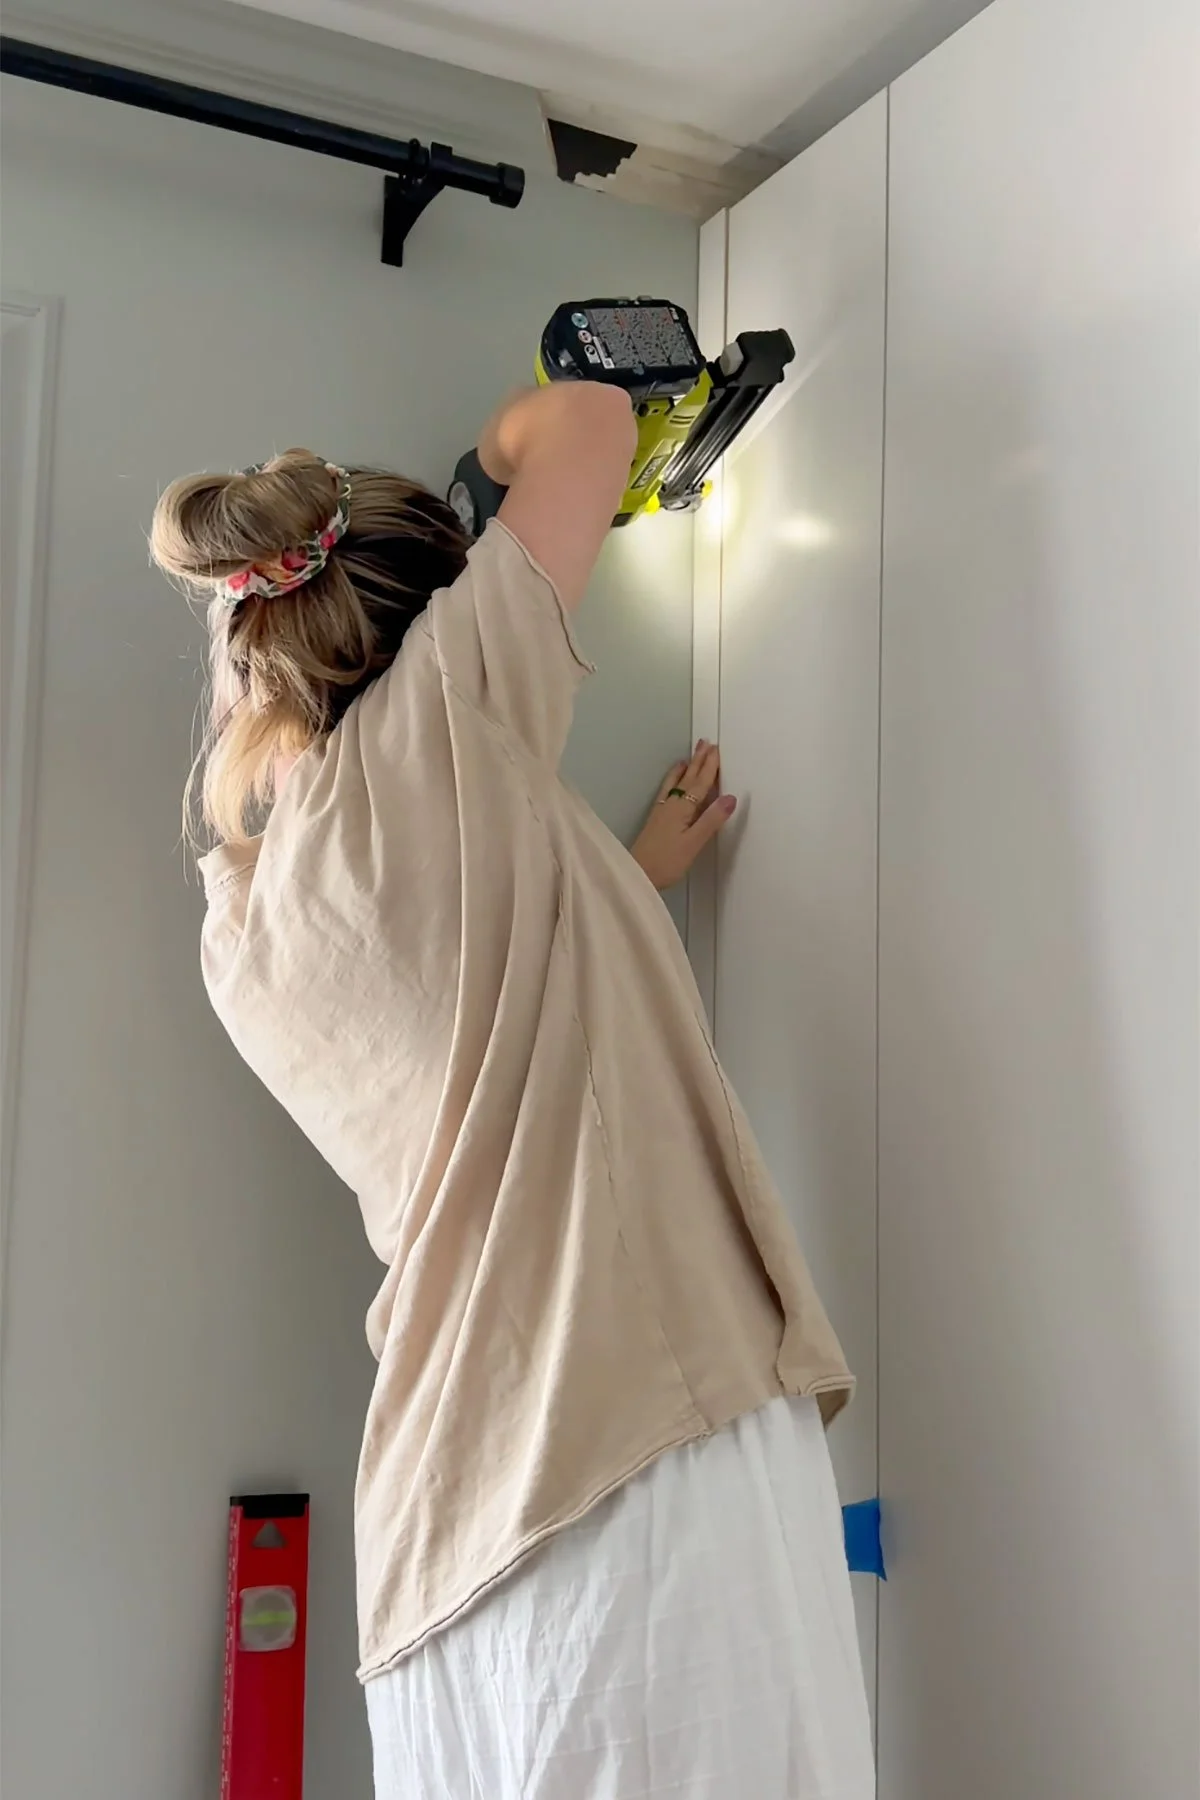
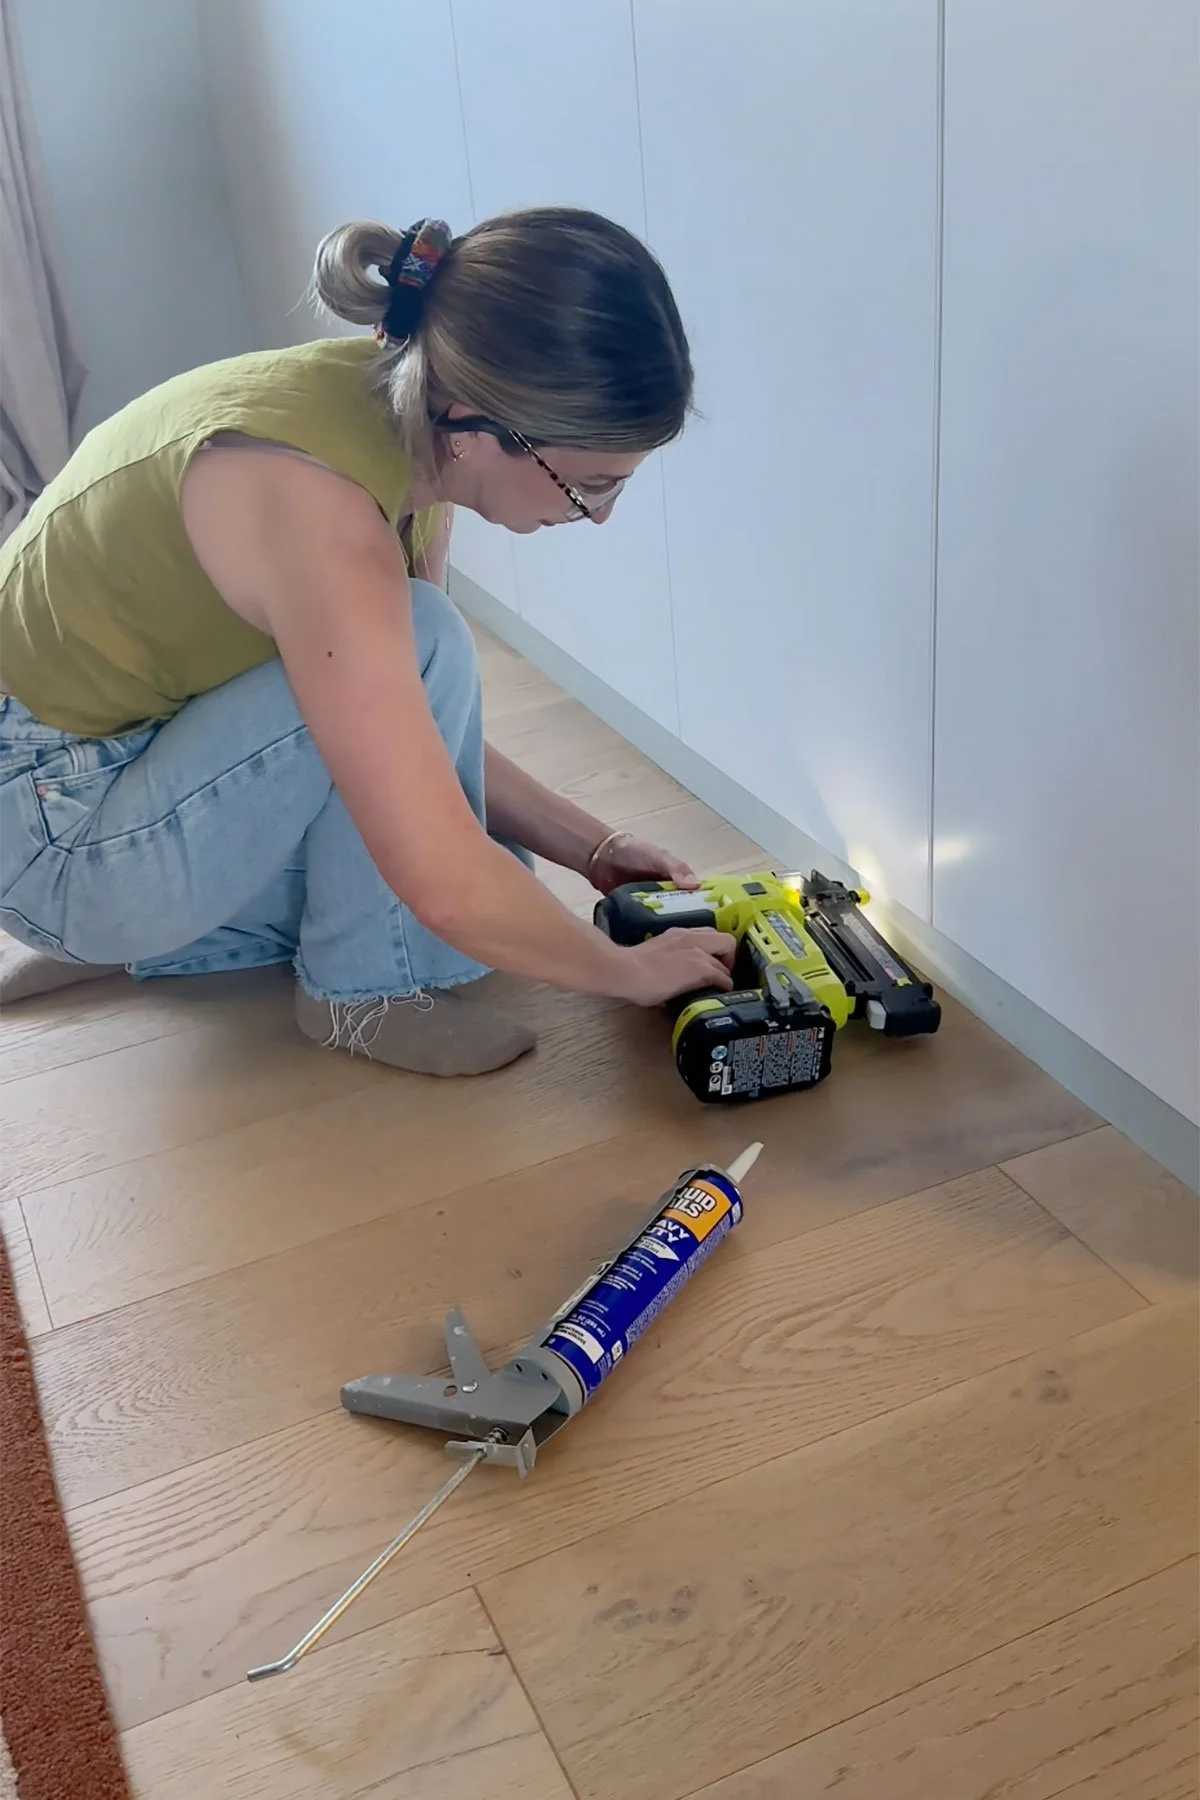
We used 2x4 pieces cut to the same depth as the closet base to act as spacers, then secured those spacers to the wall. After that, we nailed a piece of trim over the gap to finish and hide everything neatly.
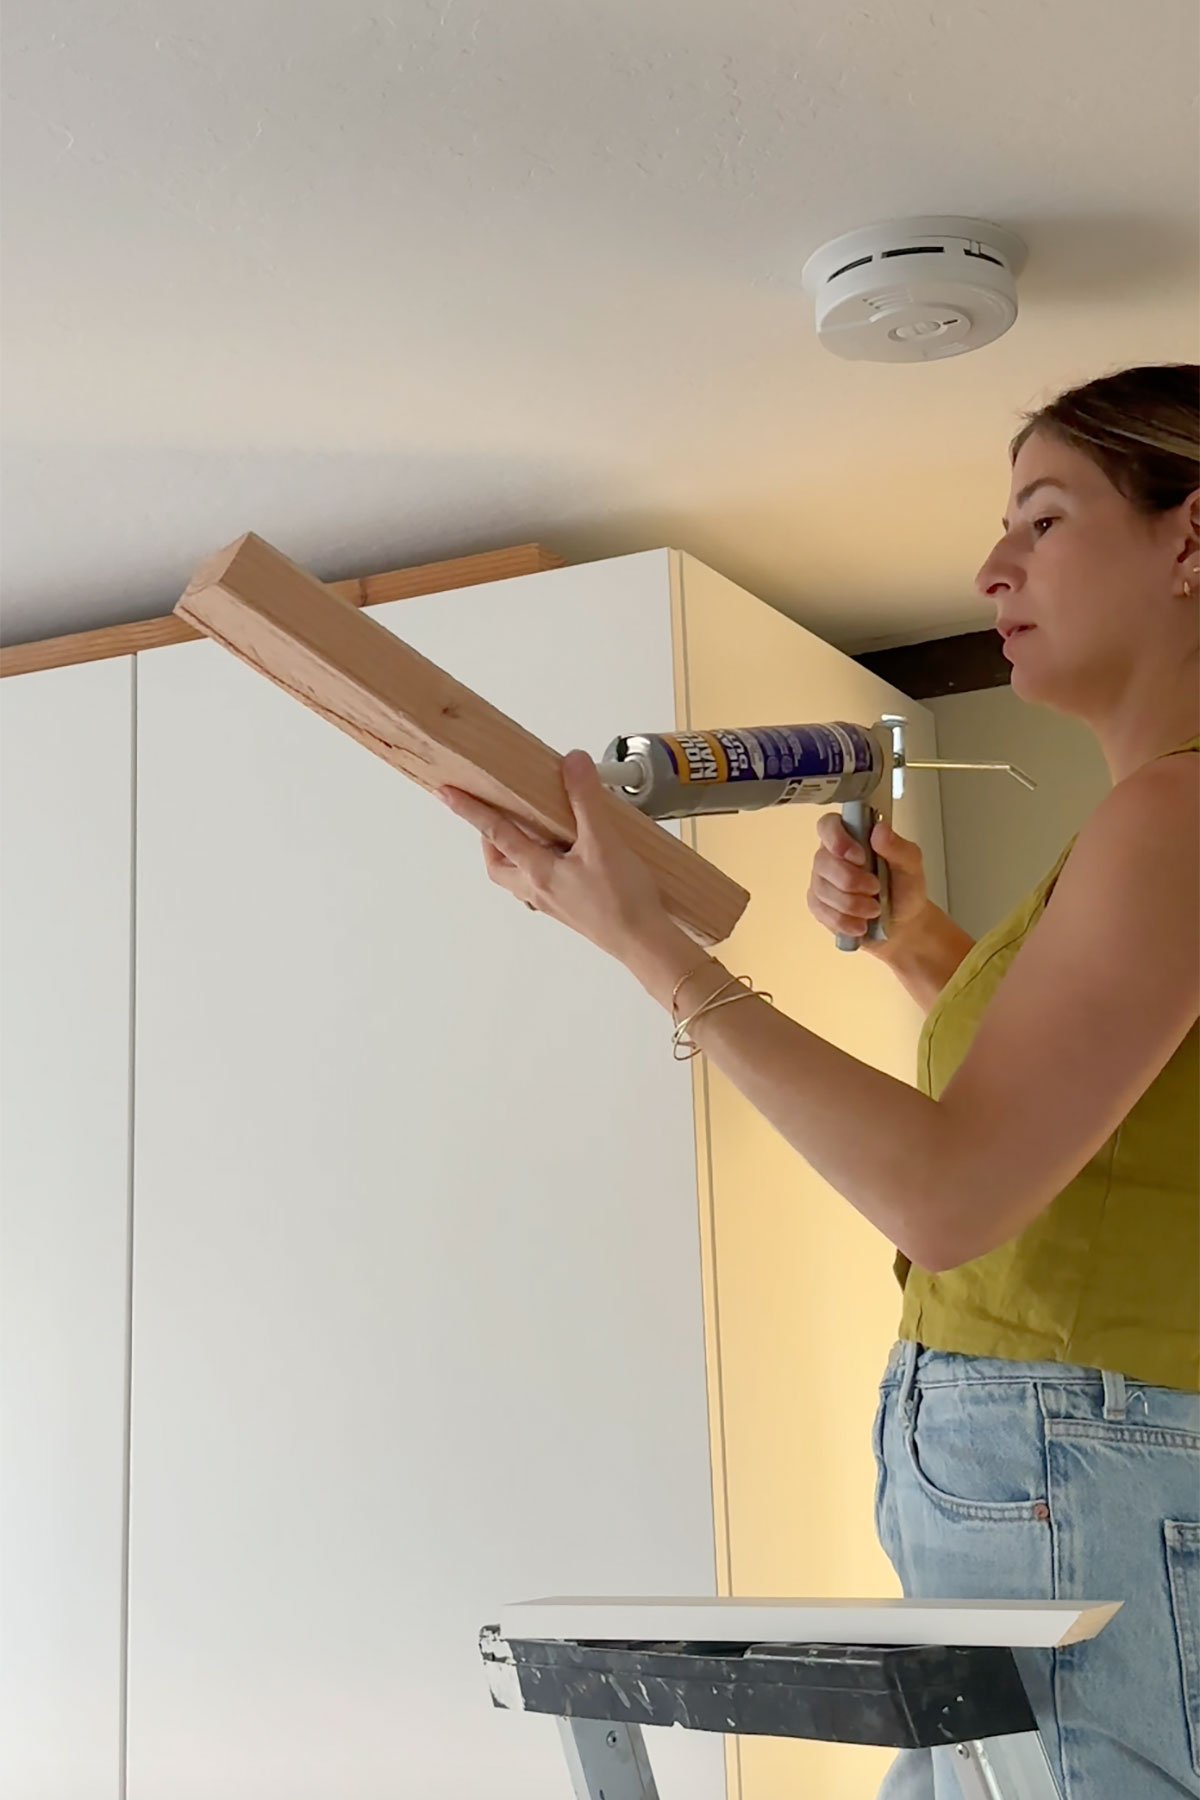
For the top section I glued scrap pieces of wood to the top of the cabinet using construction adhesive, making sure each piece sat flush with the closet frame (not the doors). These scraps became my surface for nailing down the crown molding. With our 8' ceilings this solution worked perfectly and eliminated the need to build a base at the bottom. For taller ceilings you can use a similar approach (like the IKEA hack I did in our kitchen) to achieve the same finished look.
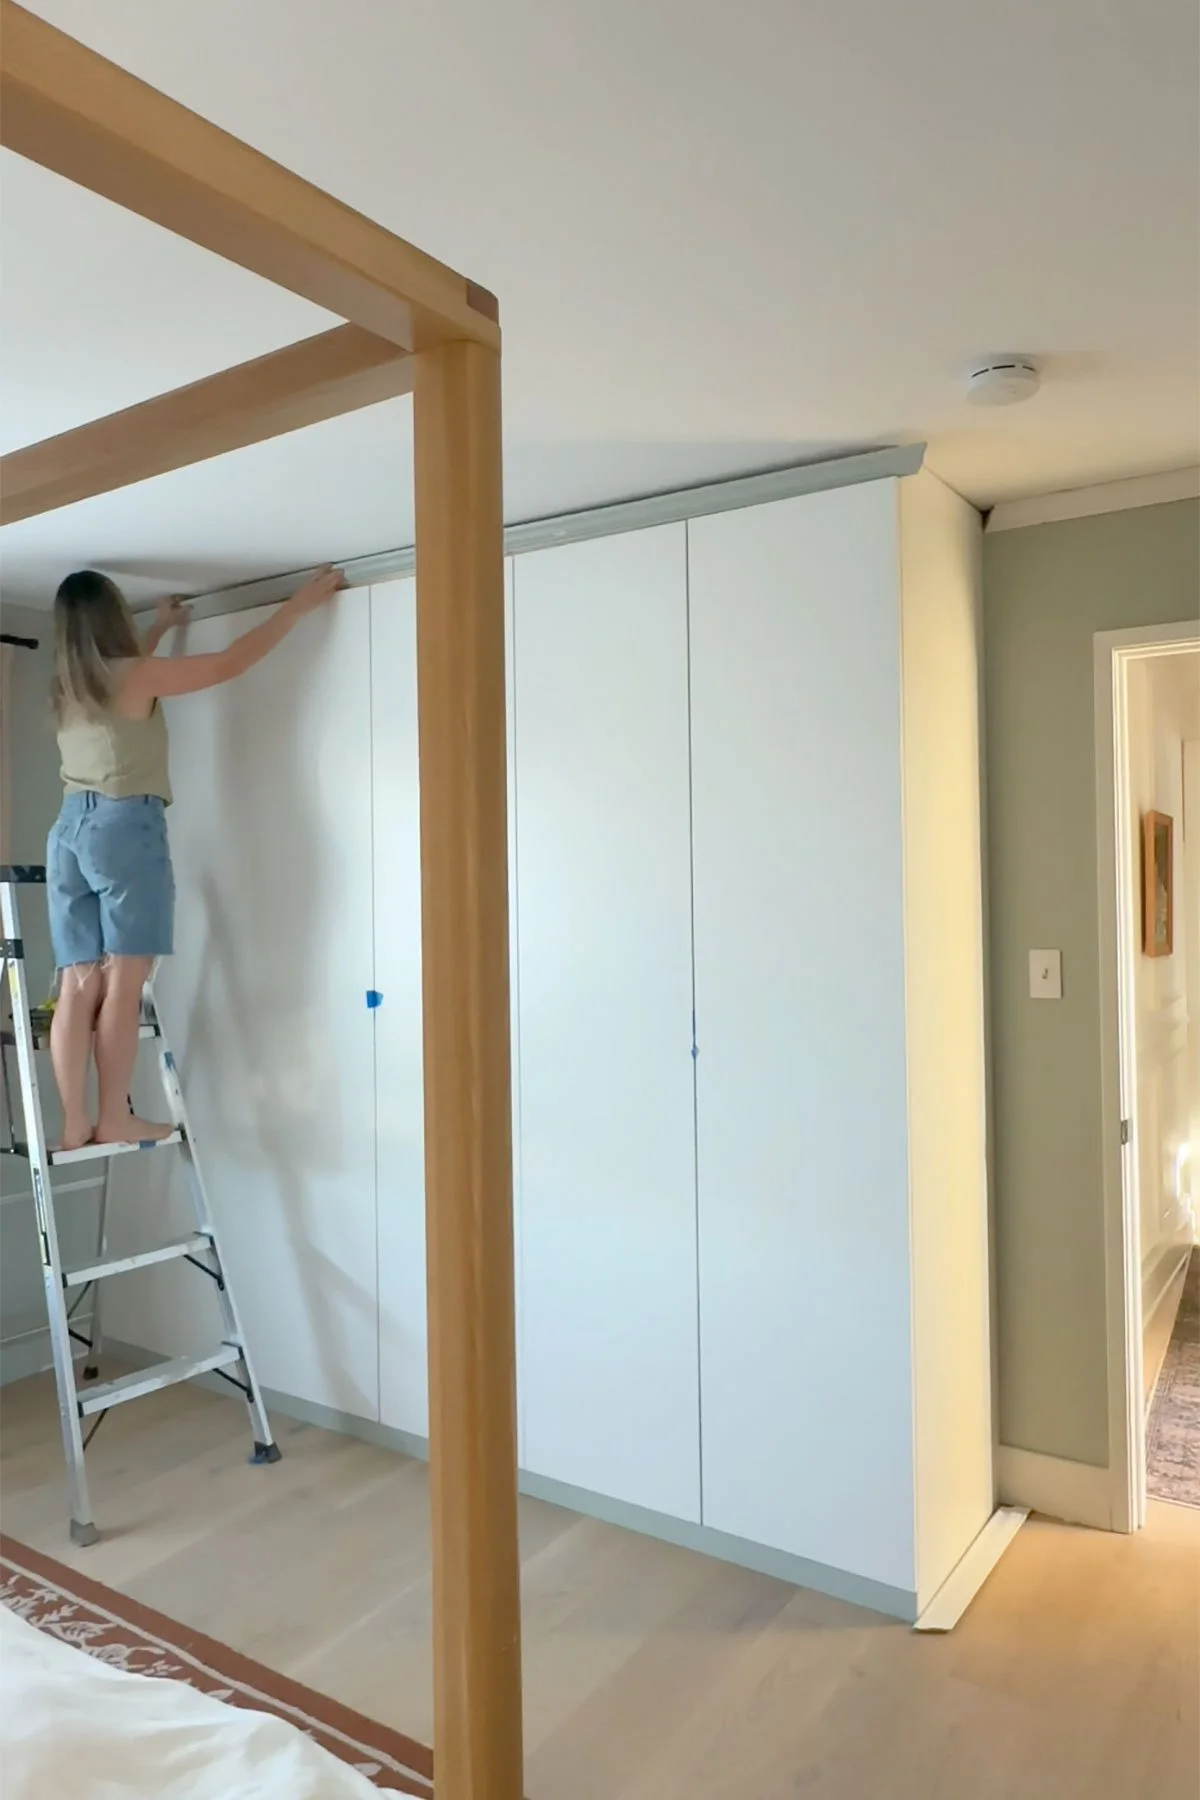
Adding crown molding.
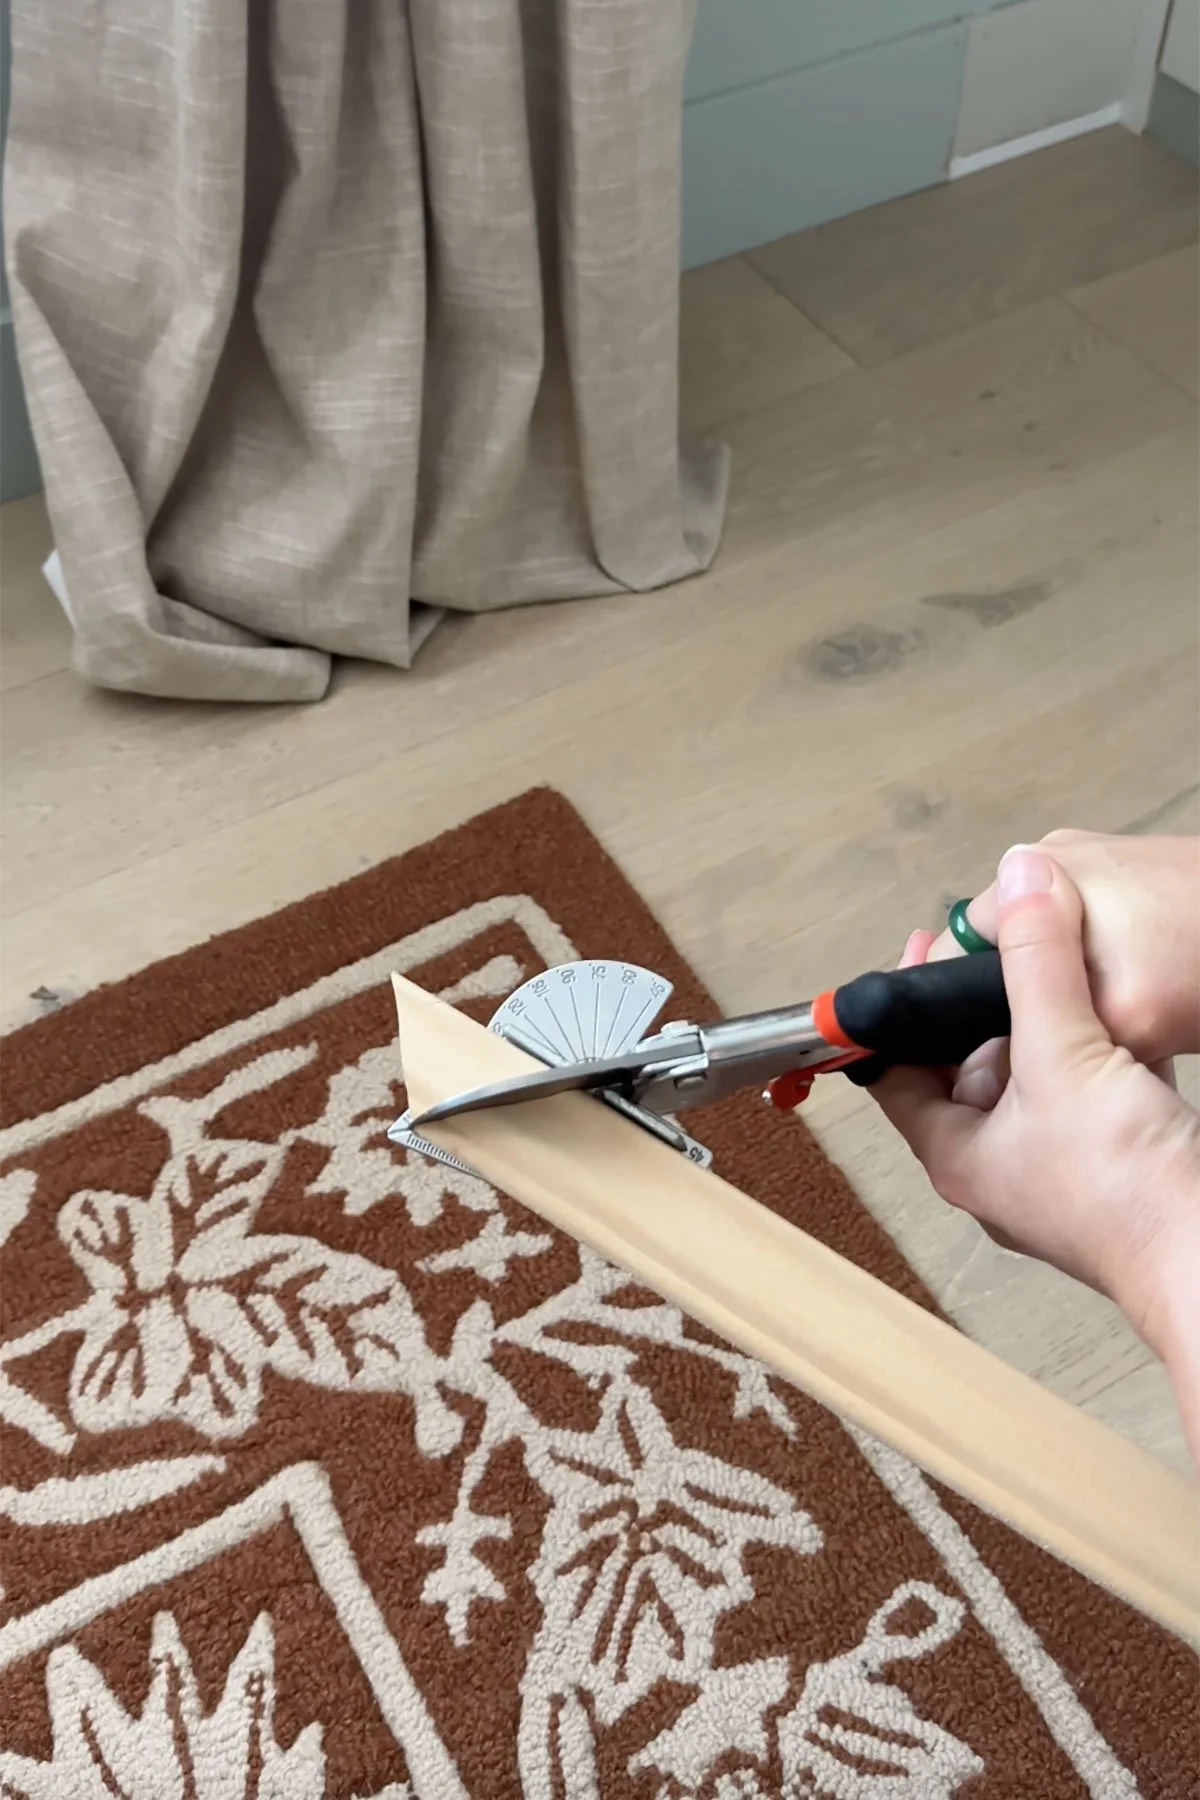
These miter shears worked really well for this thinner molding, though just a heads-up, the angle cuts aren’t perfectly precise. If you have access to a miter saw, that would give you the cleanest, most accurate cuts.

Instead of nailing each piece of molding, I opted to use construction adhesive and tape to hold everything in place while the glue dried. After that, I smoothed caulk along the seams to create a clean, finished look.

Part 3: The Color
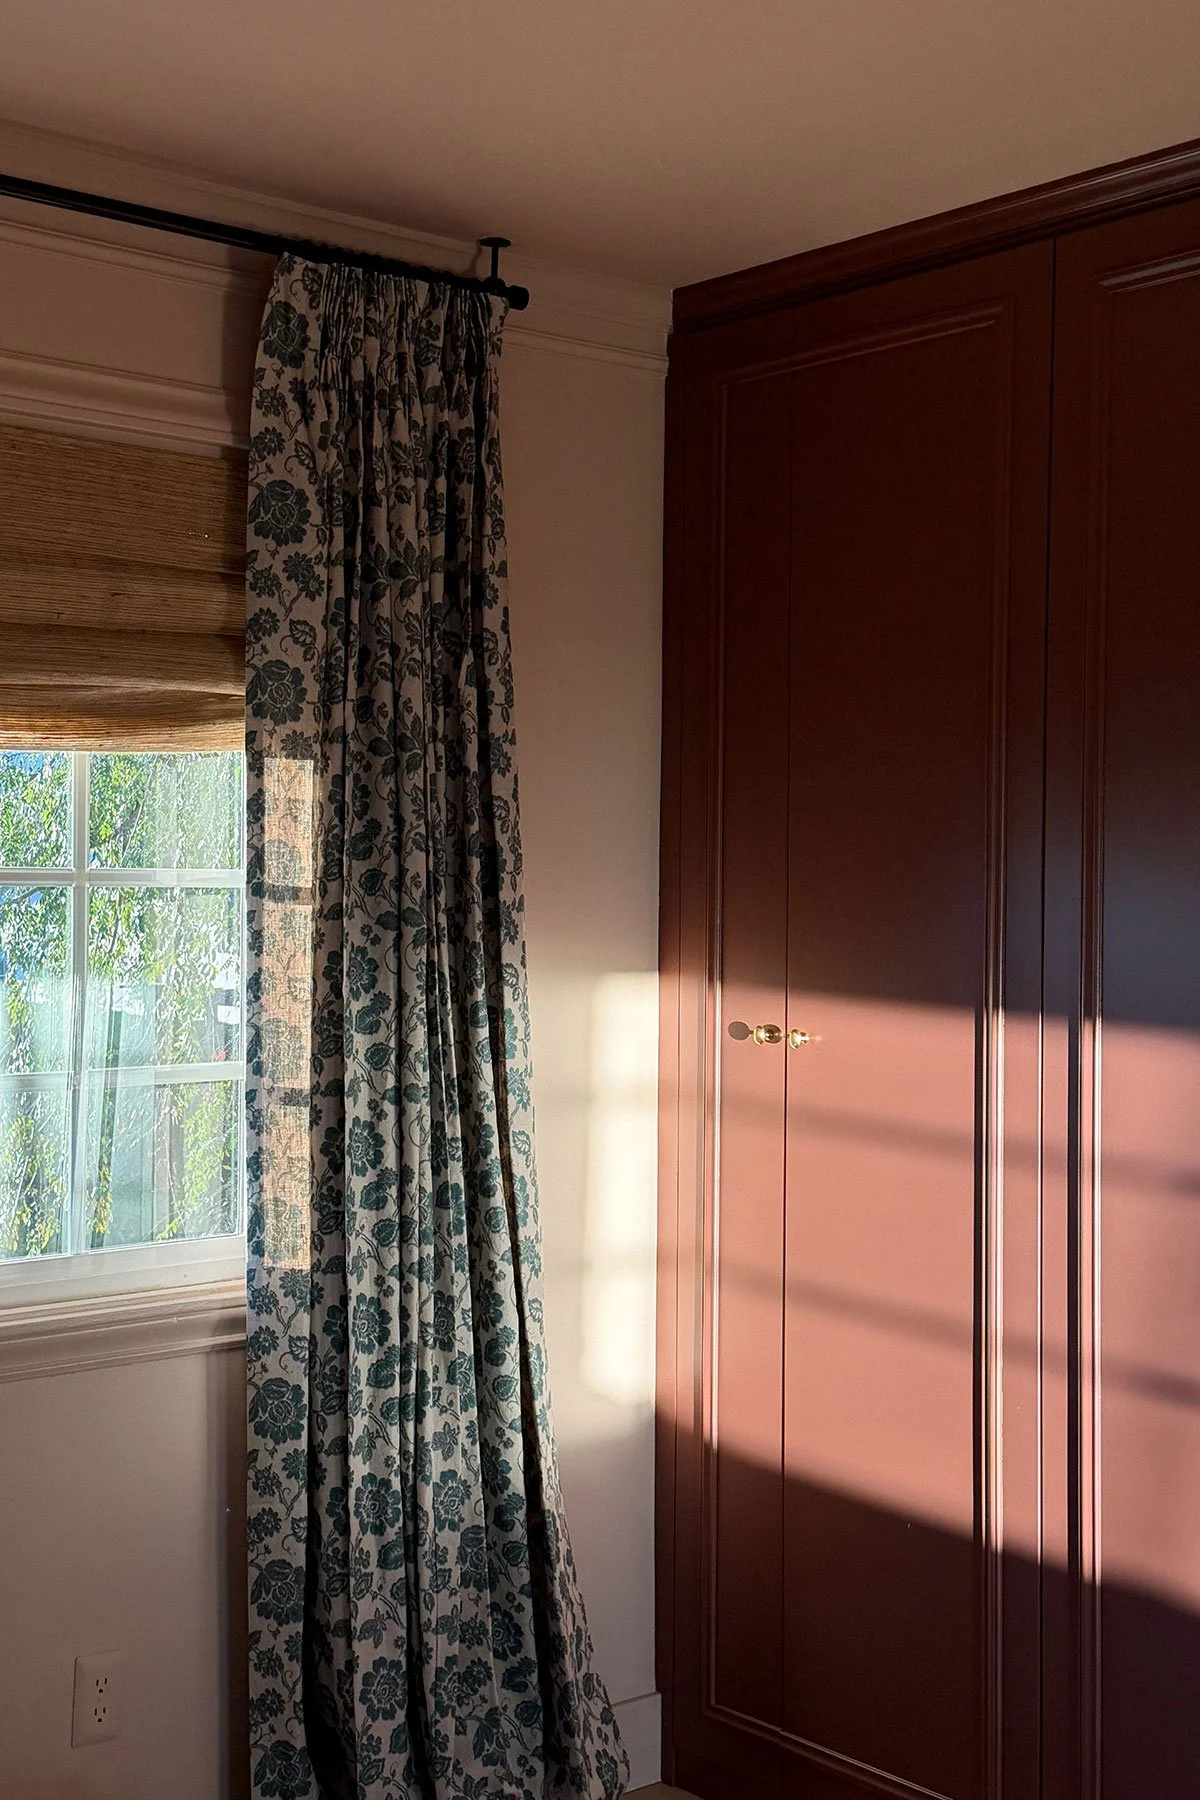
As always, my favorite part is picking the color. For this project, I was going for a reddish-brown tone, so I tried a few samples to get an idea of how it would look. I love using peel-and-stick paint samples because I can move them around and see the colors in different lighting throughout the day.

Love these Peel-and-stick samples! mess free and I can re-position and move them around over and over again
There are so many different methods out there for painting this specific IKEA material, but they all seem to agree on one thing: use a good bonding primer. So the basics are simple: clean well, lightly sand, prime, and finish with a high-quality paint.
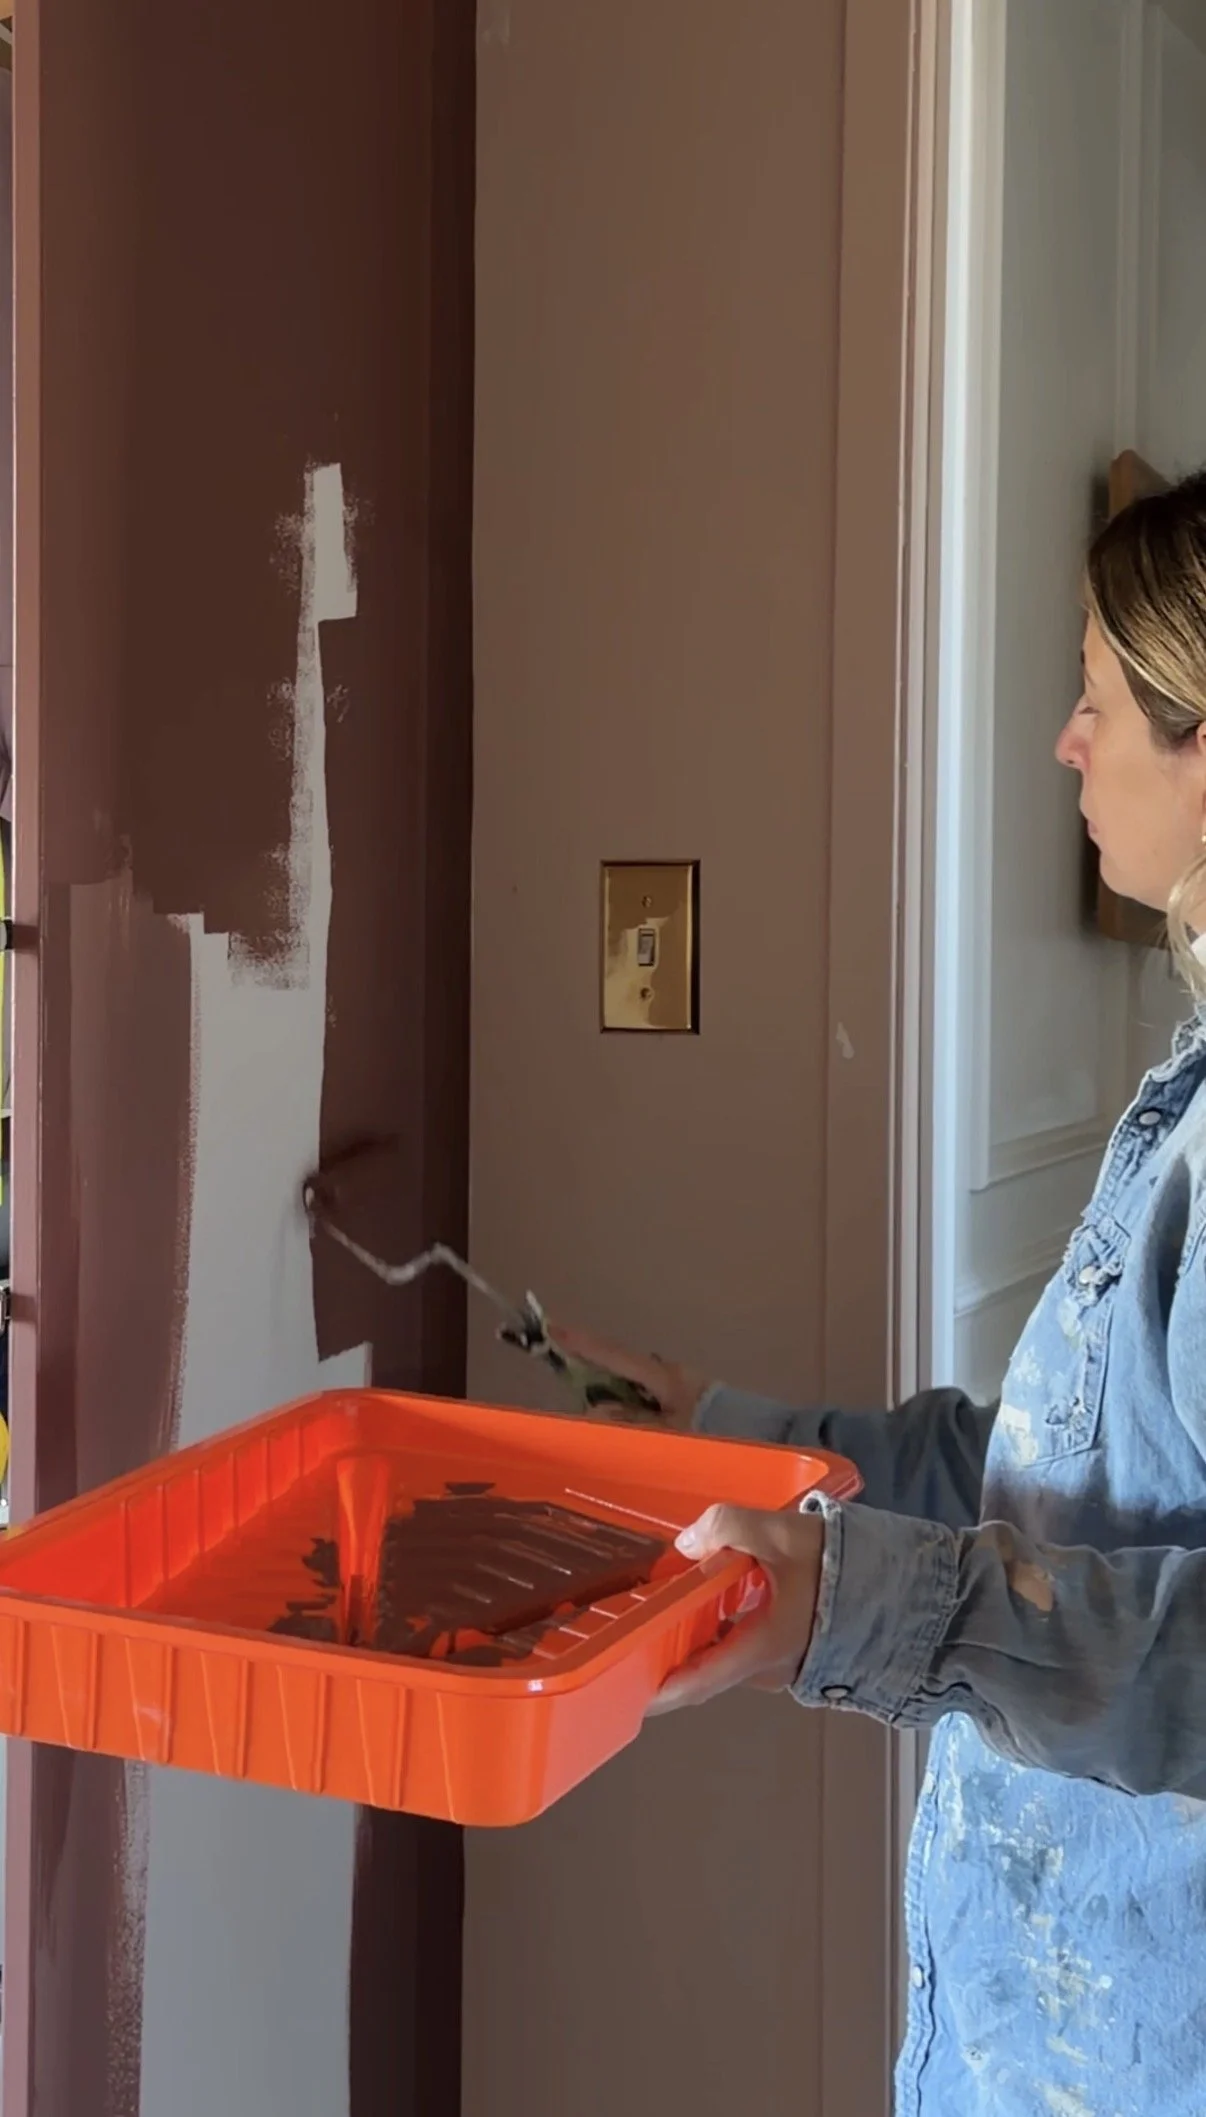
After lots of overthinking between two color options, I decided to go with New England Brown. I loved the color itself, but once I started painting, it looked so much lighter than I expected. It looked beautiful in one tiny corner, but when I stepped back and saw it across the entire wall, it felt too pink for the space.
So I pivoted and went with my second choice: Pueblo Brown by Benjamin Moore. I am obsessed with the color.
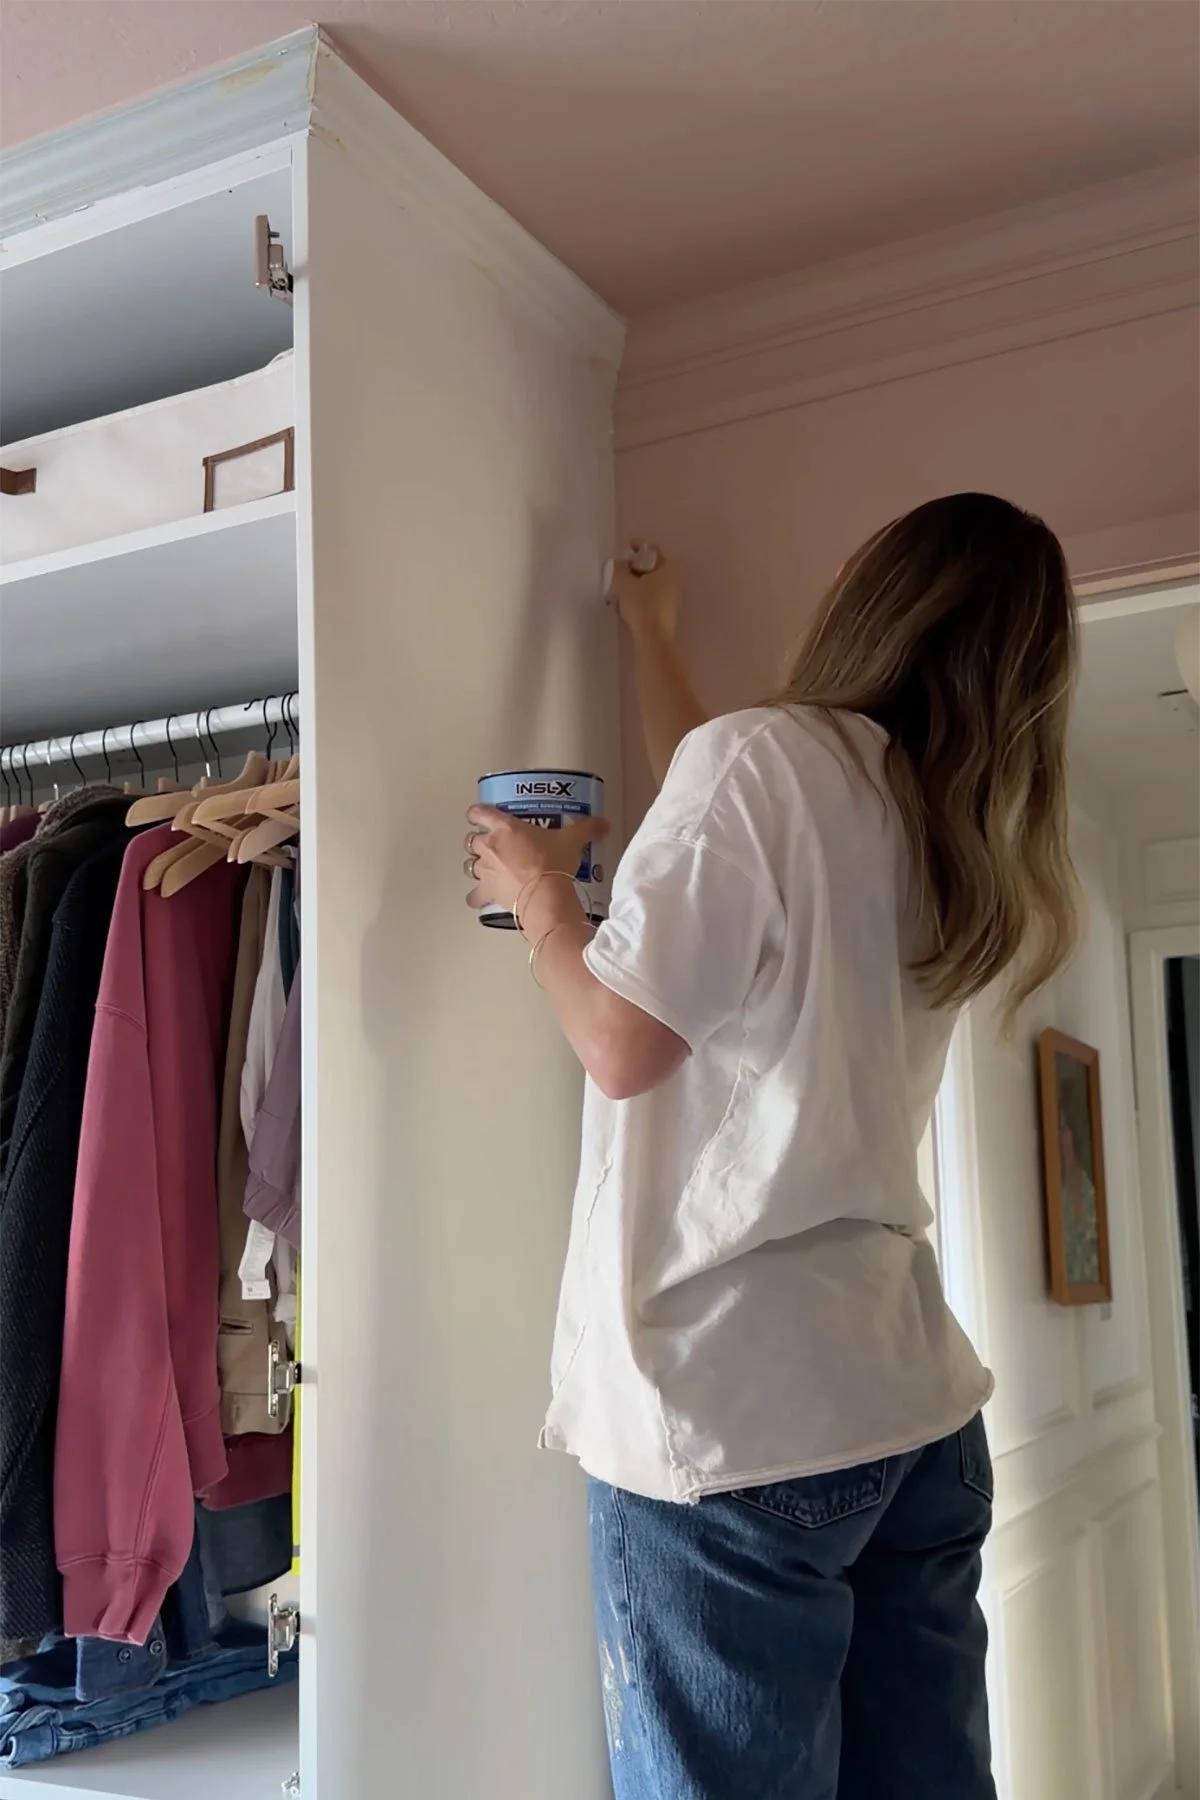
Applying bonding primer.
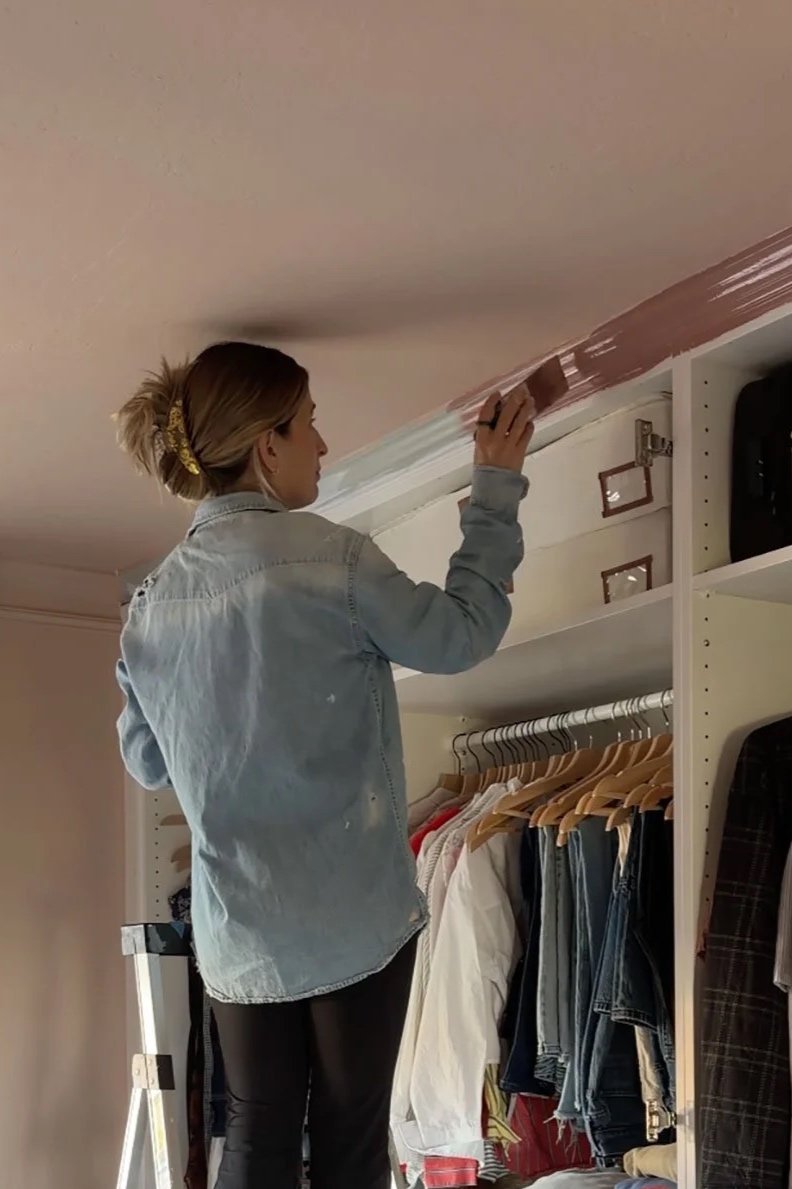
Painting the first option: New England Brown.
Painting the second and final option: Pueblo Brown by Benjamin Moore.
Part 4: The Final Touches
Just like you add jewelry to finish an outfit, it was time to add the hardware to this closet. As always, I went with Rejuvenation’s unlacquered brass because, as I’ve said before, I love how it naturally develops a patina over time. But this time, I chose an oval shape instead of my trusty Massey round knobs.
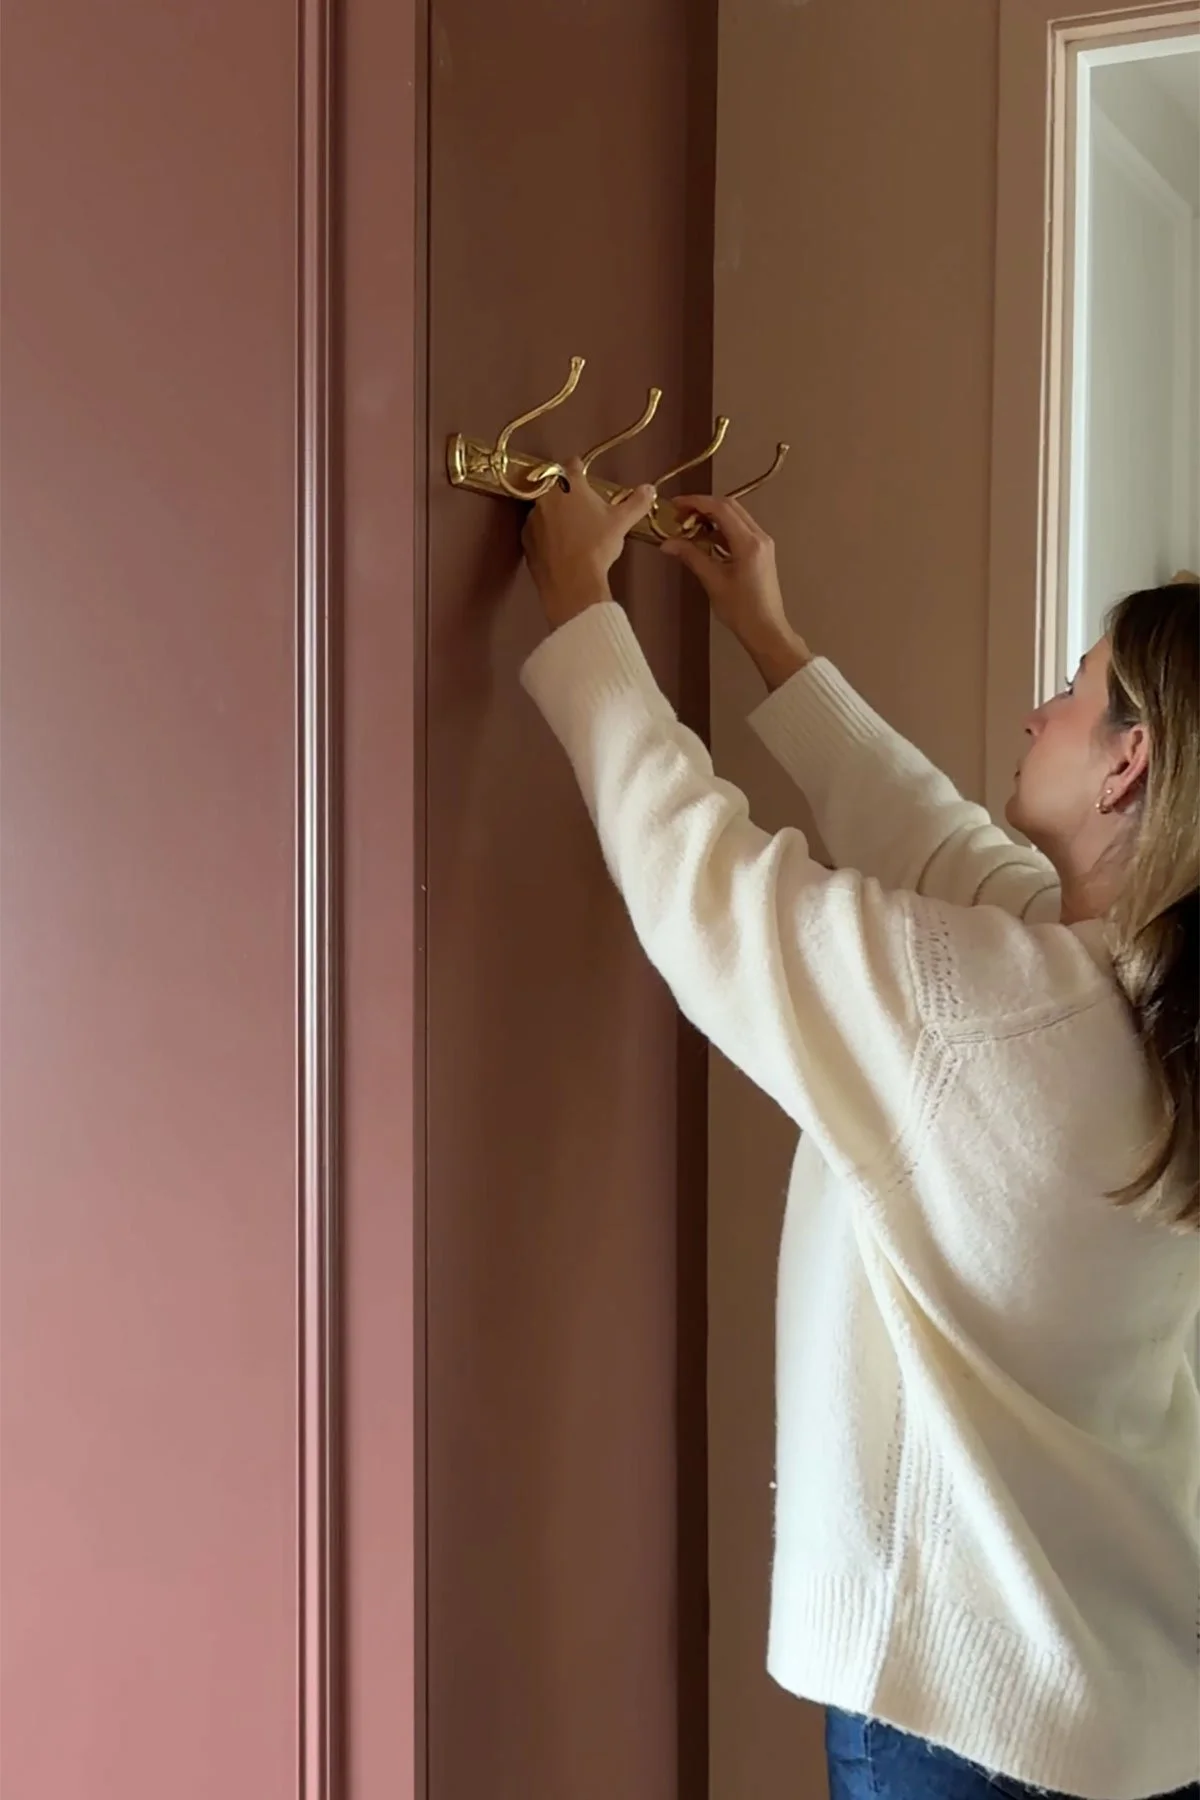
Beautiful hook rack

Installing the door knobs
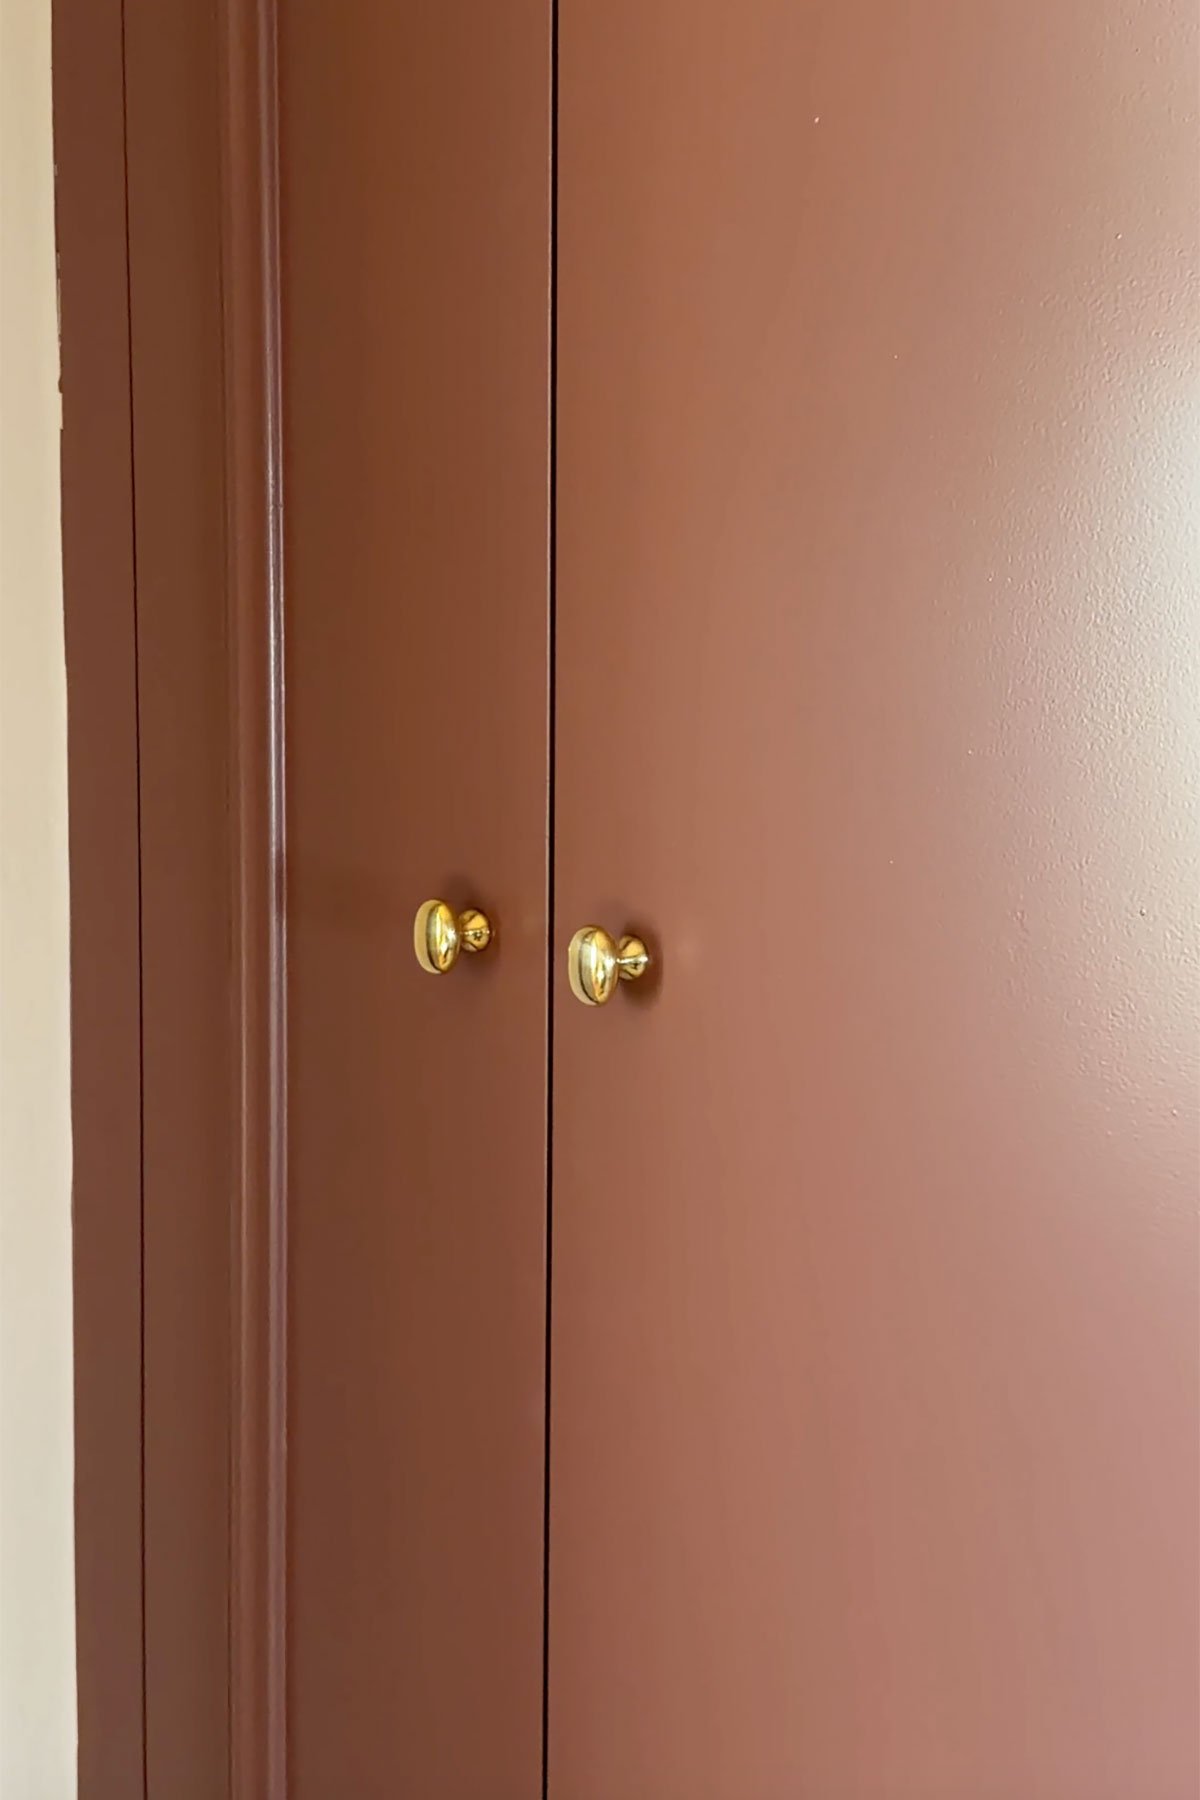
A closer look at the oval door knobs
You can check this post for all details about our bedroom colors.
I really took my time with this IKEA PAX closet hack, but it was so worth it. It looks exactly how I envisioned it. Maybe even better.
What do you think?
Shop this post: