
Our DIY Outdoor Concrete Countertops: What We Learned
Disclosure: This post contains affiliate links. I may earn a commission, but these are products I use, love, and genuinely recommend.
If you’ve been following along with our outdoor kitchen project, you probably already know that the countertops were one of the projects we were most excited about - and also one of the most challenging!
When we started planning this outdoor kitchen, we knew we wanted something durable, beautiful, and practical for such a large space. We looked at different countertop options, but with the amount of counter space we needed, the cost of stone, fabrication, and professional installation would add up very quickly.
That’s when we decided to make our own concrete countertops using Z Counterform.
And now that they’re finally finished, I can say this: we learned A LOT.
This isn’t going to be a full tutorial on how to make concrete countertops. Z Counterform has detailed instructions and resources for that, and every project is going to be a little different. Instead, I wanted to share our experience: what we used, what worked for us, what we would do differently, and a few things I really wish we had known before starting.
Why We Chose Concrete
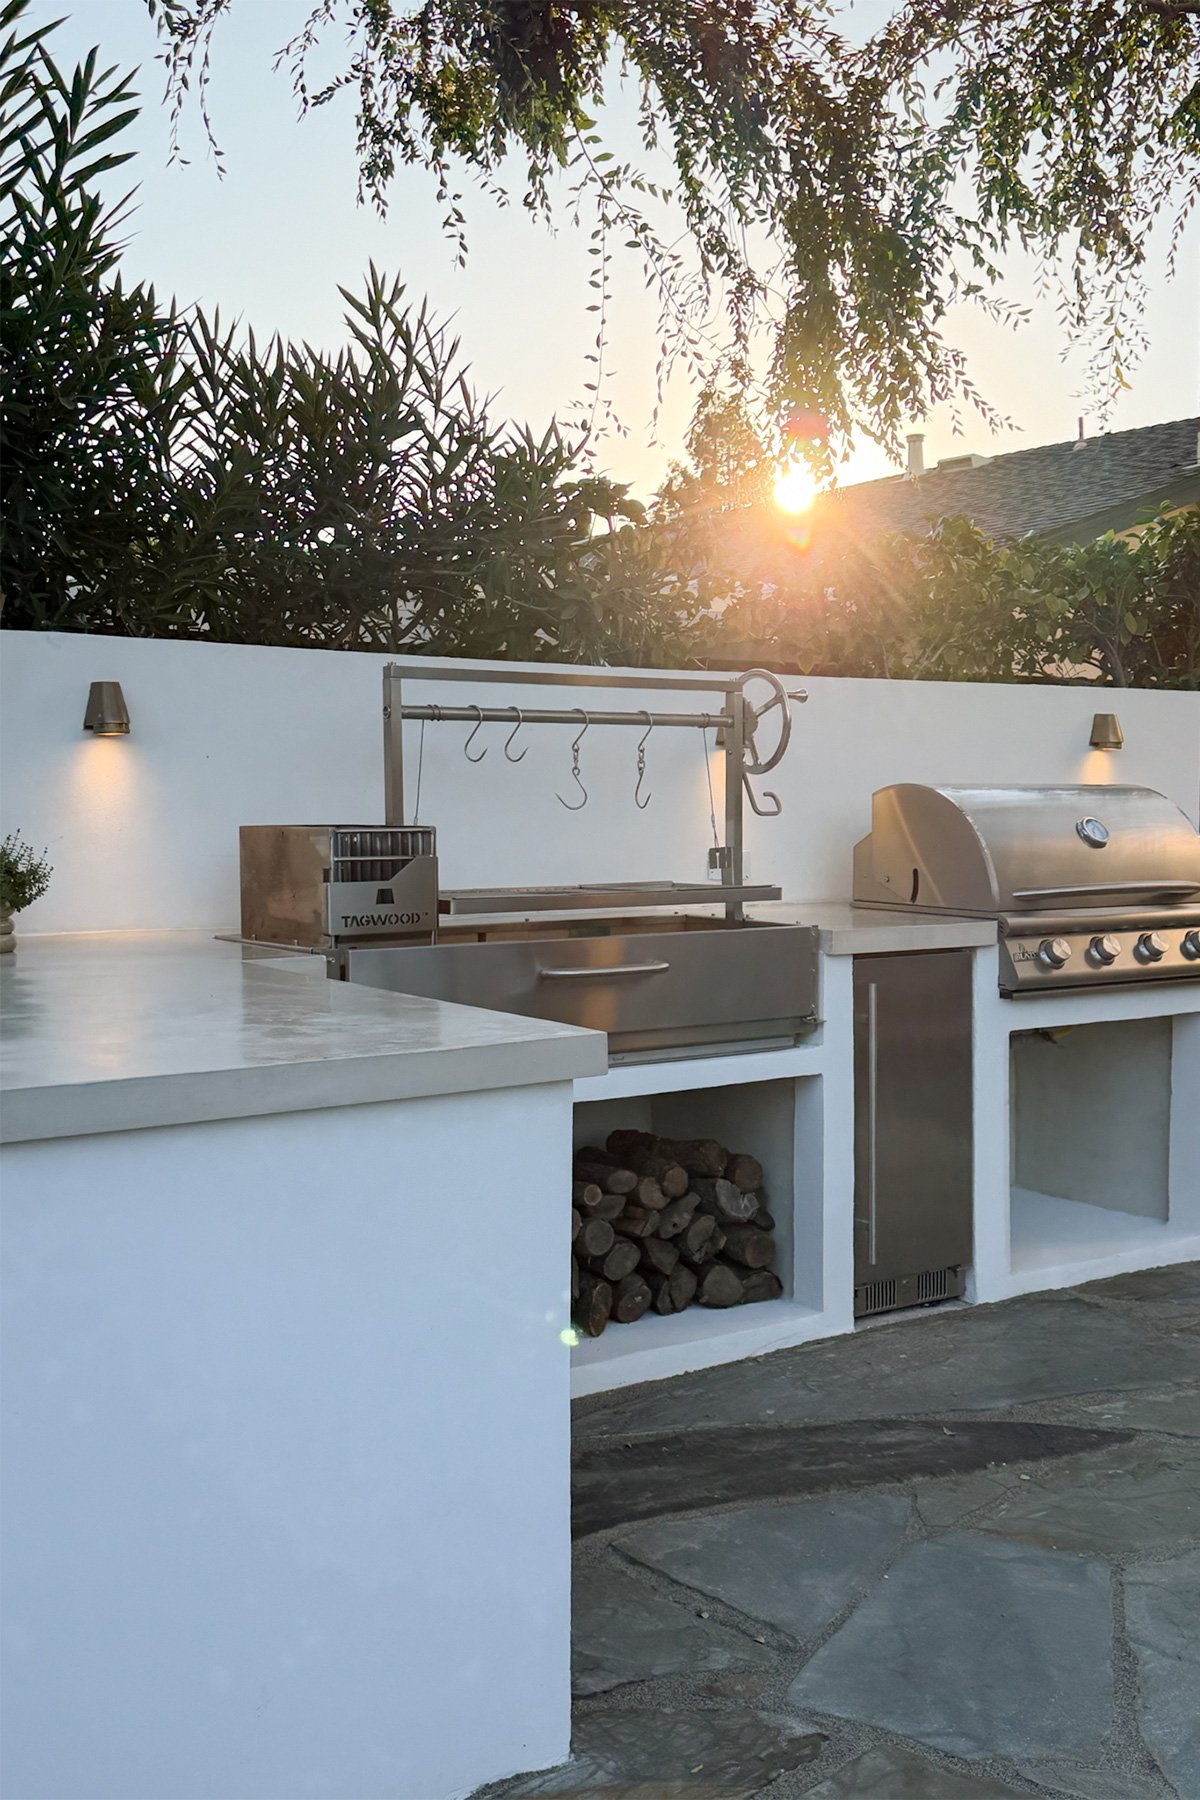
Our outdoor kitchen is pretty large, so countertops were always going to be a significant part of the budget. Concrete gave us the opportunity to get the substantial, custom look we wanted without paying for large slabs of stone plus fabrication and professional installation.
It also just made sense aesthetically. We wanted this kitchen to feel like it belonged in our backyard: a little rustic, a little imperfect, and not too polished.
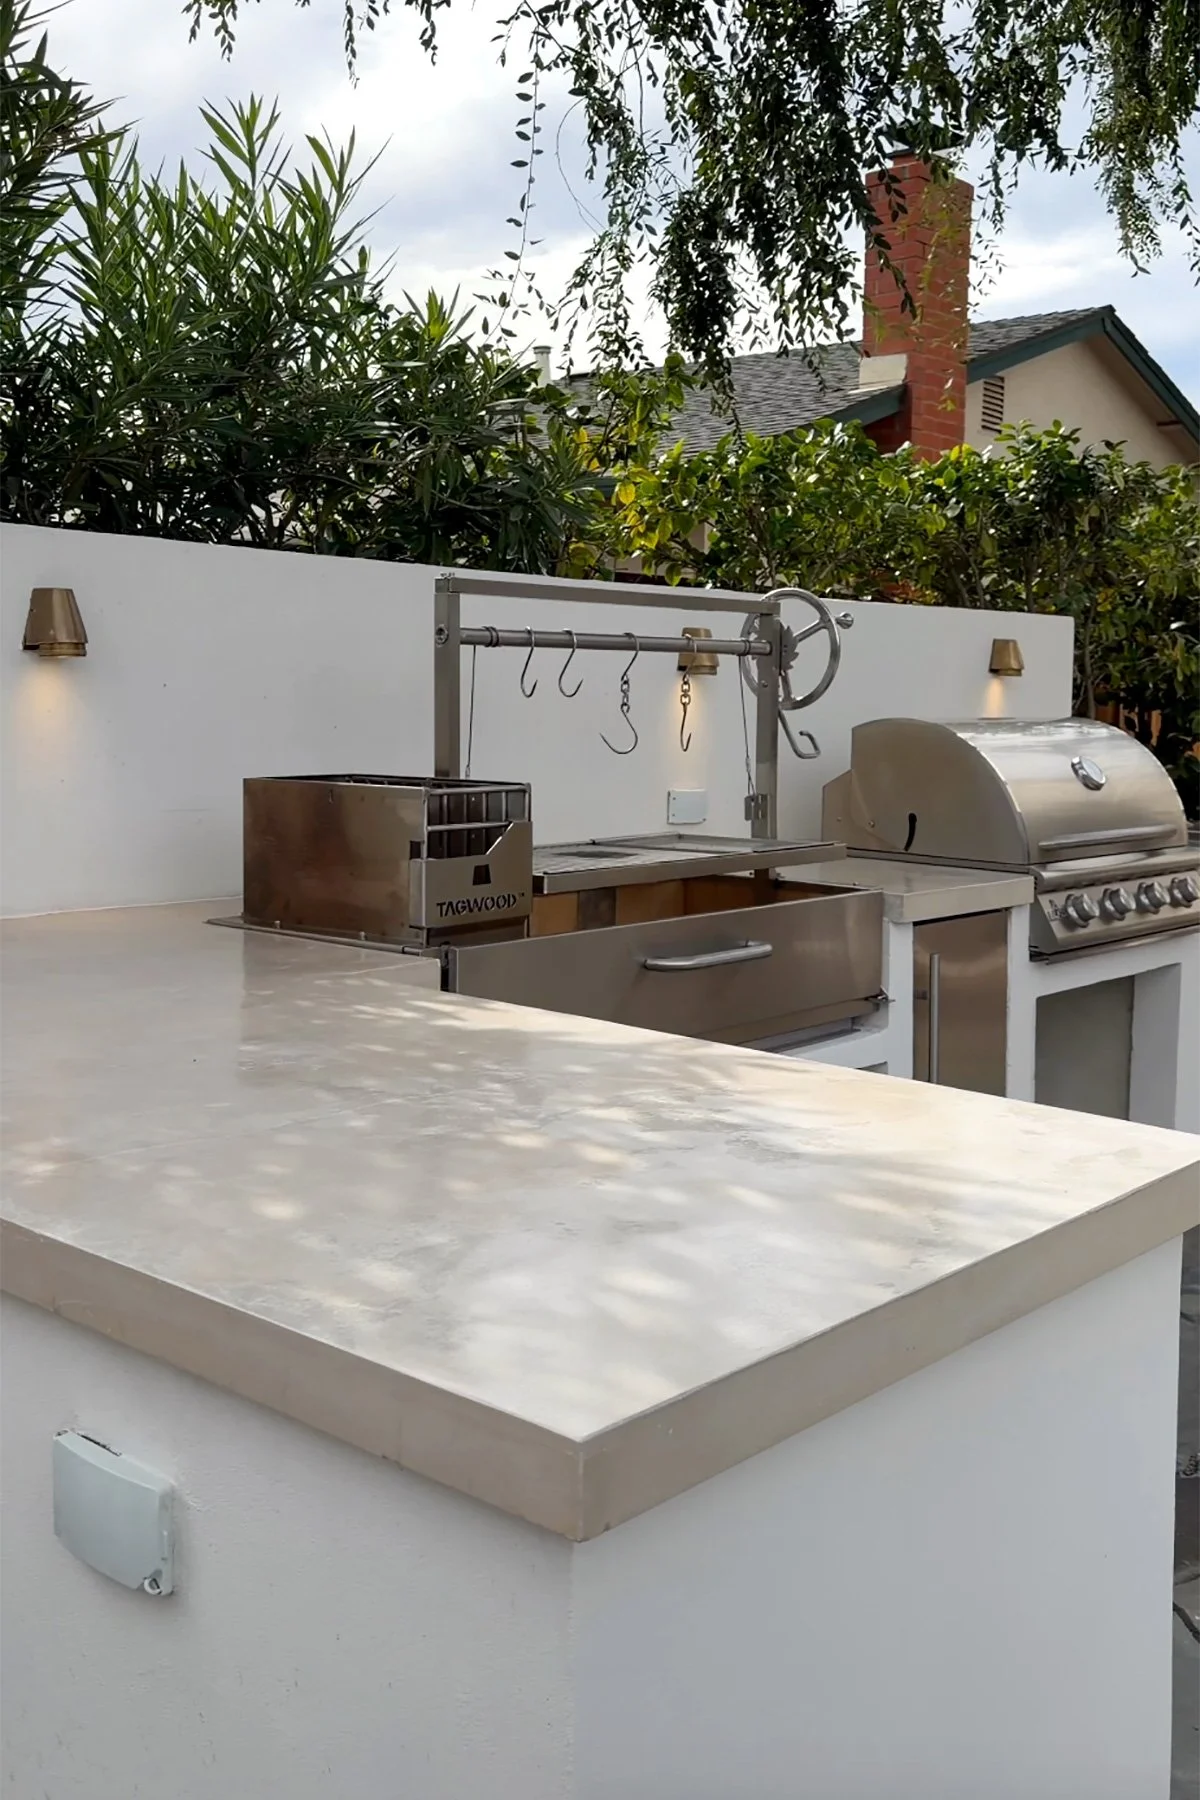
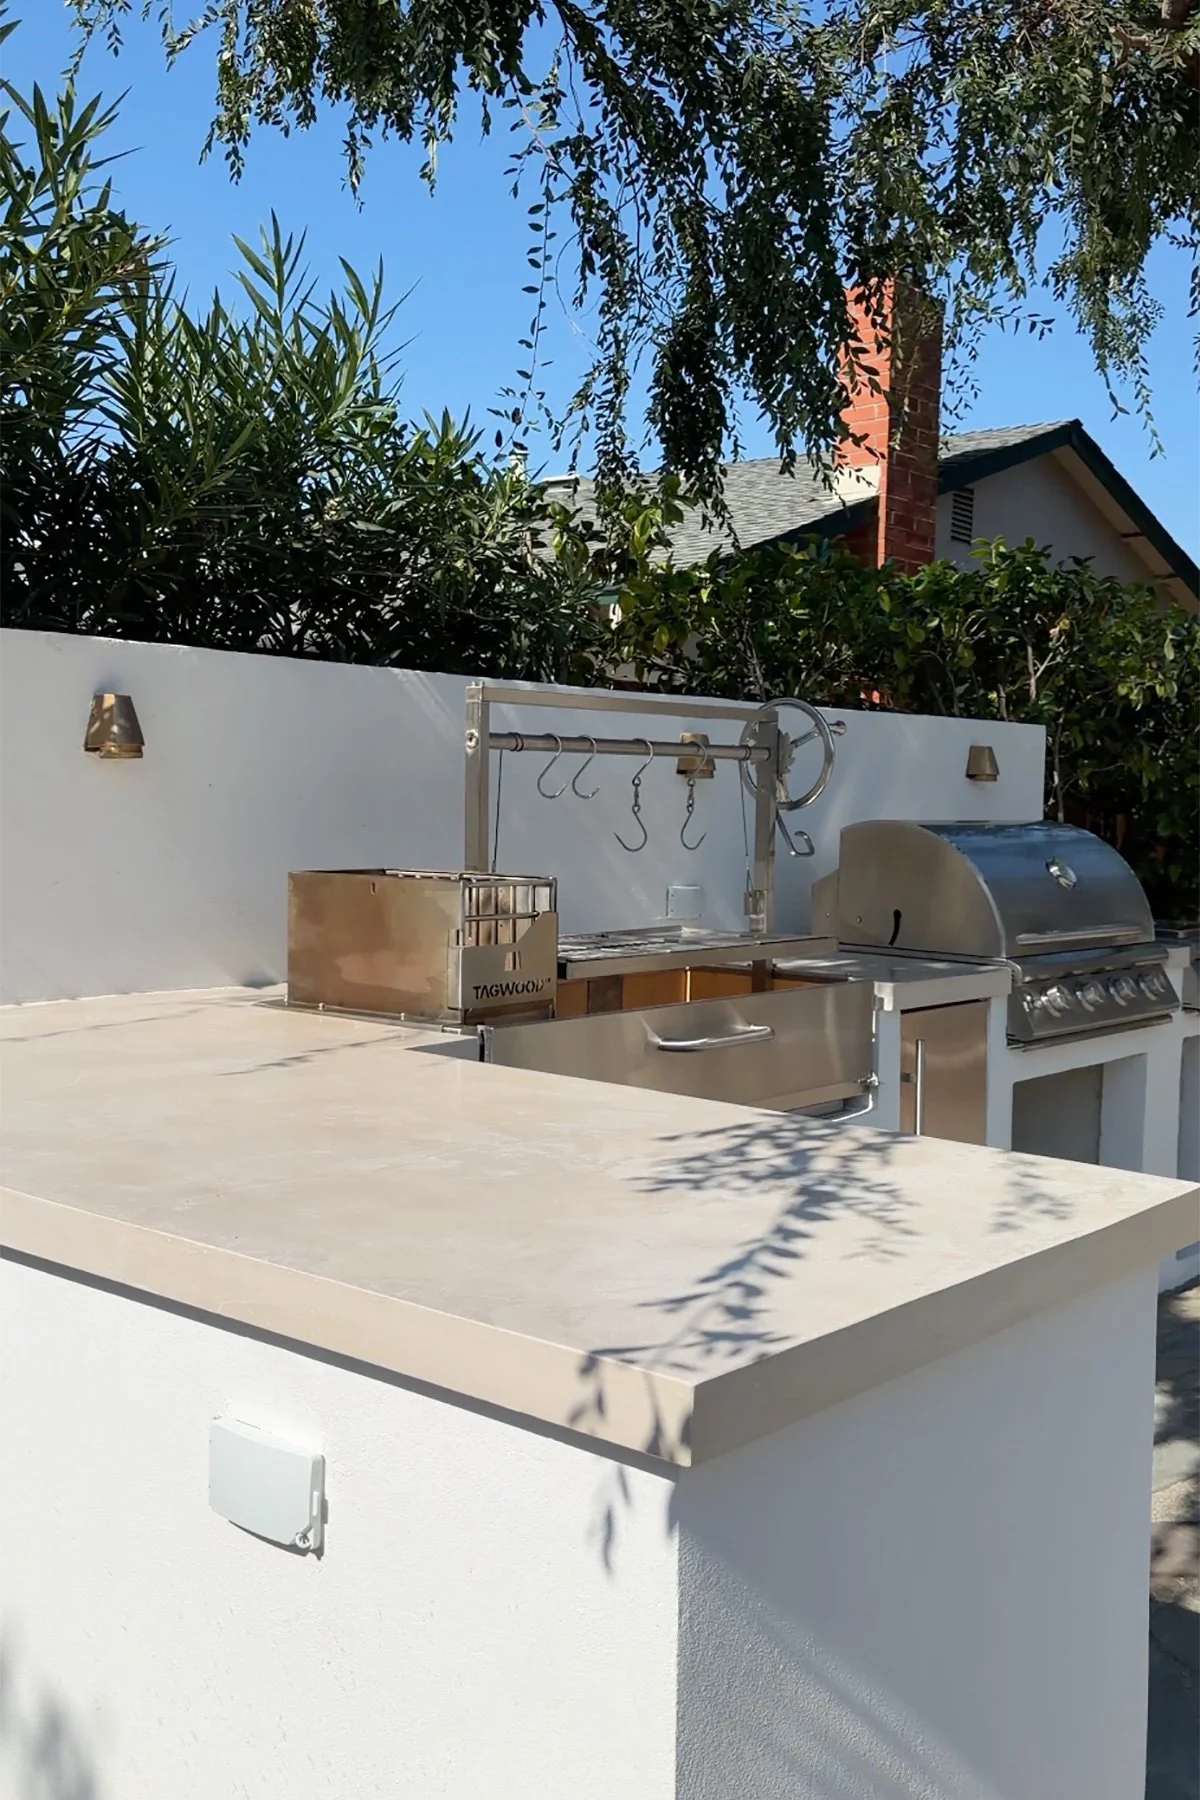
For the concrete, we used Z Counterform’s Linen Color-Pack, which gave it the prettiest warm greige tone. It works so well with the white stucco, wood, and all of the other materials we used throughout the outdoor kitchen.
What We Used
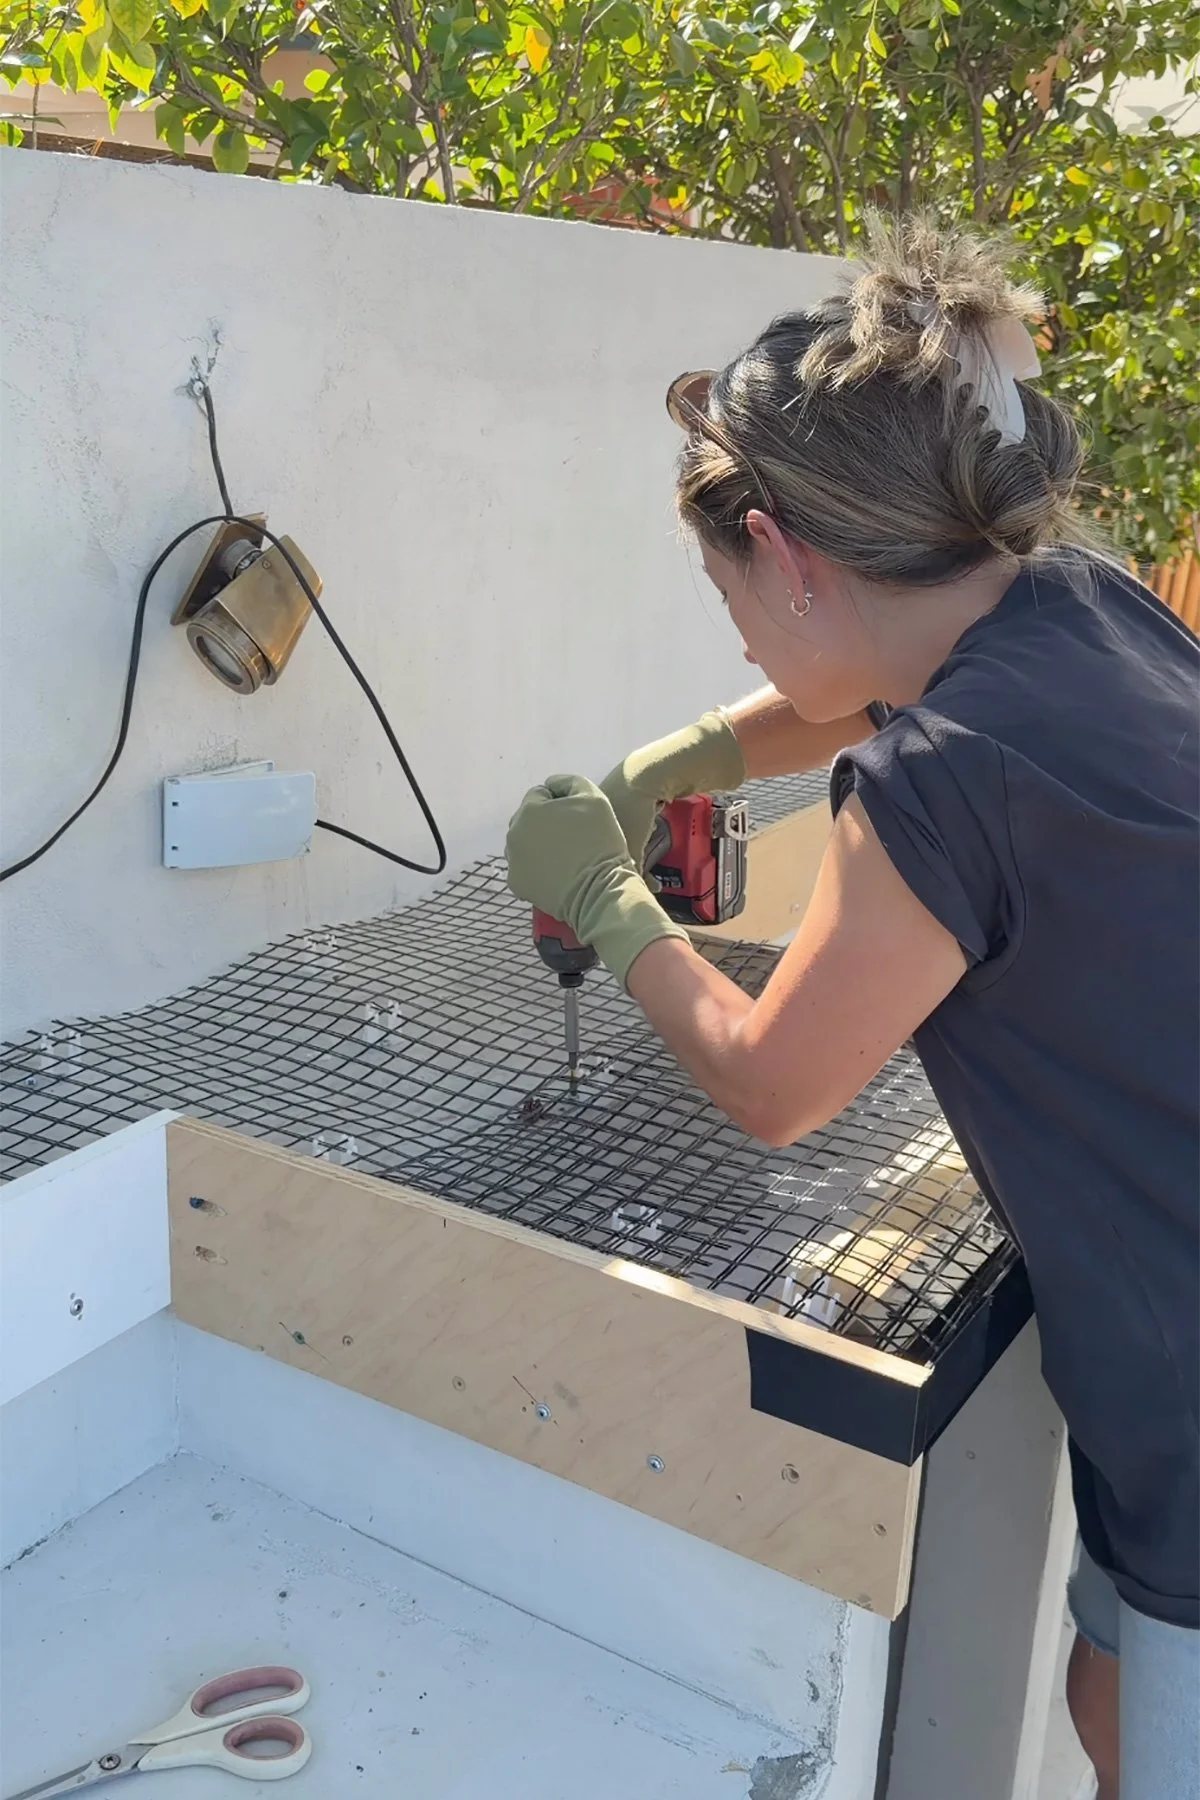
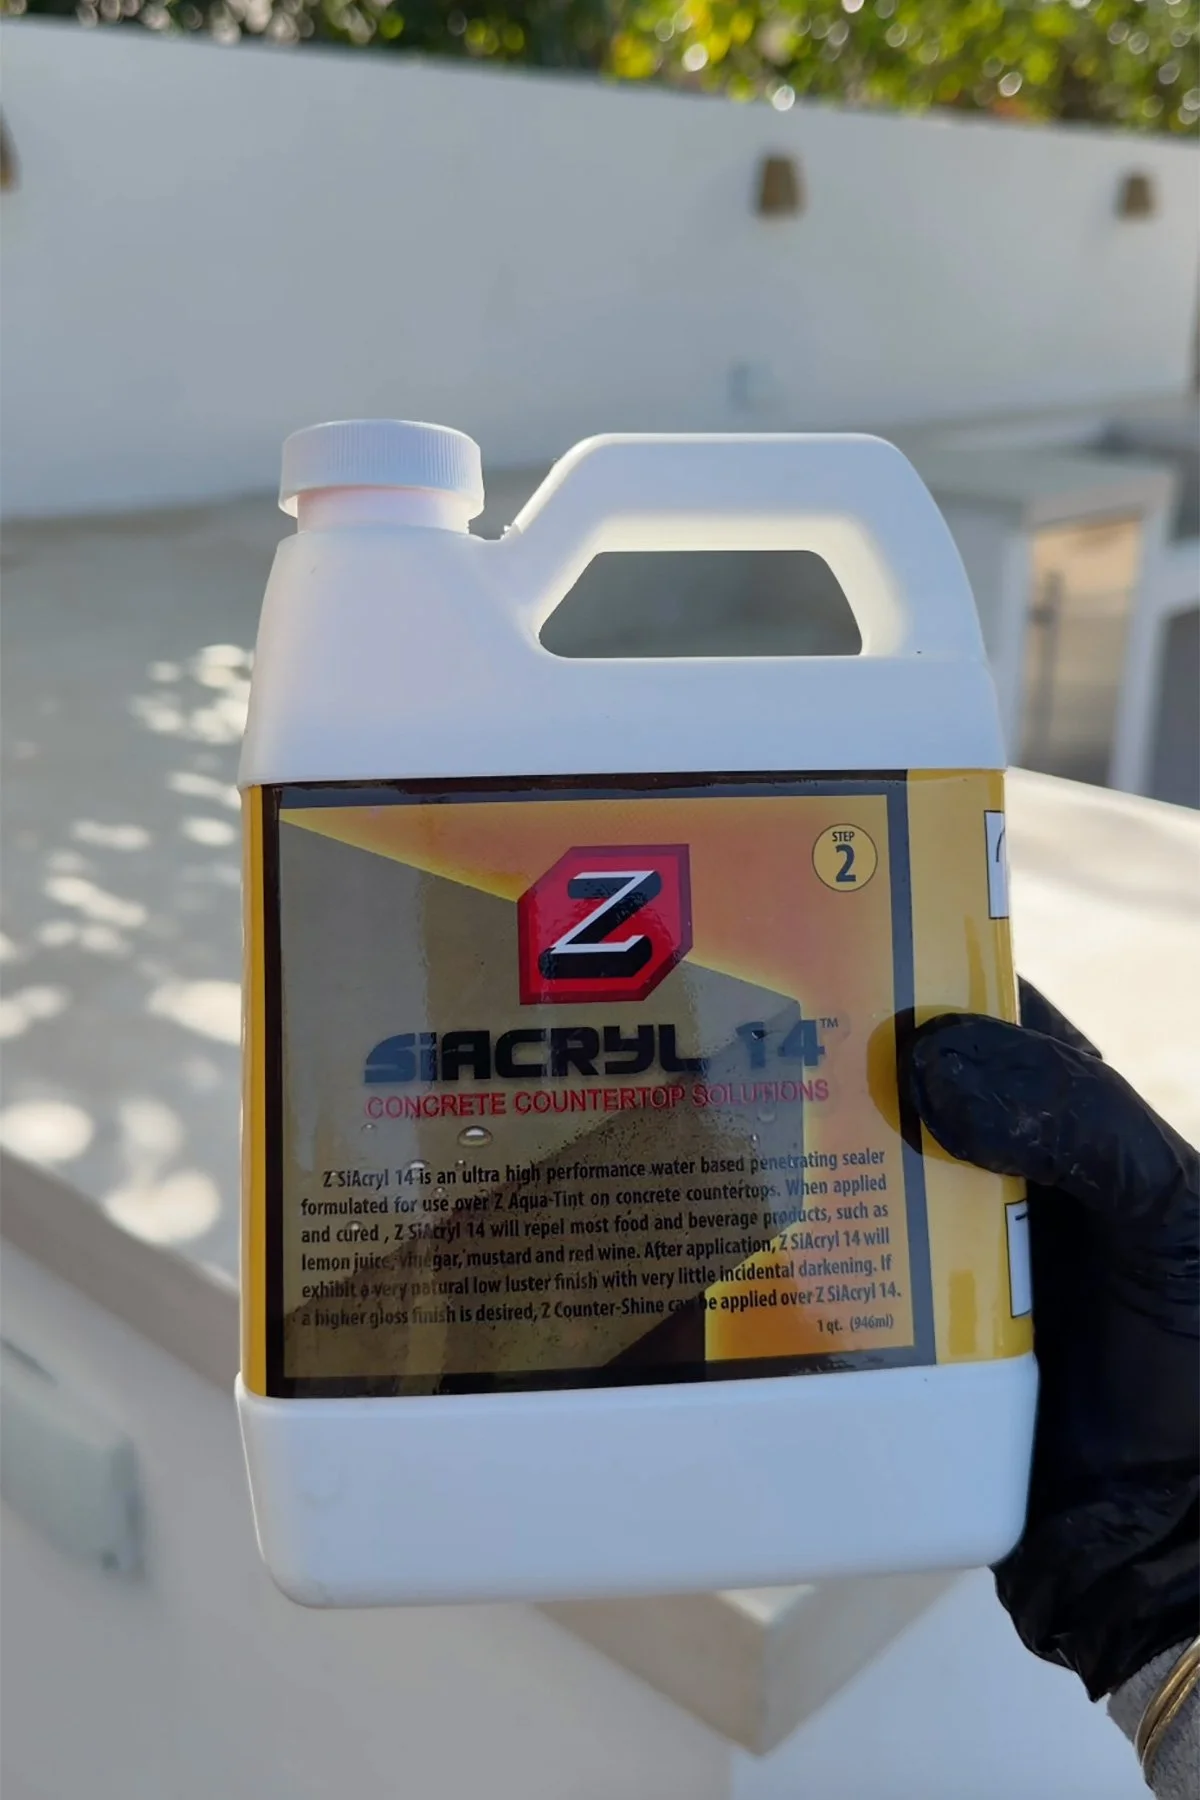
For our countertops, we used the Z Counterform system, including their forms, white concrete countertop mix, Linen Color-Pack, Counter-Patch, and the products needed to finish and seal the countertops.
I’ll include our complete product and tool list at the bottom of this post, because there were definitely a few things that made the process much easier, including some tools we wish we had from the very beginning!
What We Learned During the Pour
This was our first time ever pouring concrete countertops, so there was definitely a learning curve , and our first attempt didn’t exactly go according to plan.
The first time we tried mixing the concrete, we started around 5 p.m. The temperature was only around 75°F, but the sun was still out and everything had been sitting outside in the afternoon heat.
Almost immediately, we could tell something wasn’t right. The mixture wasn’t coming together the way it should, it seemed to need much more water than instructed, and overall it just wasn’t working.
Eventually, we made the call to stop rather than keep going and potentially end up with countertops we weren’t happy with.
This is also where I have to give Z Counterform’s customer service a lot of credit. They were incredibly helpful in troubleshooting what had happened and recommended that we try again earlier in the morning, while the bags of concrete were still cool from the night before. So that’s exactly what we did, and the difference was night and day.
If you’re planning to pour outdoor concrete countertops during the summer, this is definitely something I would take into consideration. We learned that it isn’t just about the temperature outside at the time of the pour, you also have to think about how warm the concrete and your other materials may have gotten after sitting outside for hours.
Starting first thing in the morning made a huge difference for us.
You Might Need More People Than You Think
Our other big mistake was assuming Paul and I could handle the entire pour ourselves.
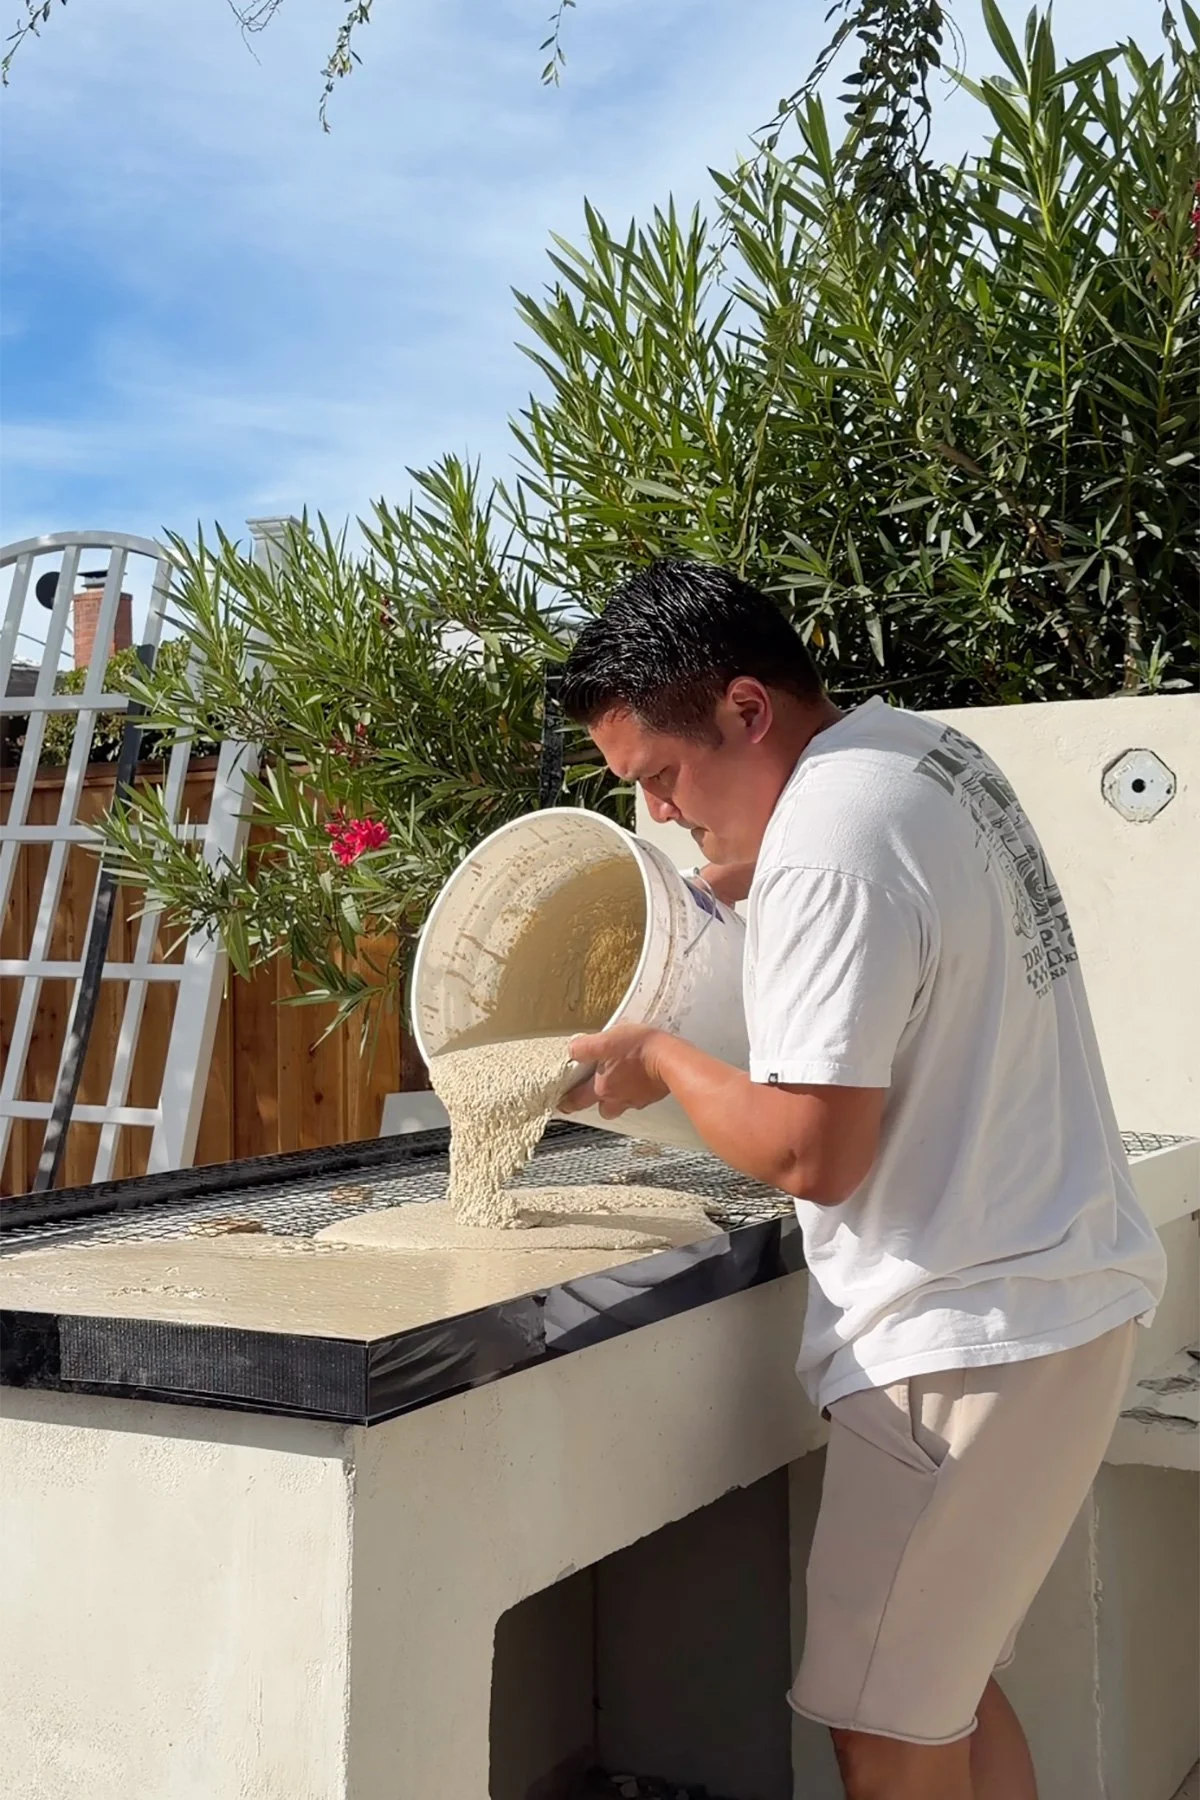
Our original plan seemed reasonable: one person would mix and pour while the other leveled and finished the concrete. We quickly realized that wasn’t going to work for a project this size.
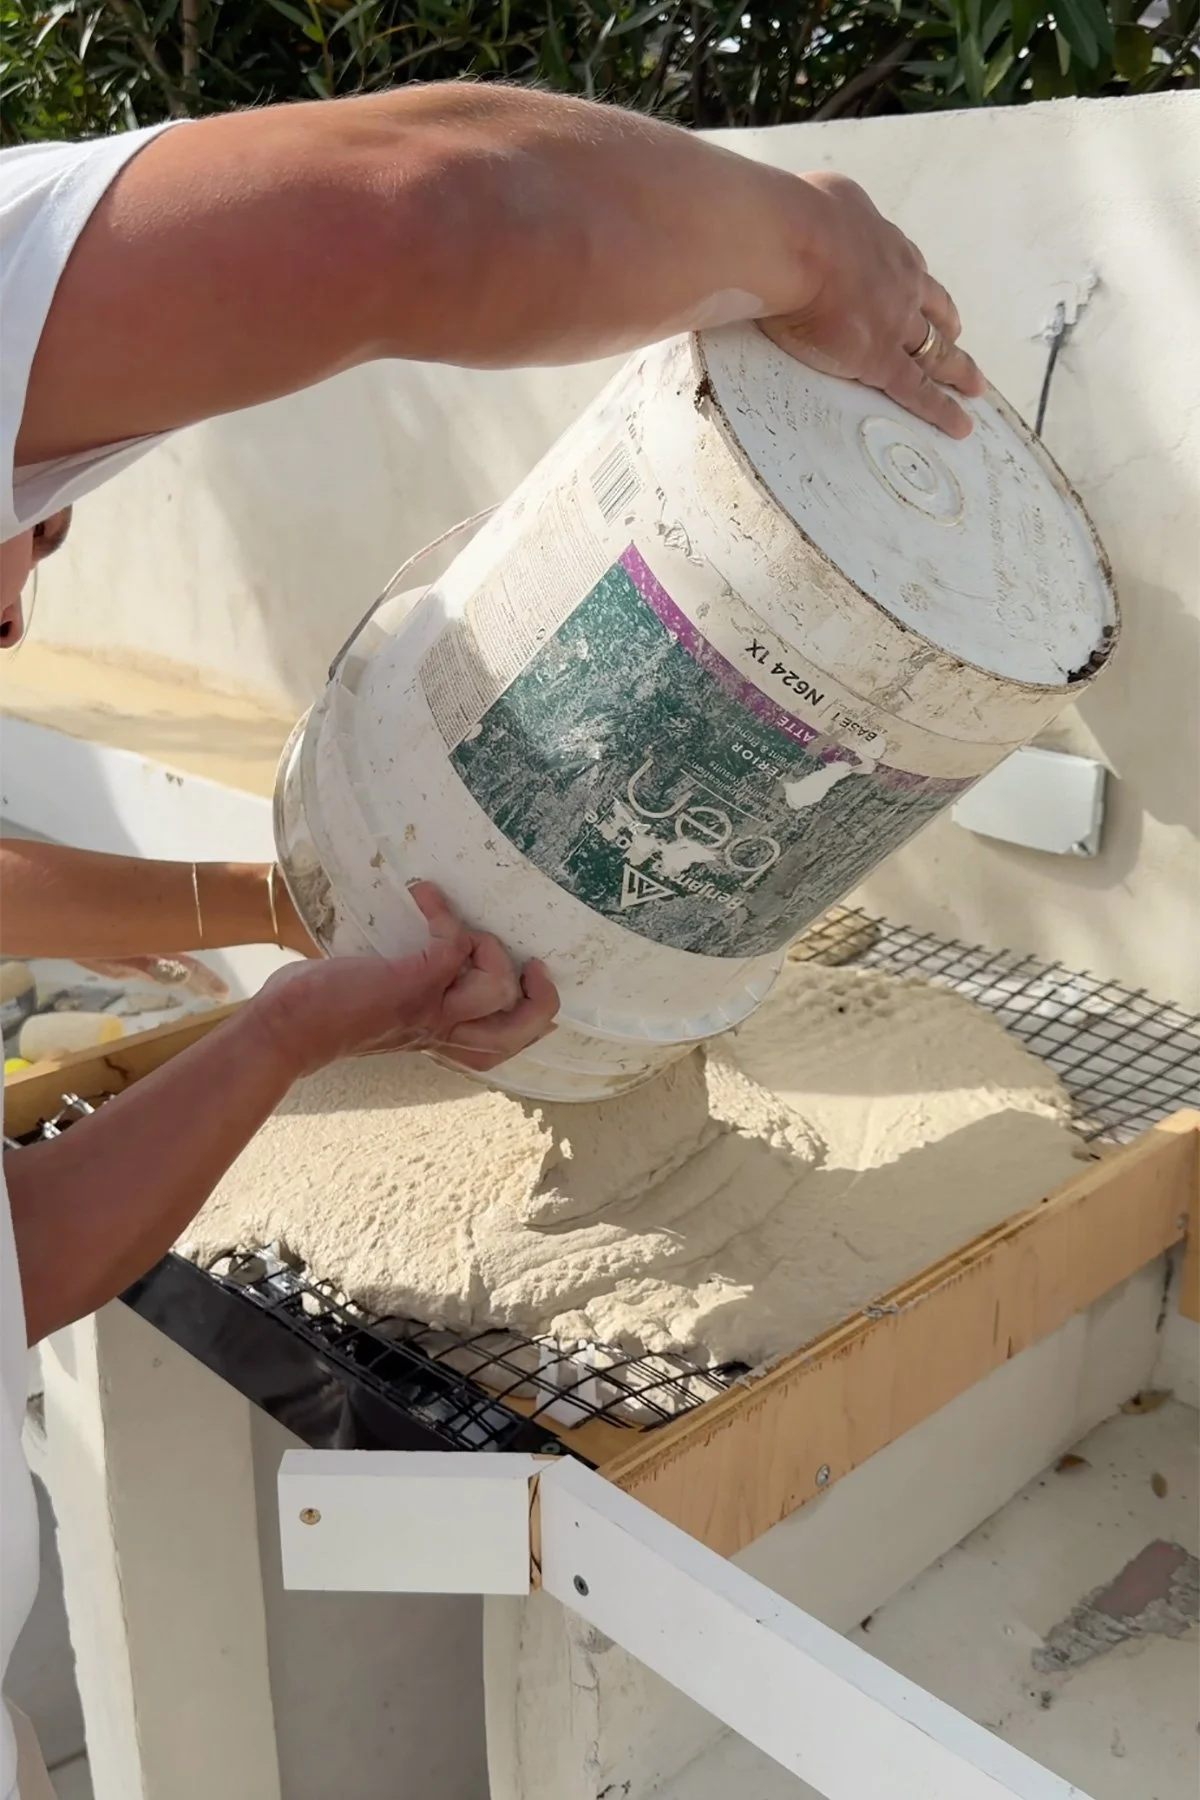
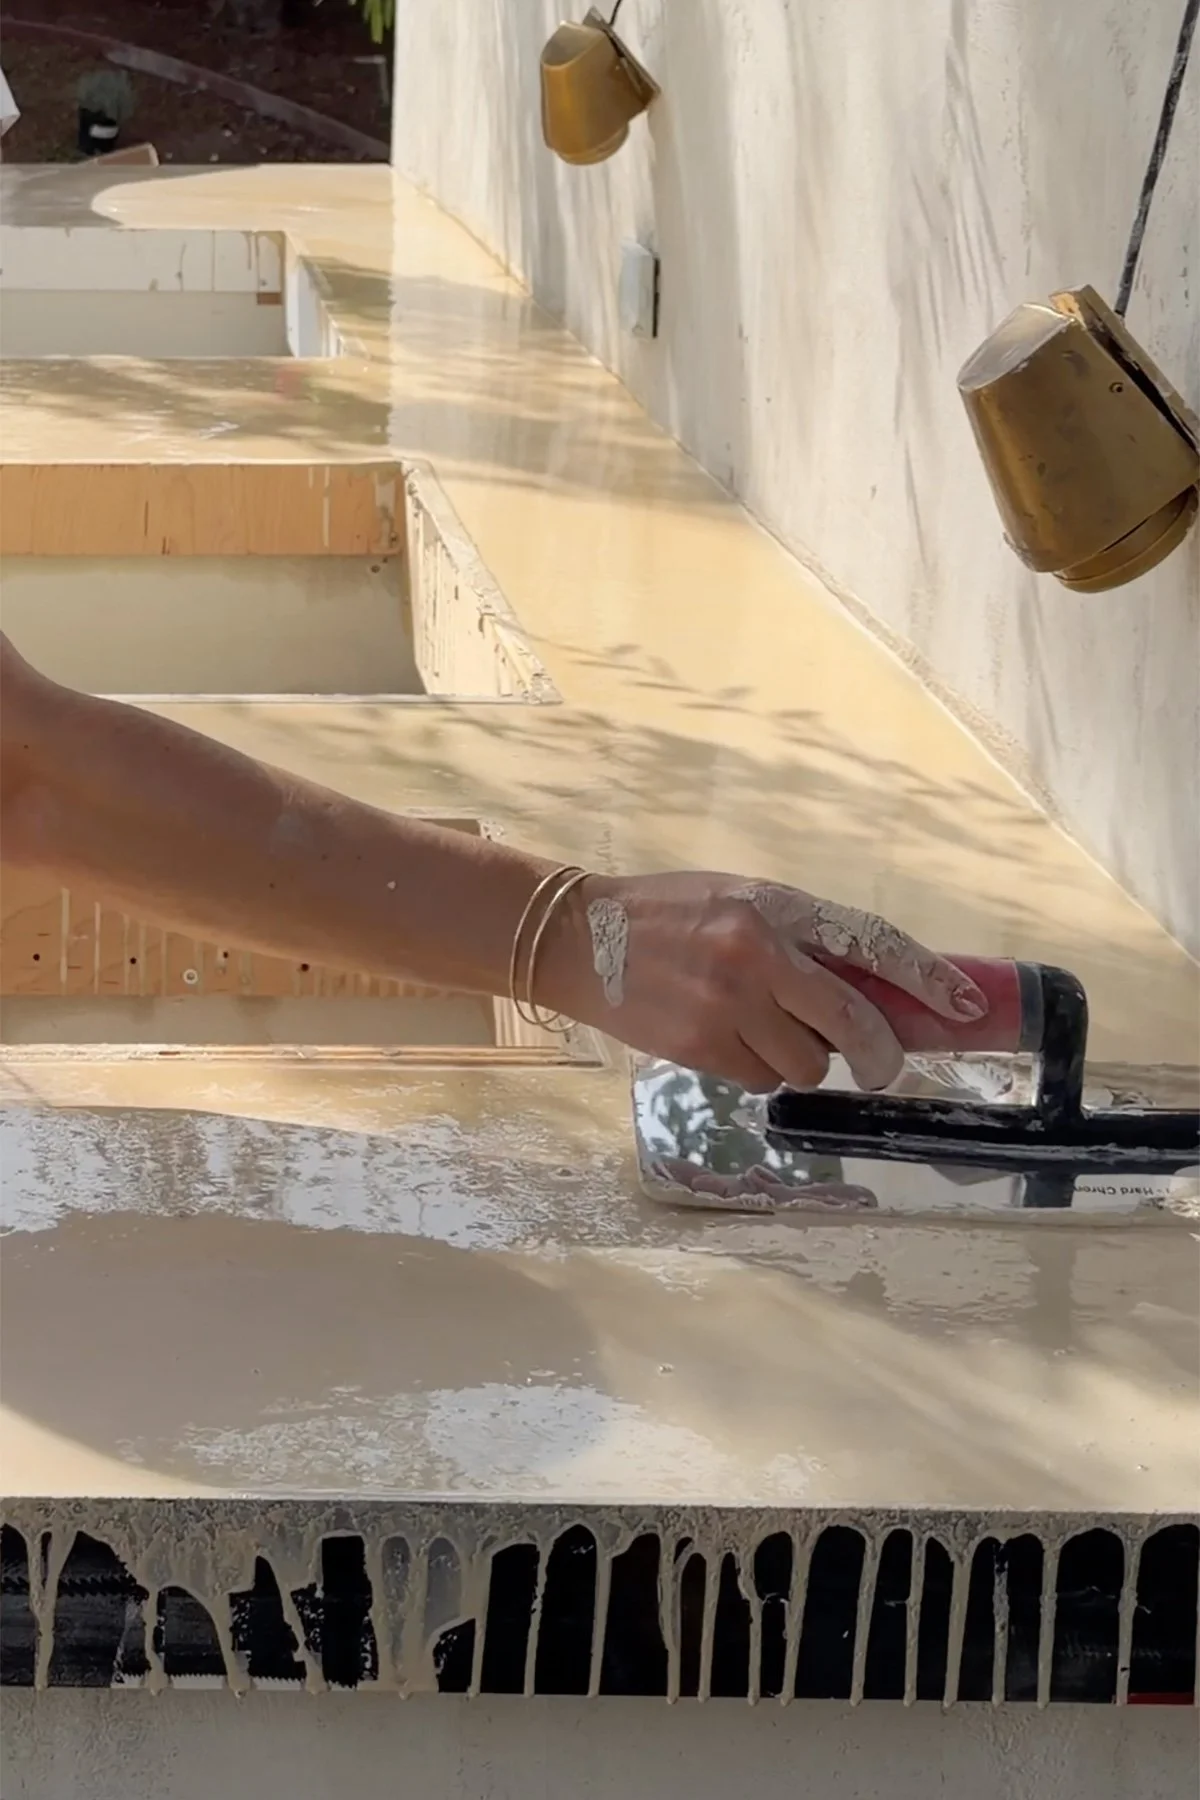
For our second attempt, we asked two additional people to help with mixing. That gave us a team of four and allowed us to create a much better system. Concrete could be continuously mixed while Paul and I focused on pouring, leveling, and finishing.
For a large countertop like ours, keeping everything moving was really important. The concrete was already setting relatively quickly outside in the dry California summer, so we didn’t want long pauses between batches.
If we did this again, I wouldn’t hesitate to recruit extra help. For a project this size, having a good system, and enough people to keep that system moving, made a huge difference.
Use the Right Mixer. Trust Us.
For a project of this scale, I would absolutely recommend using a heavy-duty mixer designed to handle this type of work rather than trying to make a regular drill do the job. Ask us how we know.
Your handy cordless drill might be great for a lot of DIY projects, but mixing bucket after bucket of concrete is a completely different job.
We burned out one of our Ryobi drills trying.
The Forms Were One of Our Favorite Parts
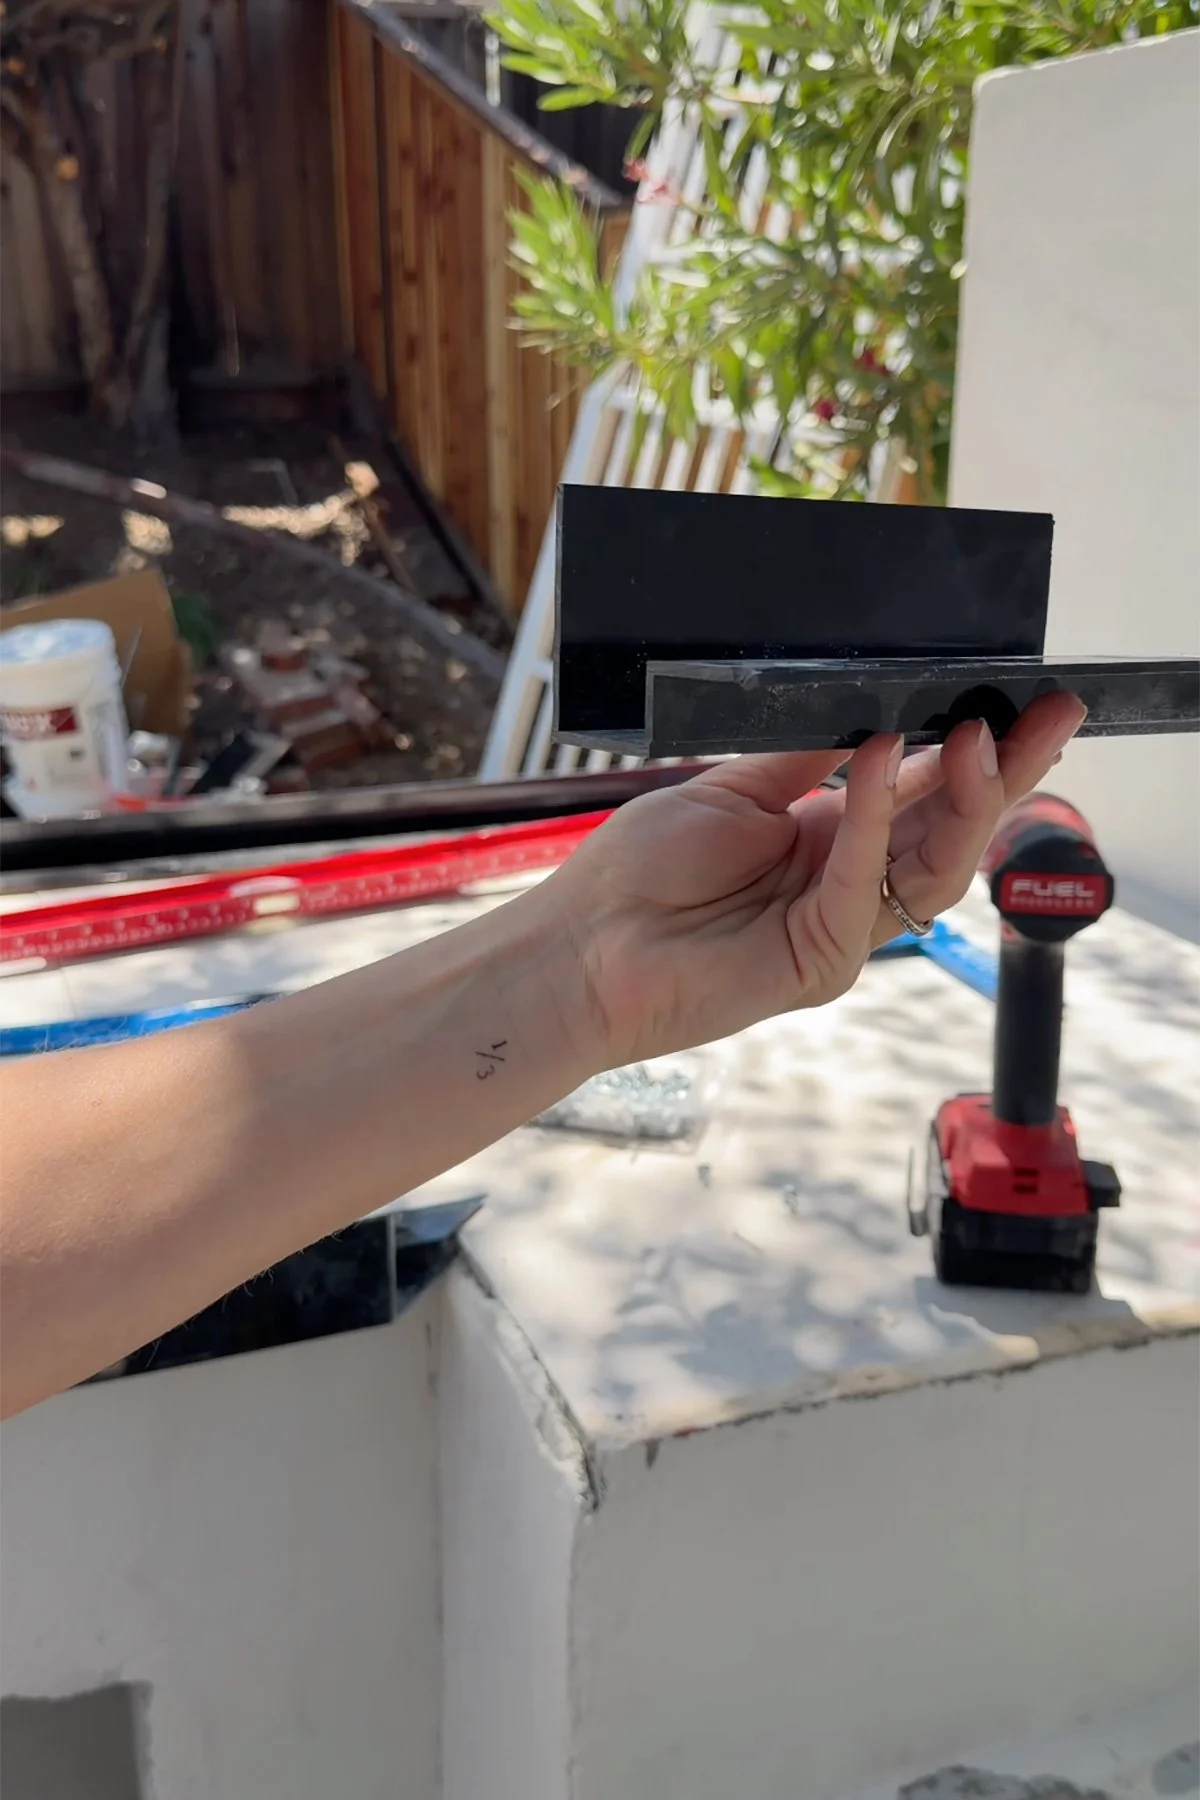
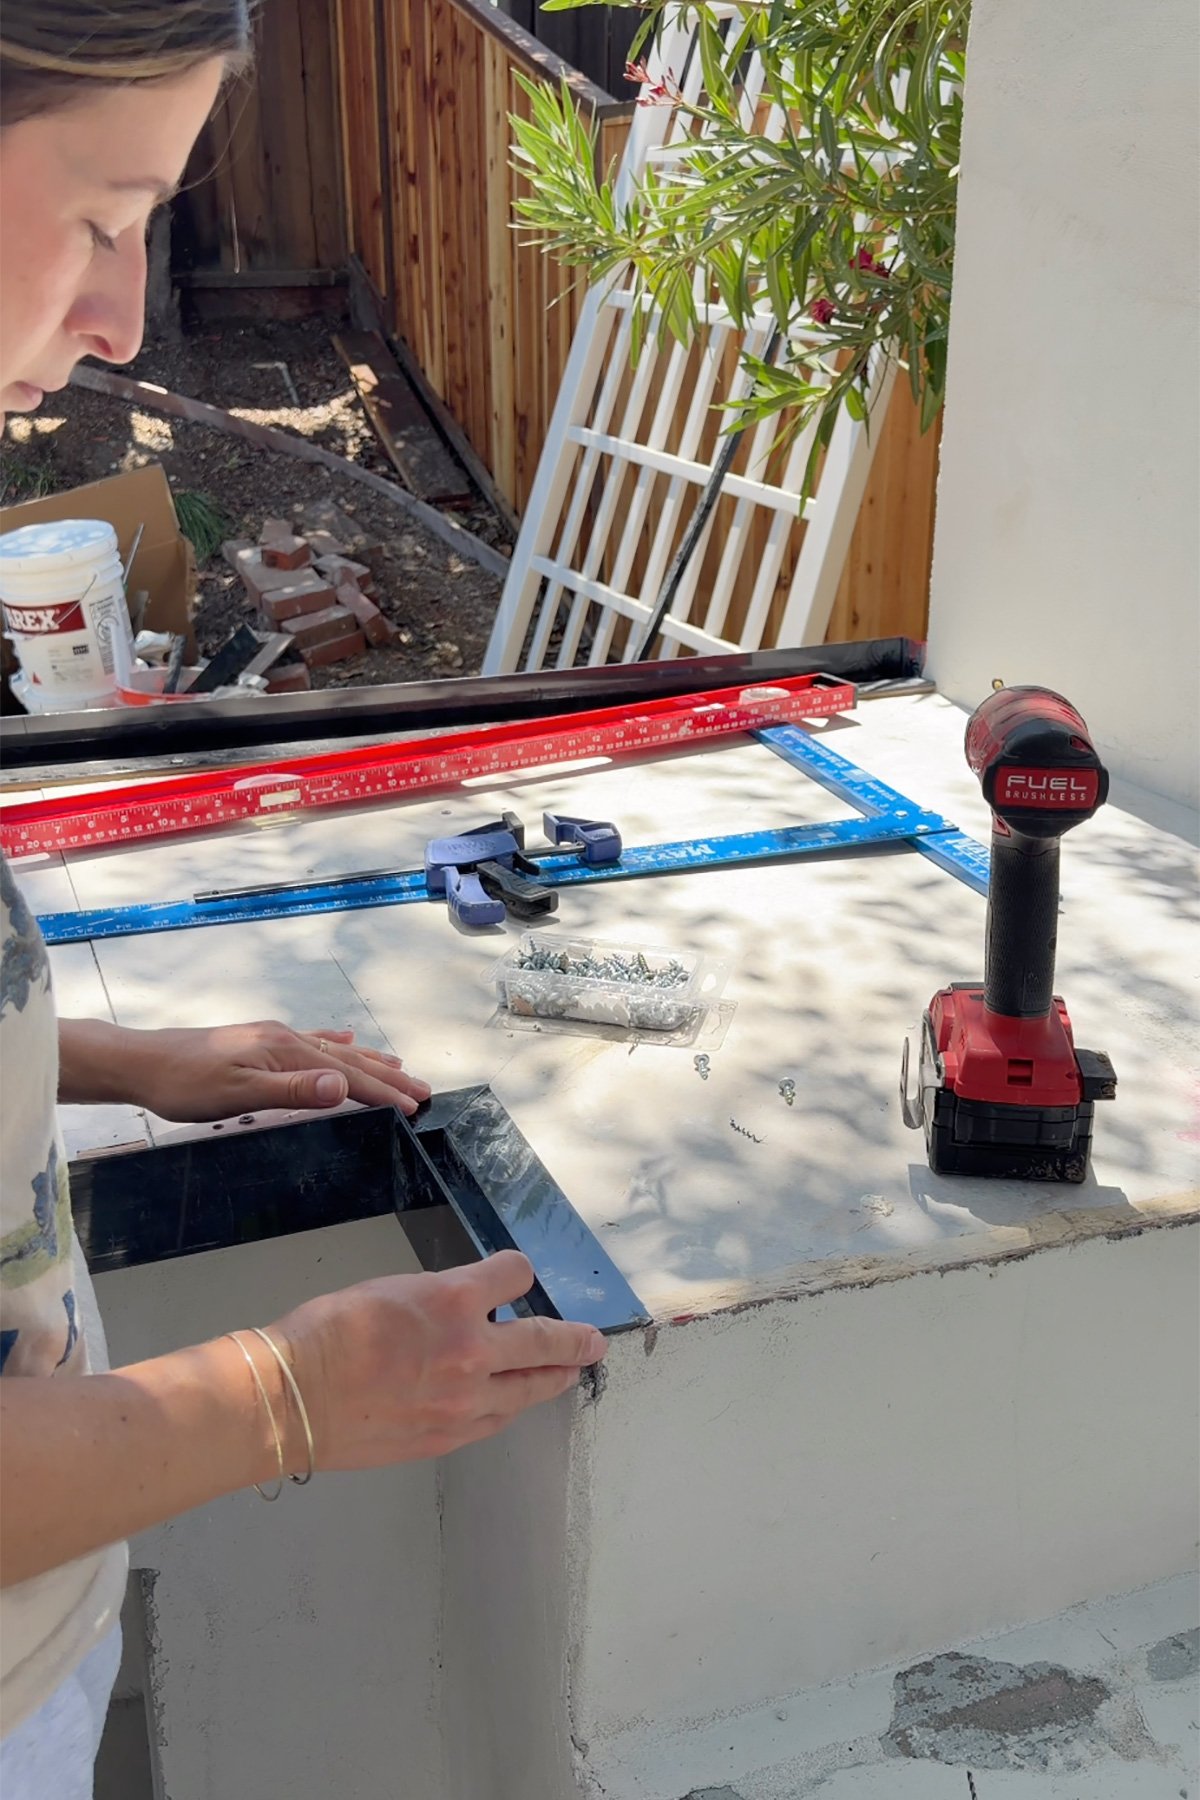
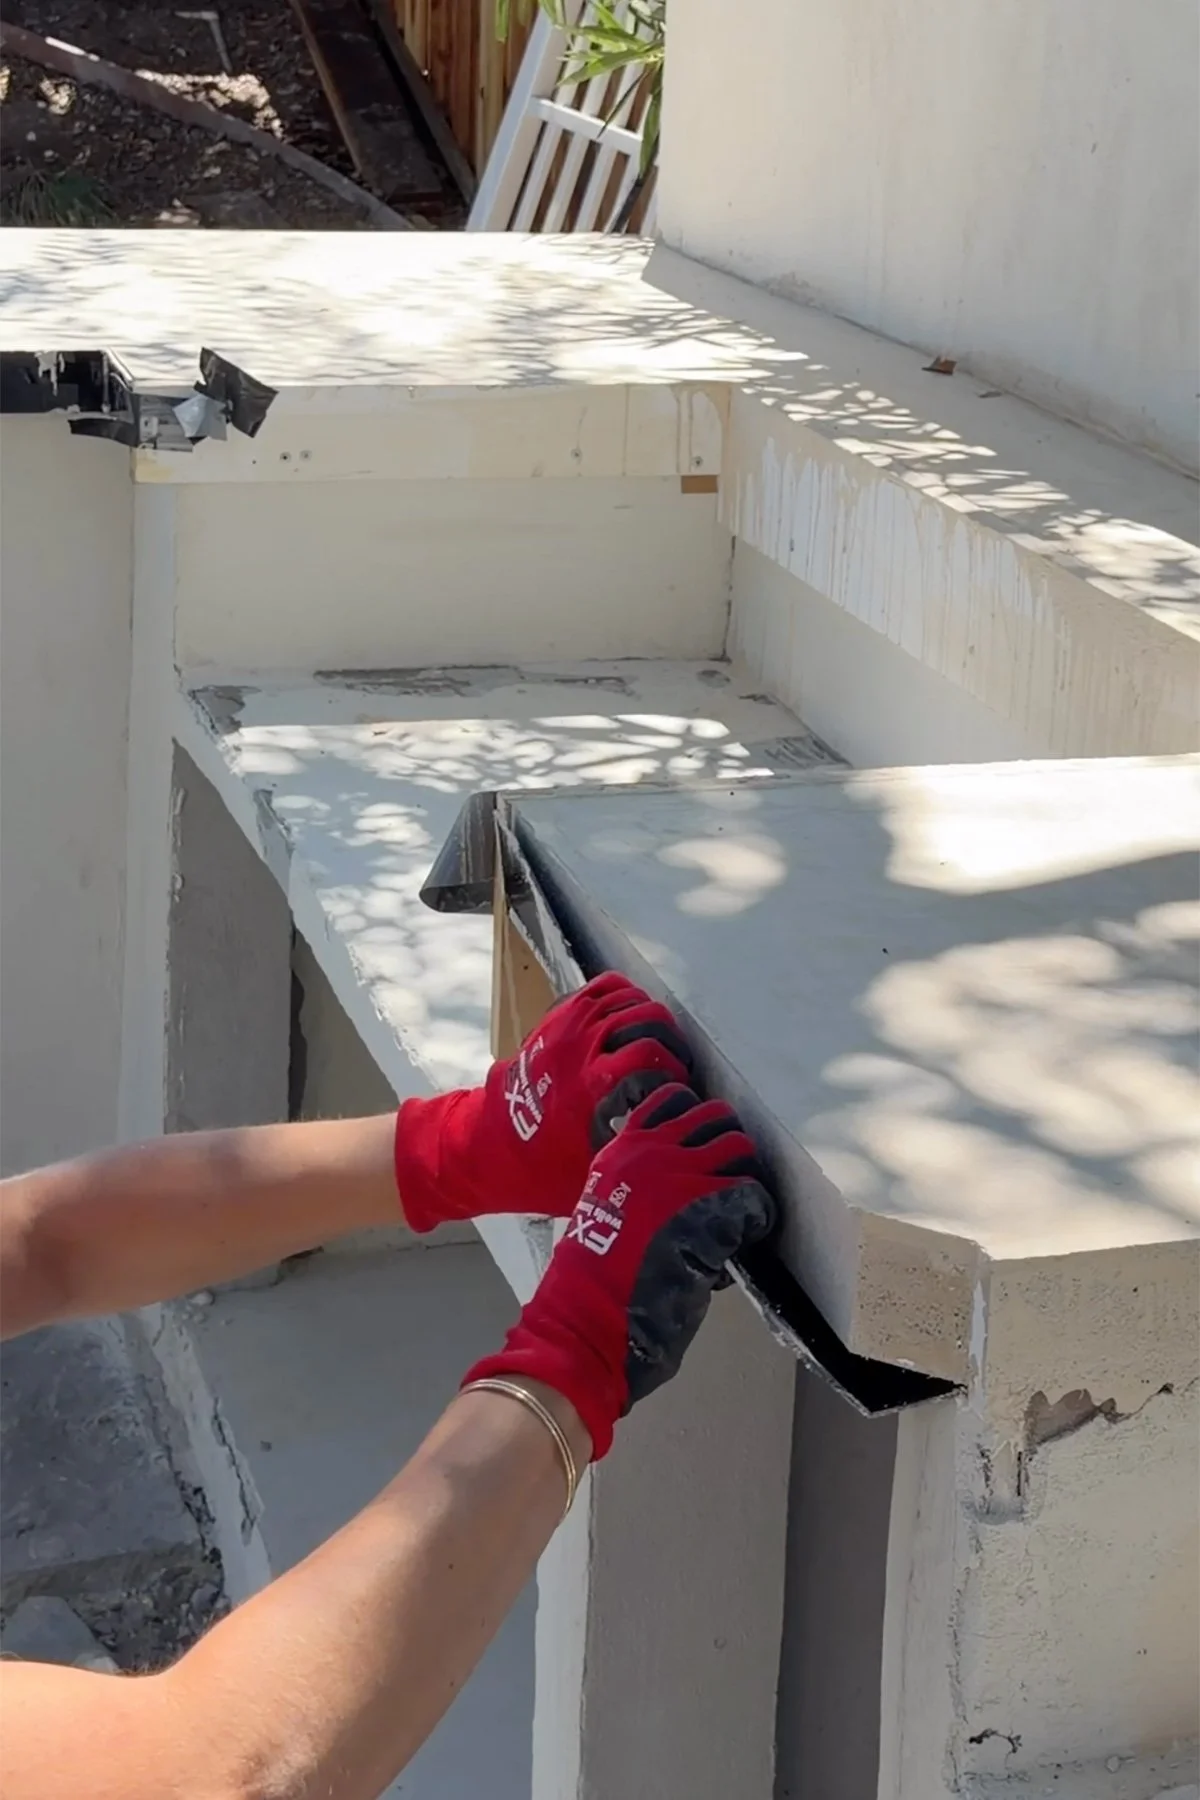
With all of that said, one of the things that surprised us most was how forgiving the whole system ended up being. We went with the 2 ¼” square edge forms.
Was our first-ever concrete pour perfect? Absolutely not. But the finished result was so much better than we expected, especially considering we were learning as we went.
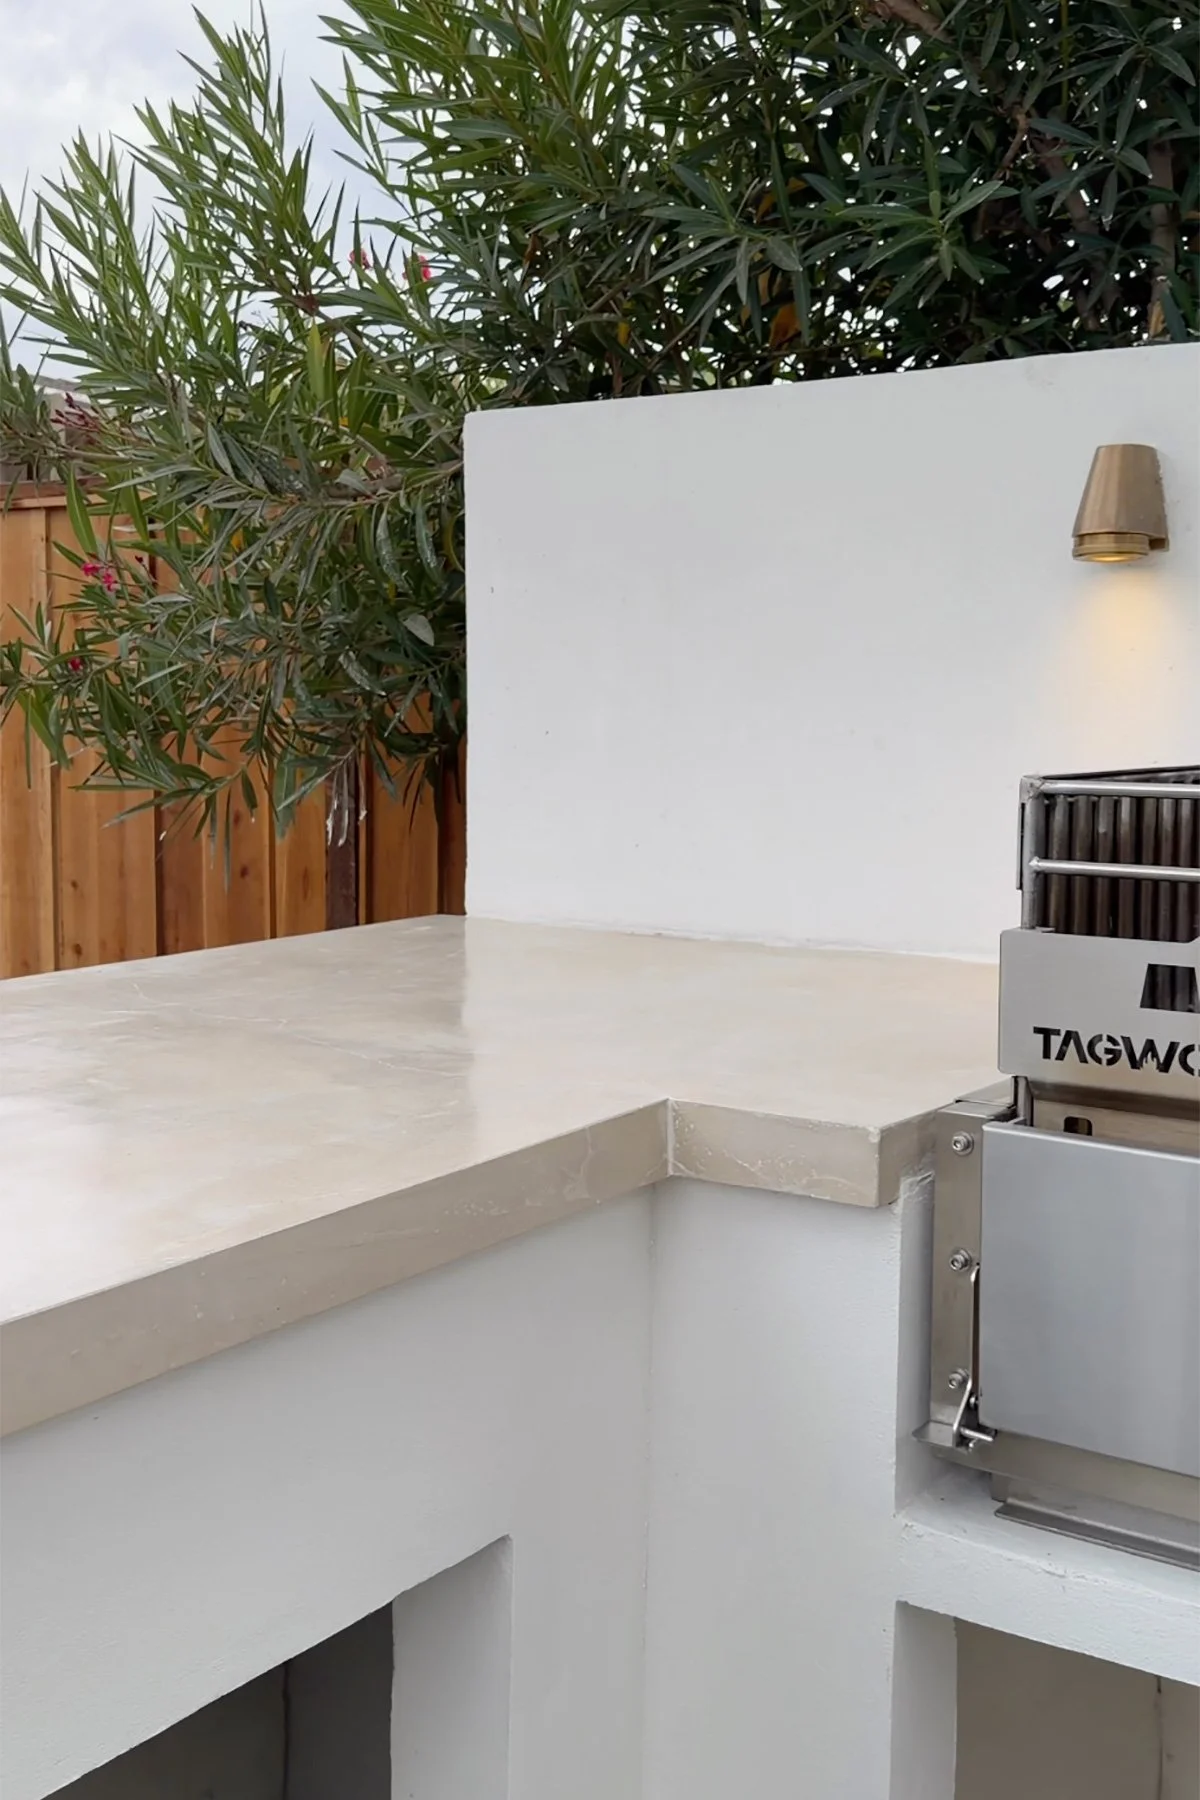
The Z Counterform forms were probably one of our favorite parts of the entire system. Removing them was also one of the most satisfying parts of the project. The edges came out incredibly sharp and smooth and required very little sanding or finishing. It was one of those DIY moments where you remove the forms, look at each other and think, wait…we actually made this.
Don’t Panic Over Small Imperfections
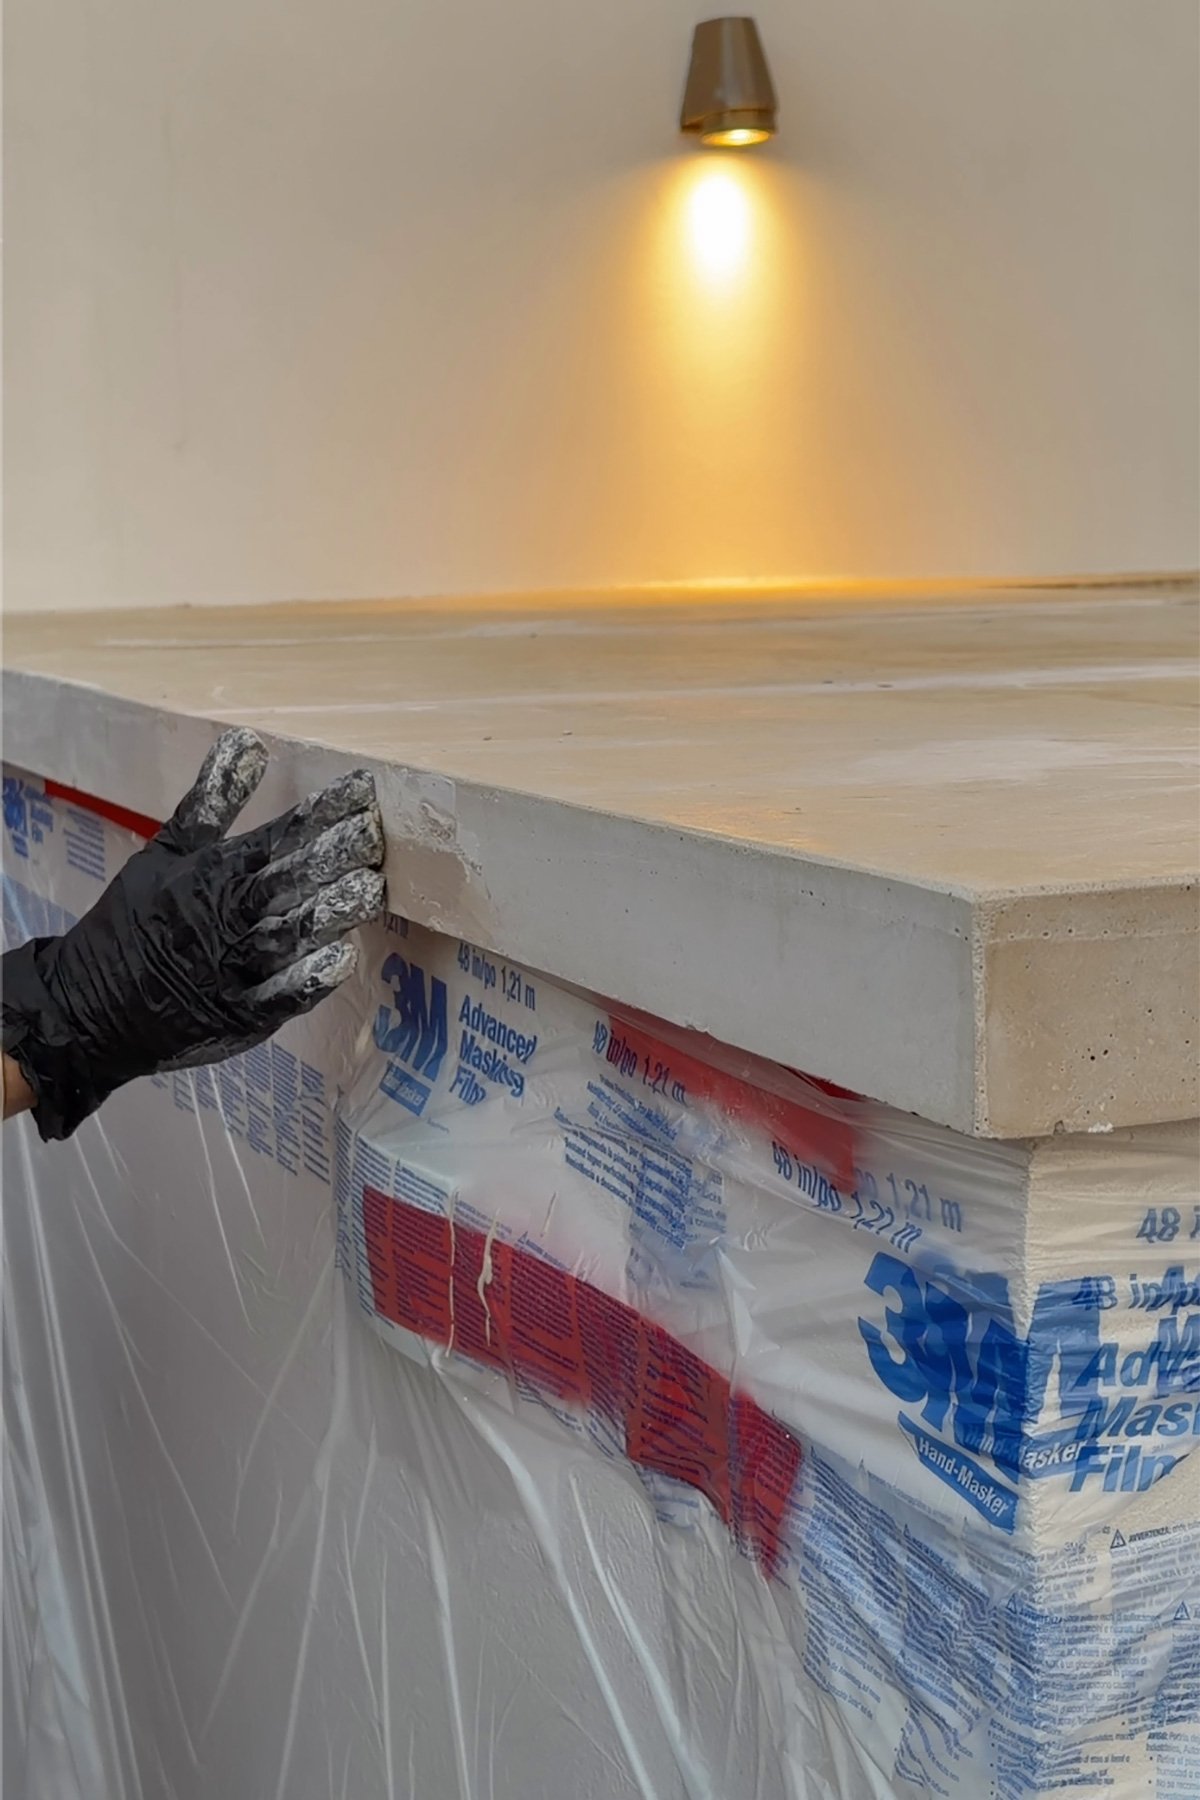
Once the concrete dried and we removed the forms, we did have a few small imperfections here and there: little air pockets, pinholes, and small cracks.
Thankfully, Z Counterform has a product specifically for this called Counter-Patch, and it worked so well.
You mix a small amount with water and your color, then work it into the imperfections by hand or with a small spatula. Once it dries, a little light sanding helps everything blend together and those little imperfections practically disappear.
This was especially reassuring for us as first-timers.
And Then…It Rained
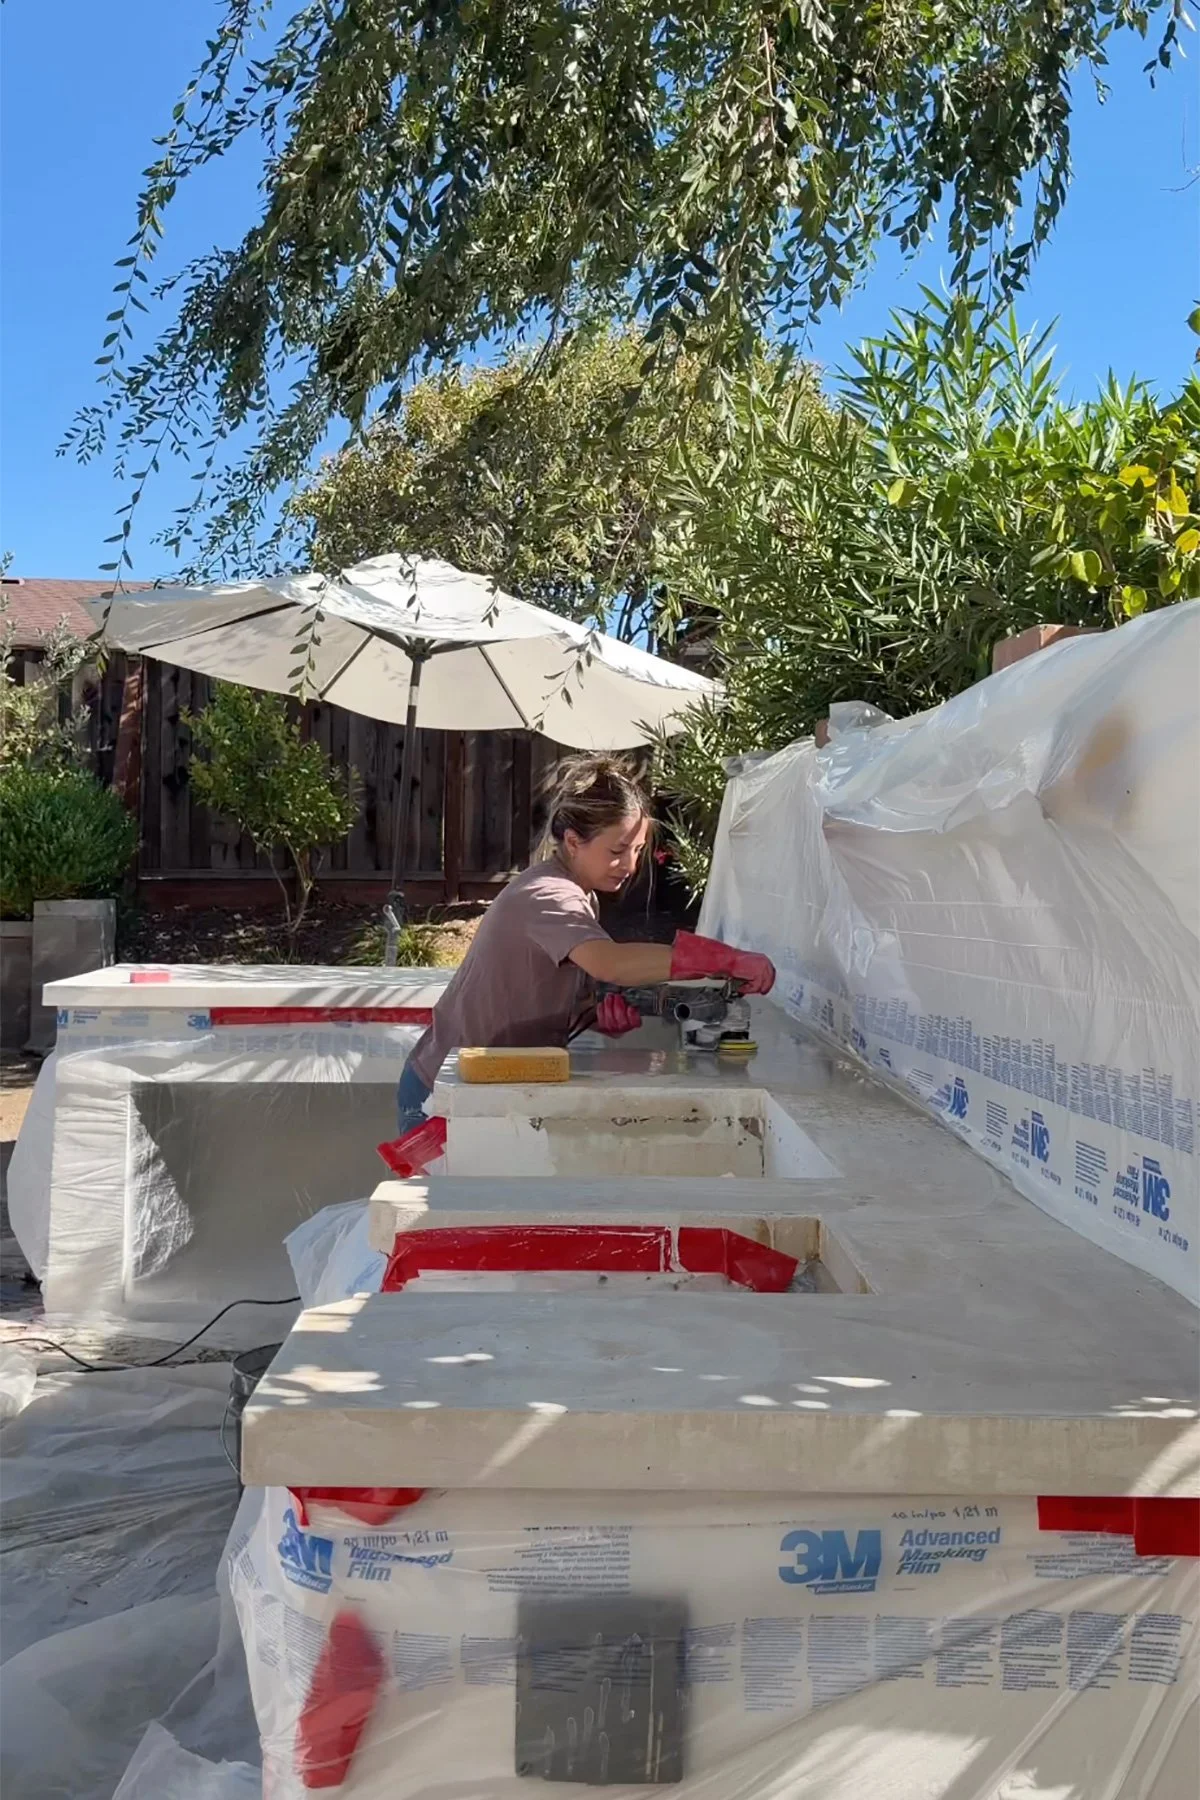
Once we had patched the little imperfections, we moved on to sanding the tops. We started by dry sanding with 120-grit and 180-grit sandpaper, and everything was looking really good.
And then, because apparently this project needed one more challenge: we had completely unexpected summer rain. In California. Before we had sealed the countertops! We were absolutely not prepared for it.
To make things even better, we have a giant tree above the outdoor kitchen, and the rain caused it to drip an orange-colored substance all over portions of our freshly finished concrete. At that point, the countertops needed more than the light sanding we had originally planned.
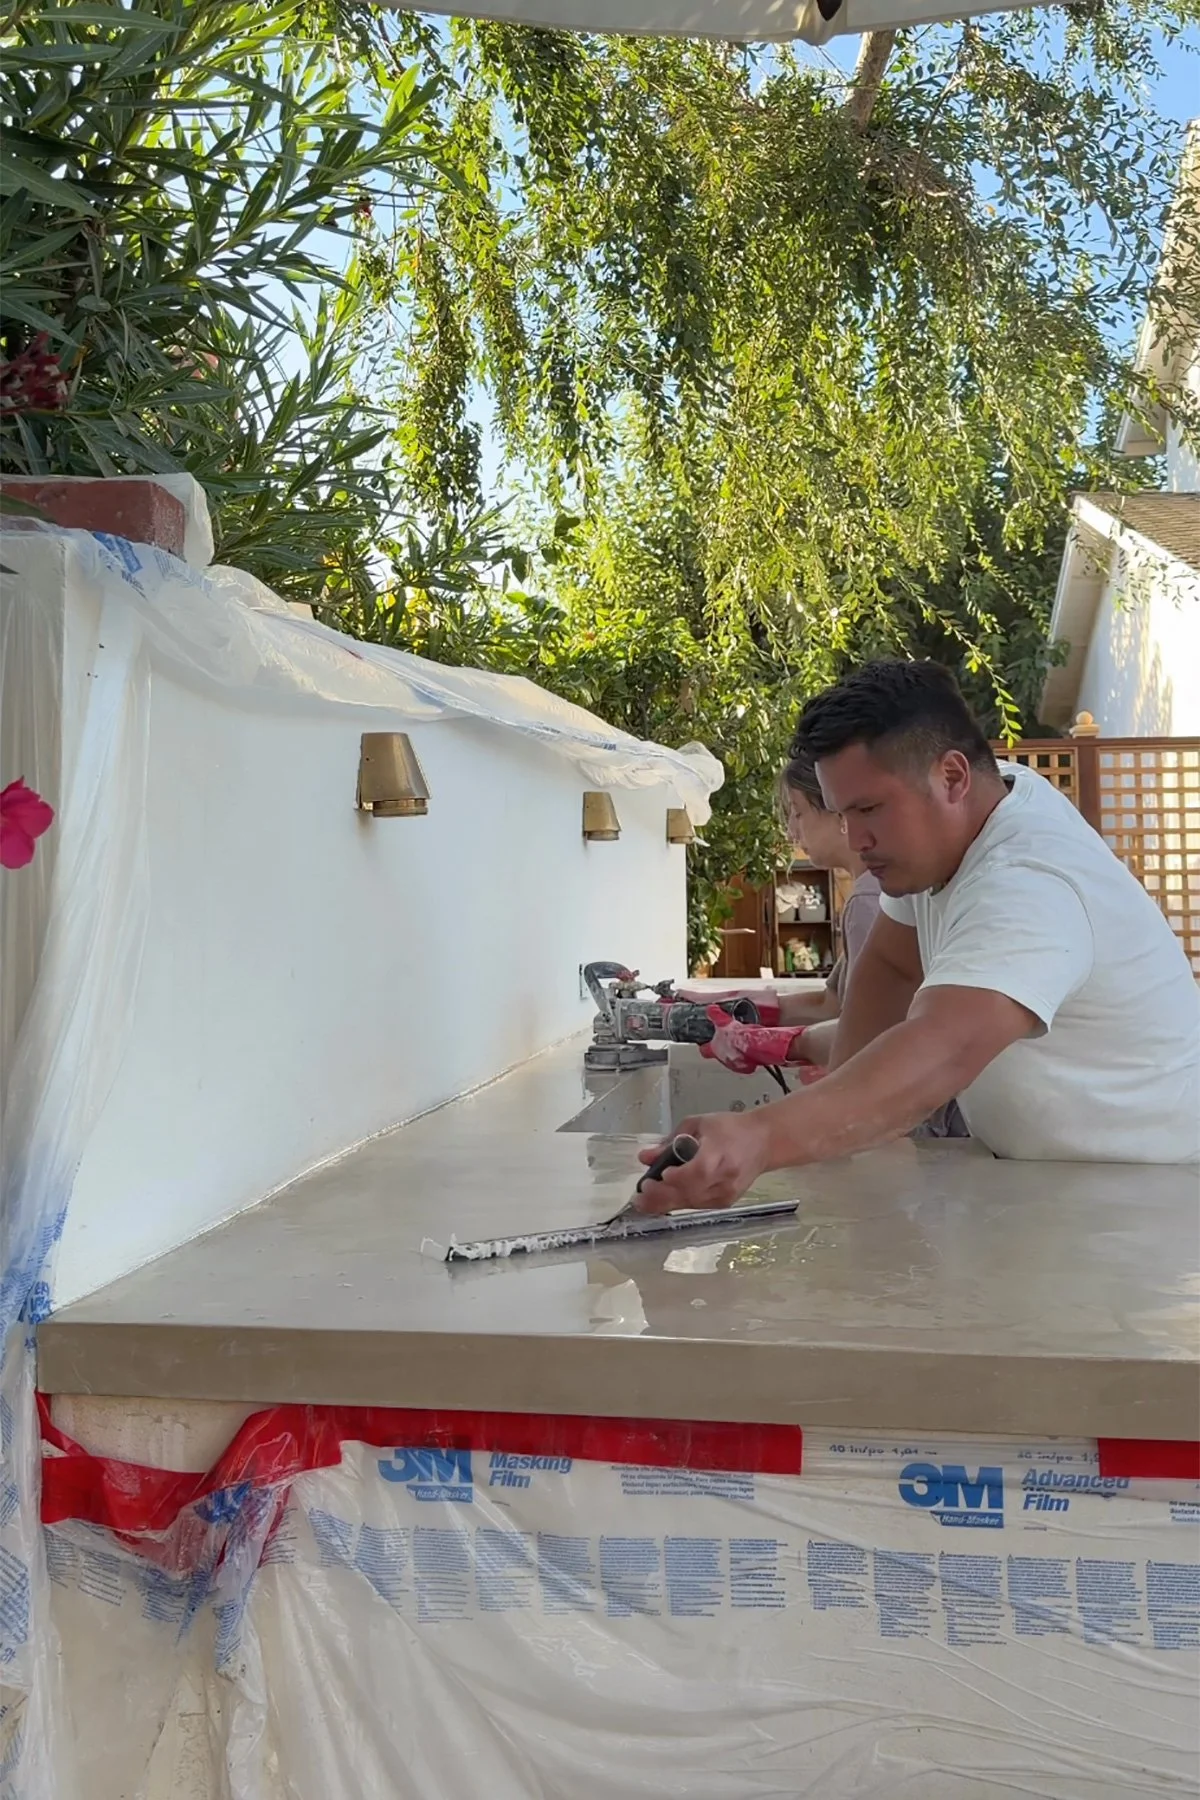
We tried working on the finish with the tools we already had, but it was taking forever to make progress on even a small section. Eventually, we realized this was another situation where having the right tool mattered. We ordered a concrete polisher, and that made the refinishing process so much more manageable.
So here’s another thing I would add to our list of lessons learned: if you’re doing a project this large, especially outdoors, having the proper sanding and polishing equipment from the beginning can save you a lot of time and frustration.
And if there is any chance of rain before your countertops are completely finished and sealed, COVER THEM. Learn from us!
Concrete Isn’t Supposed to Be Perfect
I think this project also changed our expectations a little bit.
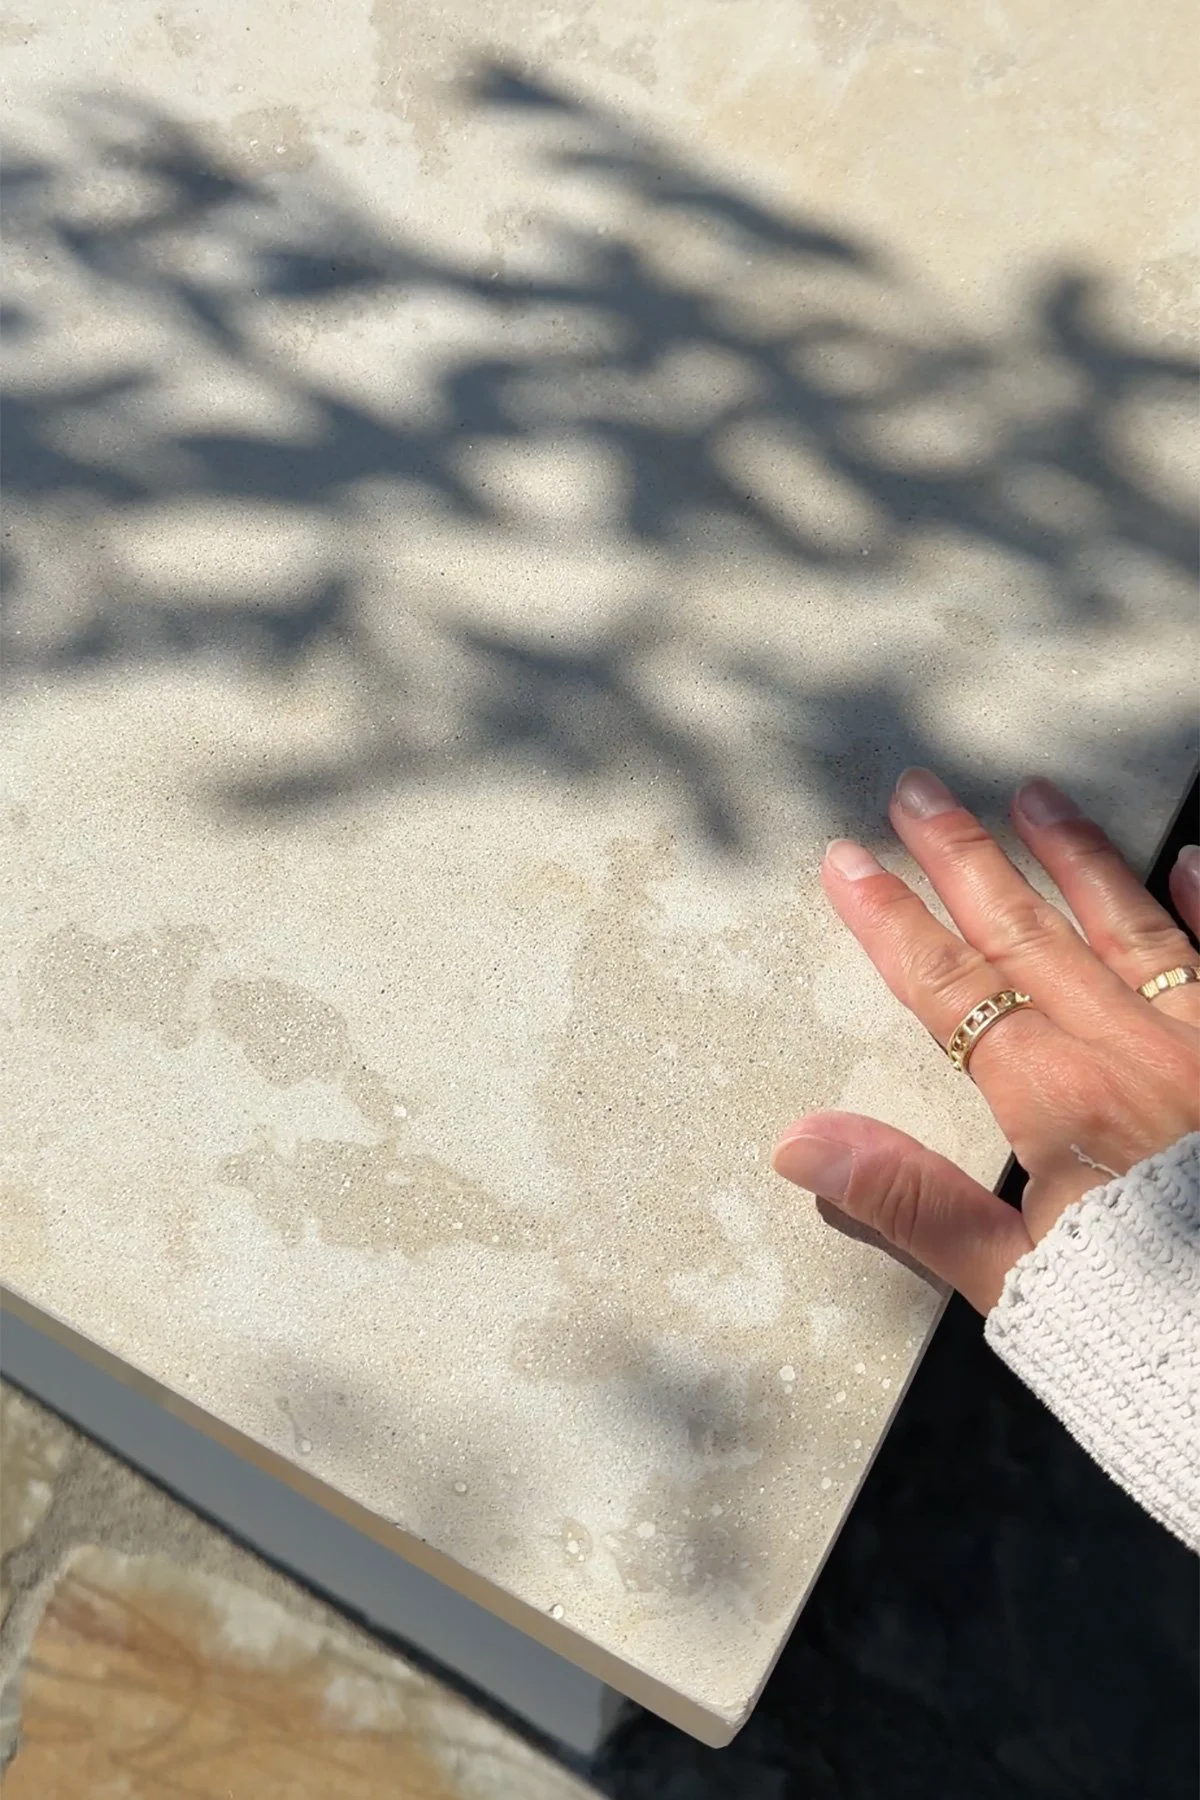
Concrete isn’t manufactured stone. There are going to be subtle variations in the surface, color and finish, and that’s part of what makes it beautiful.
We probably spent more time than necessary trying to get every tiny area absolutely perfect before realizing that some of those variations are exactly what give concrete its character. Especially in an outdoor kitchen, we actually love that it doesn’t feel overly polished or precious.
Would We Use Z Counterform Again?
Yes. Knowing everything we know now, there are definitely things we would do differently: start earlier in the morning, have more people helping, use the right mixer from day one, have the concrete polisher ready and, maybe, check the weather forecast approximately 47 times before starting.
But none of those things would stop us from using the system again. In fact, considering this was our first time ever making concrete countertops, we’re kind of amazed by how they turned out.
The forms gave us beautiful, smooth edges, the Counter-Patch made fixing our beginner imperfections easy, and when we ran into trouble during our first attempt, Z Counterform’s customer service helped us figure out what had gone wrong so we could successfully try again.
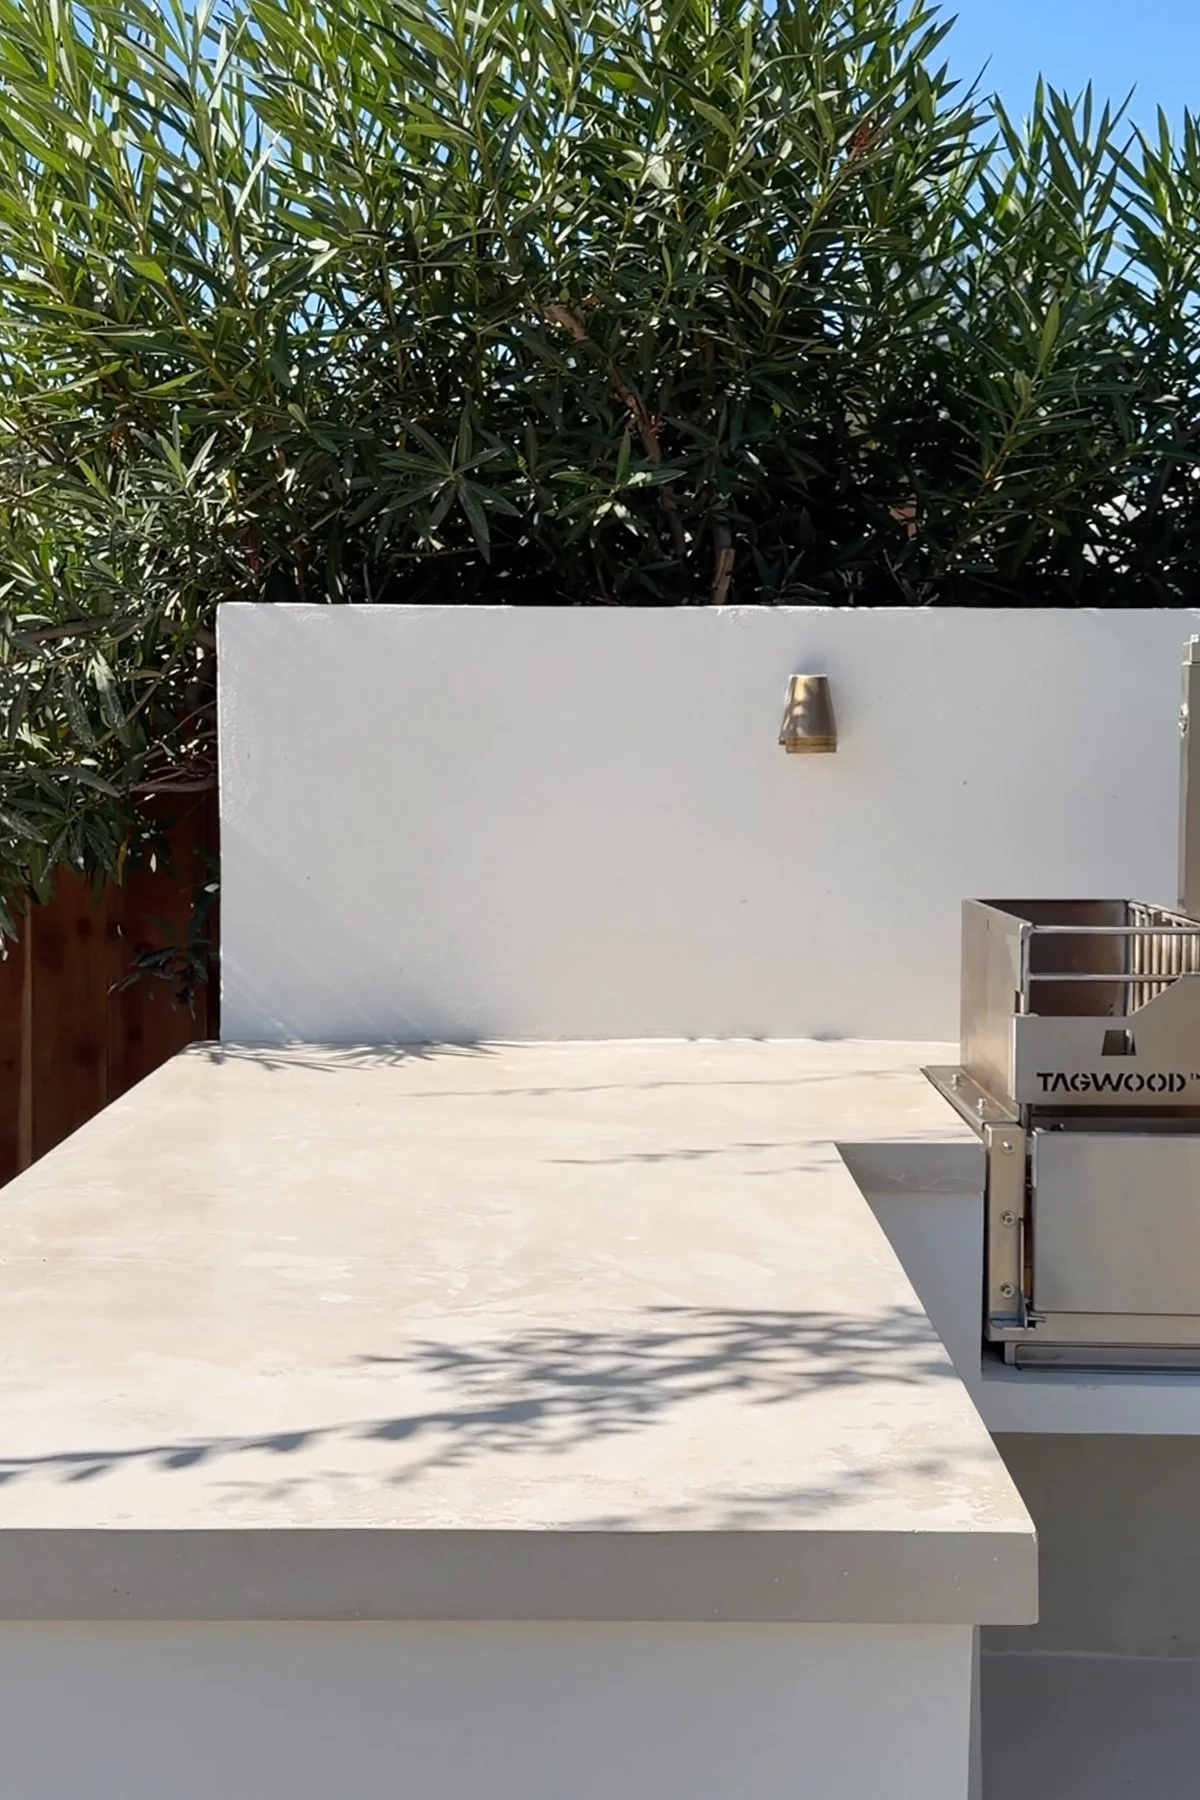
And despite all of the hiccups, the final countertops look so good in the space.
Was DIYing Them Worth It?
For us, absolutely.
This is a BIG outdoor kitchen with a lot of countertop space. Being able to DIY such a large countertop saved us so much compared to the cost of stone, fabrication, and professional installation for countertops this size.
But I also wouldn’t call this an easy little weekend project. It was a labor of love, especially because of the scale of our kitchen and the fact that we were working outdoors. There were definitely moments when we wondered why we decided to do this ourselves.
Now that they’re done? We’re so glad we did.
There is something incredibly satisfying about standing in this outdoor kitchen we’ve been dreaming about for years and knowing we made the countertops ourselves. They’re not factory-perfect, and I don’t think we’d want them to be. They’re ours, we learned a lot making them, and they’re better than we could have imagined for our first concrete countertops.
Our Biggest Tips Before You Start
If you’re considering using Z Counterform for an outdoor countertop project, these are the things we would keep in mind:
Start during the coolest part of the day. For us, pouring first thing in the morning made a huge difference compared to starting in the late afternoon after the materials had been sitting in the sun.
Recruit more help than you think you’ll need. Keeping the mixing, pouring and finishing moving continuously was important for a project our size.
Use a heavy-duty mixer. Don’t sacrifice your favorite cordless drill like we did.
Have the right sanding and polishing tools ready. Especially if you’re tackling a large amount of countertop.
Don’t panic over little imperfections. Counter-Patch made fixing small air pockets and imperfections surprisingly easy.
Protect the countertops until they’re completely finished and sealed. Unexpected weather can happen, even when you least expect it.
Don’t chase absolute perfection. Concrete naturally has character and variation. That’s part of what makes it so beautiful.
Would we tackle concrete countertops again? Yes! But next time we’ll be starting at sunrise, with extra helpers, an industrial-strength mixer, a concrete polisher ready to go, and a giant tarp nearby just in case California decides to surprise us with rain again.
List of Materials:
Pouring Concrete:
Buckets
Finishing:
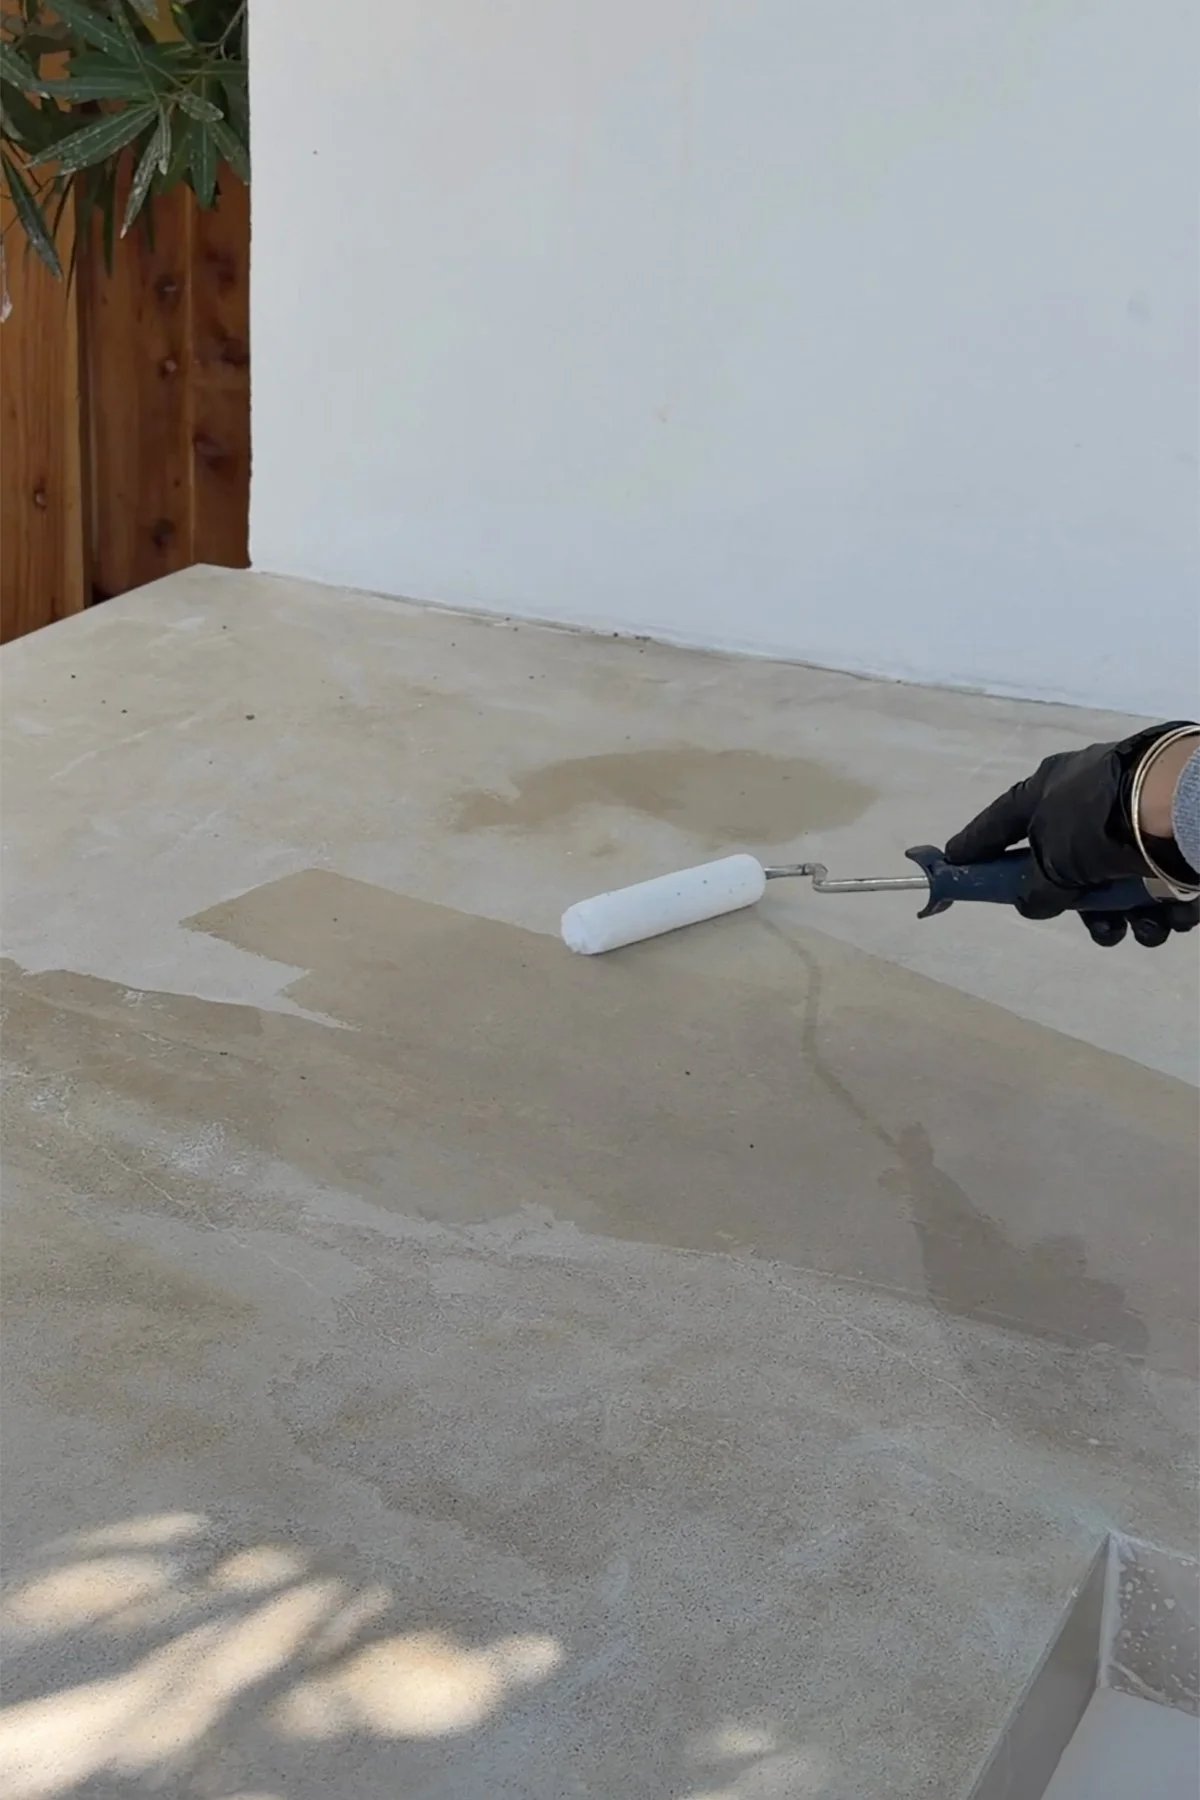
High-Density Fabric Wooster (for applying sealer)
You might also like this post:

Our DIY concrete countertops were one of the most exciting—and challenging—parts of our outdoor kitchen project. We used Z Counterform to create them ourselves, and along the way, we learned A LOT. Here’s what worked, what we’d do differently, and what I wish we’d known before starting.