Pre-Teen Bedroom Refresh: How to Do LED Lights the Right Way
This bedroom has gone through quite a few changes since we moved in back in 2020. As my boys have grown, the space has naturally evolved too—so it was time to refresh the room to better fit my gamer and soccer-loving pre-teen boys. And of course, like most pre-teens and teens, they wanted LED lights in their bedroom. But it wouldn’t be me if I just stuck them on the wall! So today I’m showing you how I installed them in a creative way—so you can try it too.


The moodboard that started it all.
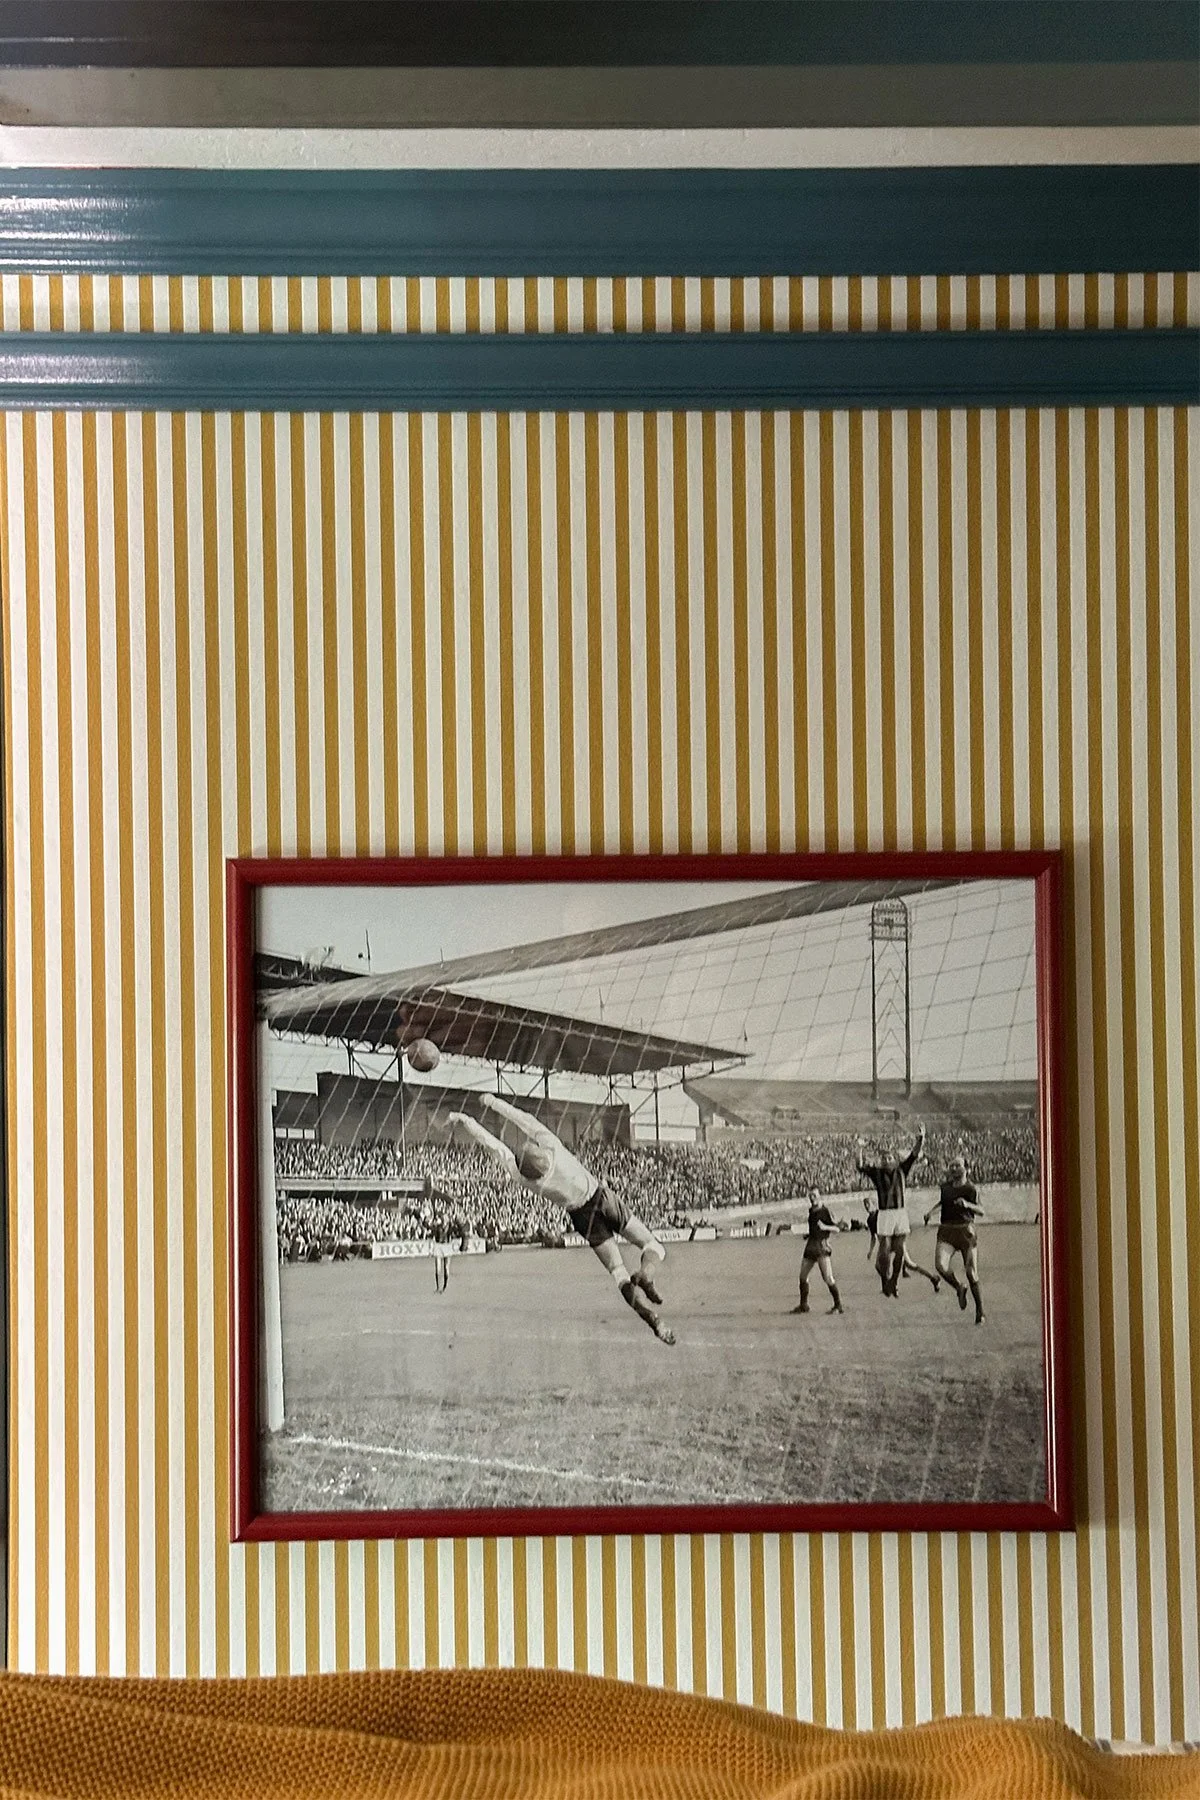
I wanted a seamless look for the LED lighting—I didn’t want to just stick the strip directly on the wall or ceiling, and we definitely didn’t want to remove the crown molding. After some thought, we came up with the idea of installing an additional piece of molding about 2” below the crown, similar to how you’d install picture rail molding. This way, the LED strip could sit on the new molding and stay hidden when the lights are off.
We went to a local molding company and found exactly what we needed. It’s technically a cap molding, but any type of picture frame molding with a lip would work just as well. Here’s the exact one we used: MC516 molding.


Since the molding was a little wider than we needed (our crown molding is about the same width), we trimmed it down on the table saw. Installation was super easy—we used a scrap piece of wood as a spacer and nailed the molding into place. I pre-painted the pieces to match our trim before installing, since we had wallpaper on the walls, but honestly pre-painting just makes the process faster anyway.

Trim color: Deep Dive by Clare

Using a scrap piece of wood as a spacer.
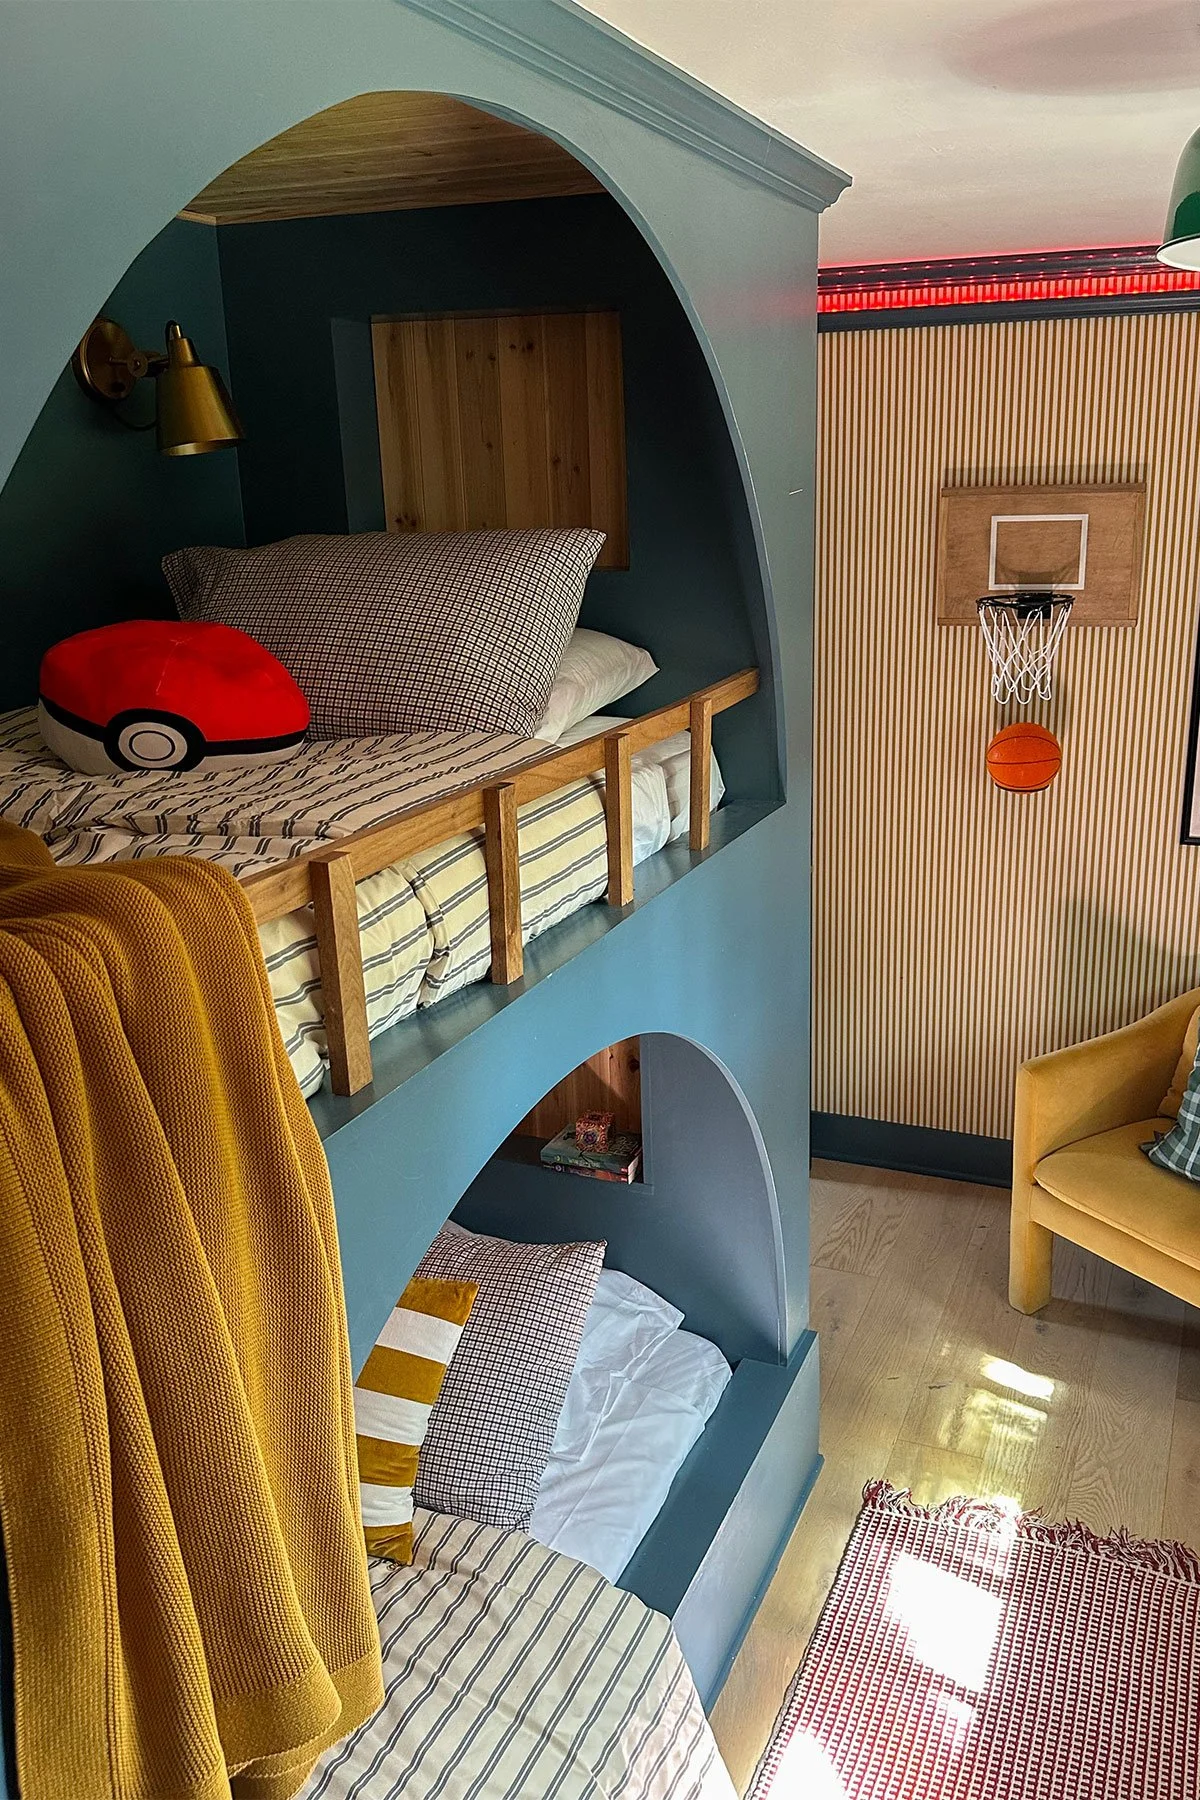
Lastly, we tucked the LED strip behind the molding lip, plugged it in, and done! Now it looks like an intentional design feature—you’d never know there are LED lights hidden behind it. Best of all, our kids are thrilled with the result, and I’m happy there’s not an eyesore in sight (haha!).


What do you think about this easy DIY? Would you try it?
Shop This Post: