6 "bandaid fix" budget friendly ideas you can do today to improve the look of a space in your home.
We started working on our home right after we got the keys, but there were and still are spaces that where we can’t make permanent and big changes right away. The kitchen was one of those, we couldn't renovate right away so I decided to do some affordable cosmetic changes to improve the look of our kitchen in the meantime, I have a full blog post about it here.


Our kitchen bandaid renovation
Spoiler alert, we now completed our official kitchen renovation but we were happy with the #bandaidrenovation while we waited and saved for the real renovation.
But it didn’t stop there. Our principal bathroom needs a complete gut job, it has a very outdated layout and it had carpet! The carpet needed to go right away and then I didn’t want to spend on things that I will get rid off eventually -like new flooring- because to us this bathroom needs a complete gut demo with a new layout and everything but that renovation might happen in one more year or so - fingers crossed- so while we wait for that said renovation to happen I wanted to do something about our bathroom to improve the look of it.
“Do that you can with the things that you have” You can make your spaces beautiful if you get creative and focus on the things you can improve.
Everything I did in that bathroom was budget friendly so here are some ideas that you can do too!
Paint your floors!.
From painted tile, painted subfloor, linoleum. You name it. I’ve done it all!
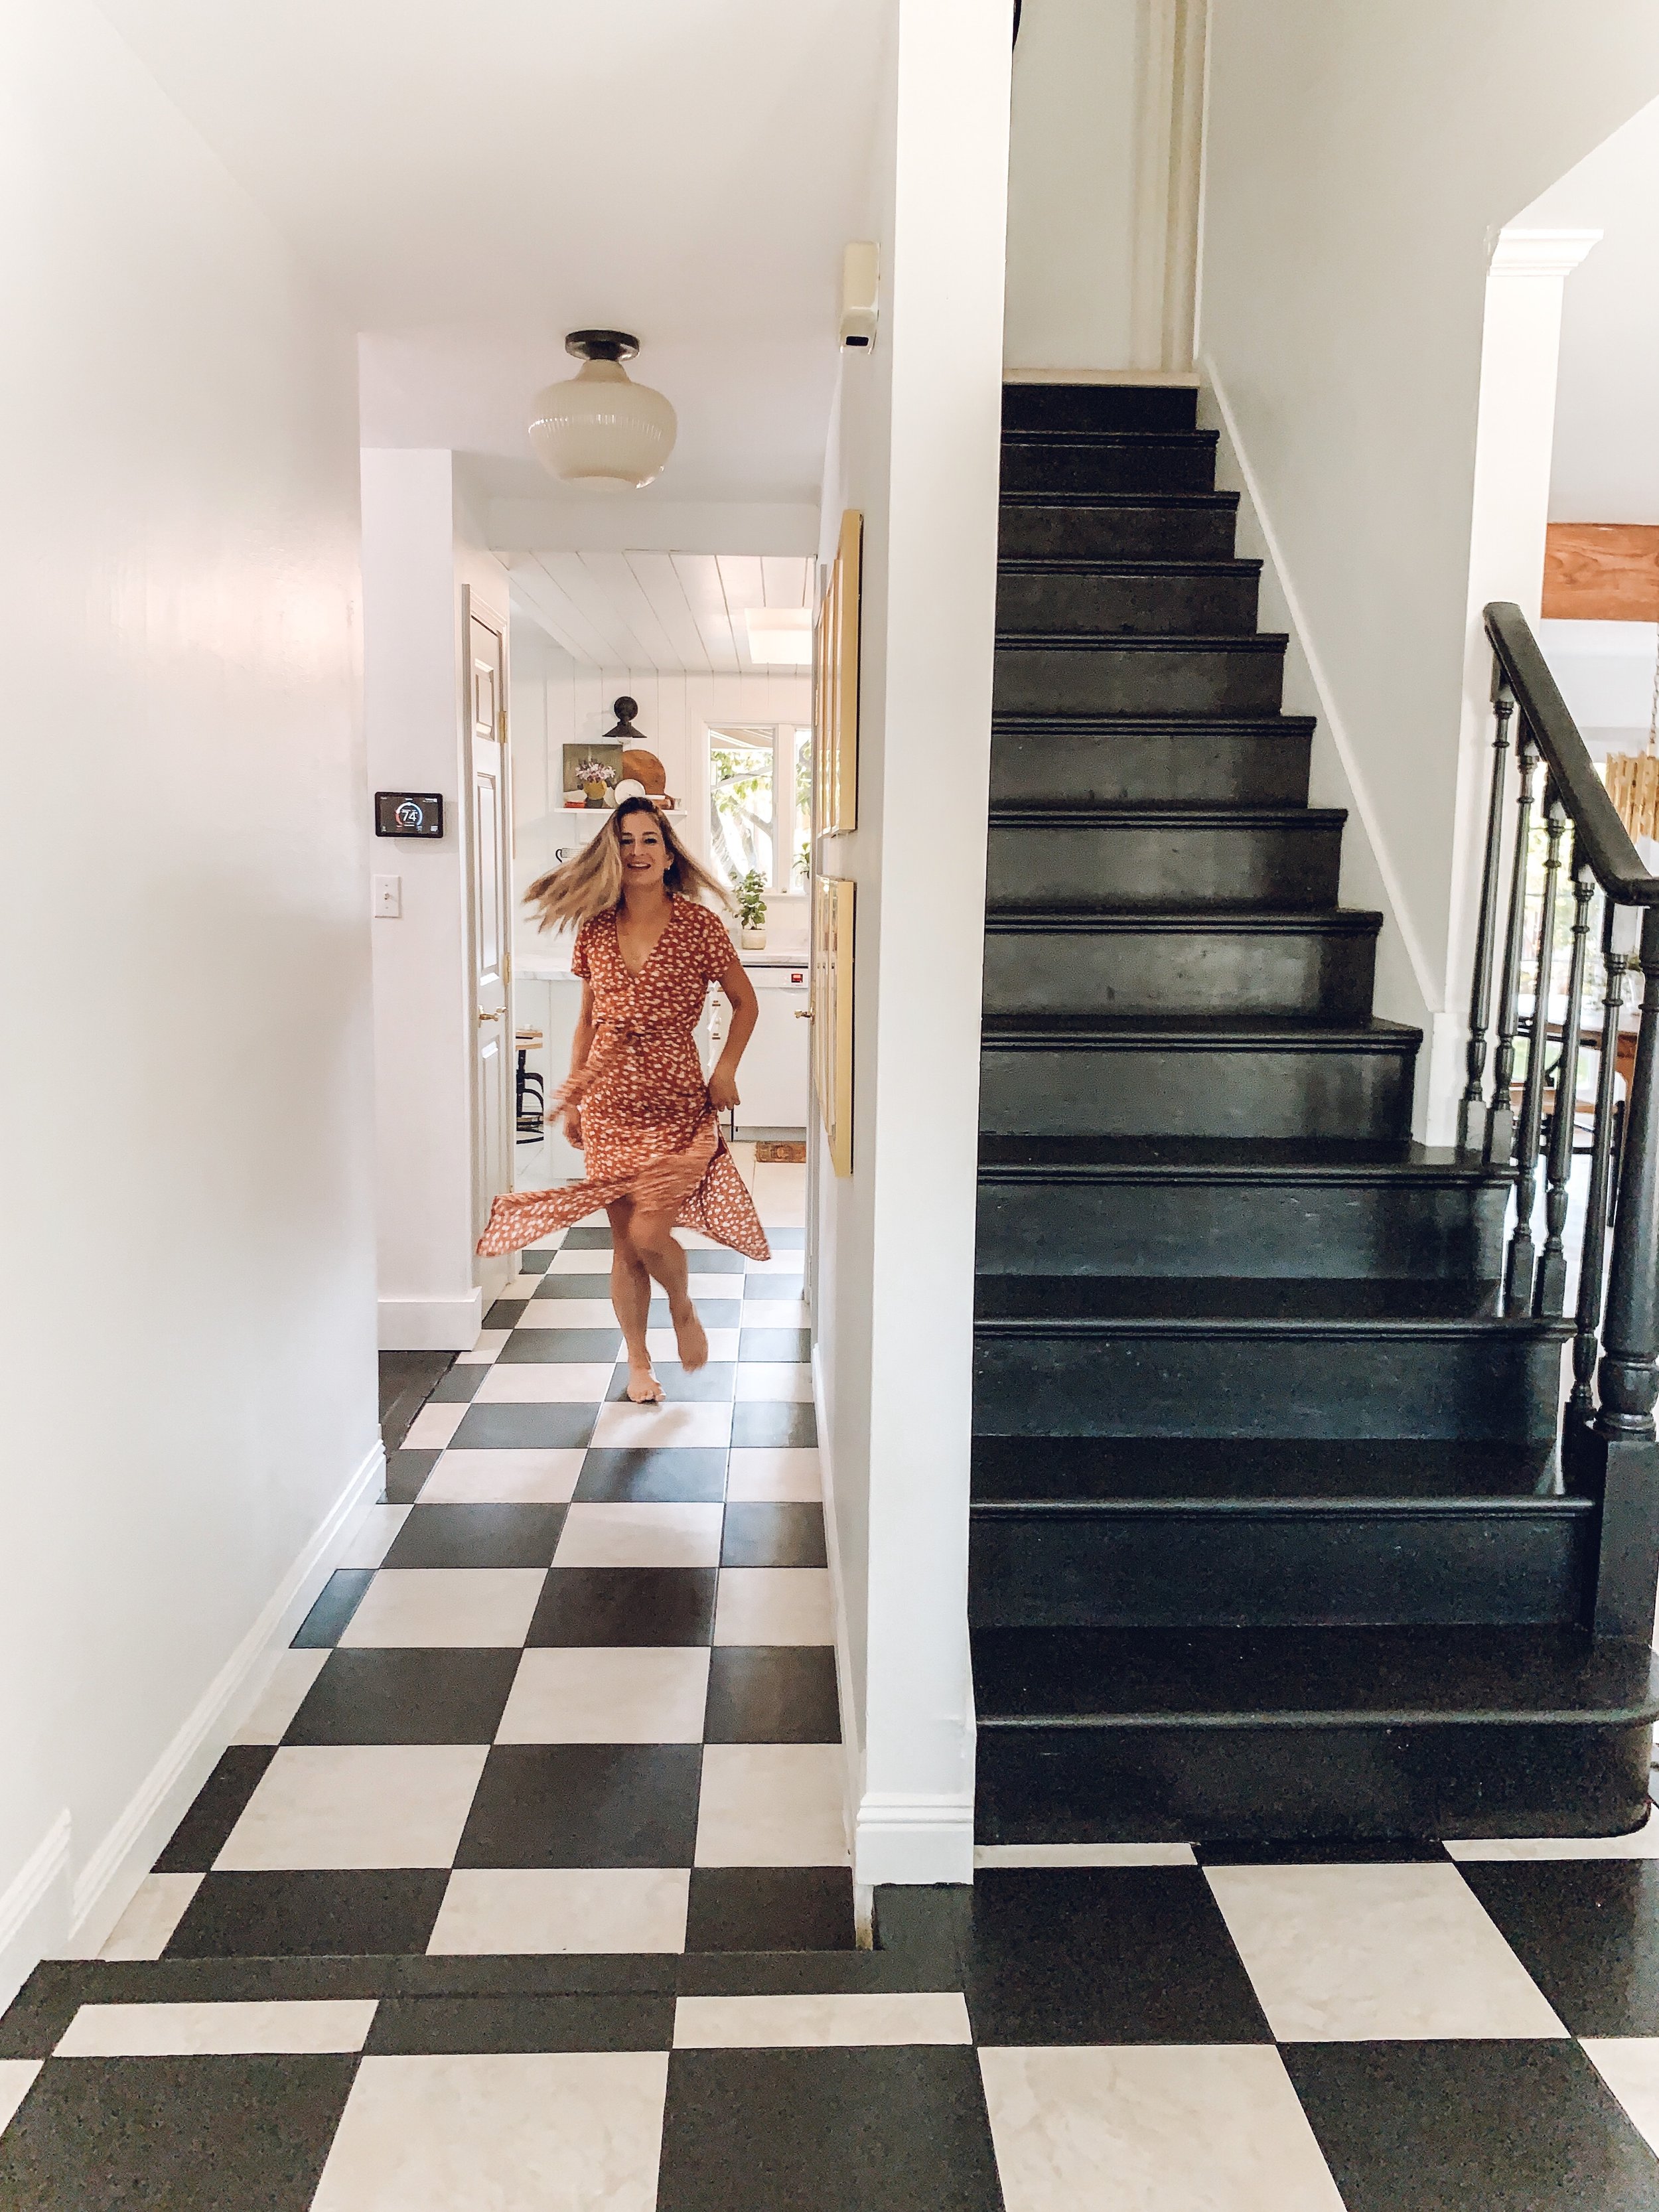
This was the first project I tackled in our home, I needed to do something about our bathroom floors after we ripped the blue carpet out. And I didn’t wanted to spend on something that I didn’t love just to have something there in the mean time. Since our subfloors were in good shape I decided to paint them! For the harlequins floors I used regular house paint.
The steps are very simple. I cleaned our floors and then applied a couple of coats of white primer once the primer was dry I taped the pattern I wanted to do in this case I went with a harlequin pattern. Then I rolled the paint, I used Into the gloaming SW for the greige color and Pure white SW. After the paint was completely dry I applied a couple of coat of Polycrylic in Satin. Almost 2 years later these floors are going great! I clean them just like any other wood floors.


The other alternative is to use this Floor paint kit, I used that 2 step process to paint our linoleum floors in the shower side of our bathroom. I went with plain black for some contrast. I also used that kit to paint our tile floors in the main level. You can see more of this process here.

Painted floors in our bathroom, 2 years later.

Our tile floors painted using Rust-Oleum home paint kit
Vinyl tile floors
If painting your floors is not your thing you can use these vinyl tiles! I used these in our kids bathroom over linoleum floors. Over 1 year later and going strong! Highly recommend them for a temporary or more permanent budget friendly solution. I spent about $60 for our kids bathroom!
FYI according to manufacturing instructions these are not recommended over linoleum floors but I decided to install them either way and they are doing great. Just make sure to use a really good cleaning product like a degreaser type of cleaner to clean the floors before applying the vinyl tiles.
You can find more of this full project here.

Before view of our kids bathroom

After I installed vinyl tiles and a fresh coat of paint on the cabinets.
Accent walls
Not exactly a banaid fix but I was something I did in our bathroom that added so much character so I wanted to include it in this post.
I think spaces gain so much personality and character with an accent wall or some type of wainscoting. But molding can get expensive fast! Have you seen wood prices these days? I know, crazy times.
Here is a budget friendly solution that can give you the board and batten feel you are looking for but keep you on budget. A half painted wall with wood trim! I used one board to define the painted wall and to add some more charm and functionality. Some painted pegs that double as hooks to hang our bath towels, it looks so cute! I went with this beautiful color called Canyon clay SW. Simple but makes a huge difference, right?


If you can’t change it, disguise it.
I wished this could be applied to more things, that would be great! haha
Not a break through idea but I think small ideas like this are the ones we tend to not think much about. We have an outdated shower and glass door in our bathroom and since we can’t change it and neither I want to remove it right now and also I don’t like seeing it I decided to “covered it” using one curtain panel. I went with just a regular window curtain panel instead of a shower curtain and hanged it high for some drama. I used this tension rod and these clip-on rings to hang the curtain panel.
Now you see it, now you don’t. It makes me happy :)

A fresh coat of paint.
Paint your cabinets, walls and I already mentioned floors. Paint goes a long way and it is such an affordable way to transform a space. Try it!


Change your cabinet hardware!
Something simple but gives new life to your cabinets. There are some very affordable options out there, you can even try looking at fb makerplace or second hand stores, people is always renovating and doing home improvement projects. Here is an affordable option I used on our kitchen cabinets. These brass pulls and these wood knobs that you can paint or stain any color.
New decor and accessories
Last but not least, sometimes just sprucing up a space with new and fresh towels, plants, art, a vase with fresh flowers and decor can bring new life into a space and spark joy and creativity and you will get new ideas of ways you can improve your space within your means.


It’s versatile, timeless and quickly became one of my favorite materials to transform spaces and add character in our home. V-groove planks are having a moment lately unlike the most popular wood paneling, tongue and grove. But this type of interlocking wood plank has been used for years and years and you can find it in most homes dated from the 1800 and later.