One weekend Budget Hall Bathroom makeover
Last year, I partnered with one of my favorite paint brands over on Instagram to do a one-weekend bathroom makeover for my sister-in-law.
My sister-in-law, Brissette, moved to this early 2000s home with her partner at the beginning of 2021, and soon after, they welcomed their baby girl. The house needs work, but they are working little by little to make it their home.
The year prior, I also helped them transform their guest bedroom in one weekend, and it turned out beautiful. So, we decided to try this again, but this time, do a one-weekend hall bathroom makeover. Because, I love a good challenge!

This is a small-ish bathroom with mostly builder-grade features, including the typical outdated glass door and glued mirror, not-so-great tile floors that, according to Brissette, were so hard to keep clean, and an outdated vanity and light fixtures. Honestly, it wasn't too bad because it was in good shape, but it was mostly outdated, and we knew that with simple and affordable changes, we could make it so much better.

The BEFORE
The plan was simple: paint absolutely everything but the floors, remove the outdated shower door and mirror, replace all the light fixtures, and do something about those floors. We are considering this a "bandaid fix" since they have plans to renovate this bathroom down the road. But, the changes we are making can be considered as a great budget-friendly renovation.


Paint for the win!
I said it multiple times, but nothing better than a fresh coat of paint to make a space feel brand new. In this bathroom, we painted the vanity Tricorn Black because the current white color was making the countertops look very dingy. We also replaced the old hardware with these pretty aged gold ones I found on Amazon for a really good price. We decided to keep the faucet for now since they might replace the countertops eventually. For the walls, they had some molding that the previous owner installed, and we decided to keep them since removing them would cause some damage to the walls and we were on a very short timeline. Instead, I decided to add very inexpensive molding I found at Lowe's and installed it about 5” under the ceiling all around the room to create a “faux” crown molding. The total cost for the molding was around $25, but it made a huge difference.
A two tone wall
This room doesn’t have any windows, and contrary to what most people believe, white is never a good option for spaces that lack natural light. We opted for a two-tone wall. We went with a darker color for the ceiling and a lighter blue for the walls. The ceiling height is only 8’, but this change made the room feel grand and the ceilings so much taller. Plus there is something about painted ceilings that instantly elevate a space. I love this idea so much that I want to recreate it in my home.
Since we only had tile baseboards and removing them was not in the cards, I used an extra bonding primer and then painted them the same color as the ceiling to make them look more cohesive.
Since we removed the shower door, I replaced it with my favorite shower curtain hack, which is a regular window curtain with a shower liner inside. I picked this linen blend curtain from Amazon in a longer length to make it look more grand, and this shower liner inside. I think it looks 1000 times better and I don’t think anyone is going to miss the loud glass door.

Painting the ceiling made the room feel larger, plus it added so much character.
Let’s talk about the floors.
We left the floors to last because I wanted to see how it would all look once it was done, and honestly, the original tile floors looked so much better with all the other changes in the space. I was so close to keeping them just like that, but since we already had the peel-and-stick tile with us, we ultimately decided to use them, and I think it was the right call. It makes the space feel finished and brings the lightness this room needed.
I'm still in awe of the transformation we achieved in just one weekend! With a few simple yet impactful changes, we completely transformed this space. That mix of cool and warm tones creates a beautiful balance. Plus, the addition of new decor is the icing on the cake. Love the coat rack as a towel rack and that little wood shelf to hold some of the bathroom essentials.


Love this sleek TP holder, we used the same one in our Hall bathroom as well.
Here's a rundown of what we did:
Swapped outdated shower doors for elegant curtains.
Replaced the frameless mirror with a decorative one that also serves as wall art.
Upgraded the ceiling and wall light fixtures for a fresh and timeless look.
Added a wooden shelf, hung some beautiful artwork, and installed new towel hooks.
Gave the vanity a facelift with a fresh coat of paint and new hardware.
Spruced up the space with peel-and-stick tiles in a classic style.
Painted the tile baseboards to match the ceiling.
Installed affordable trim about 5 inches from the ceiling and painted the ceiling a darker color to create the illusion of taller walls.
Gave the walls a fresh coat of paint.


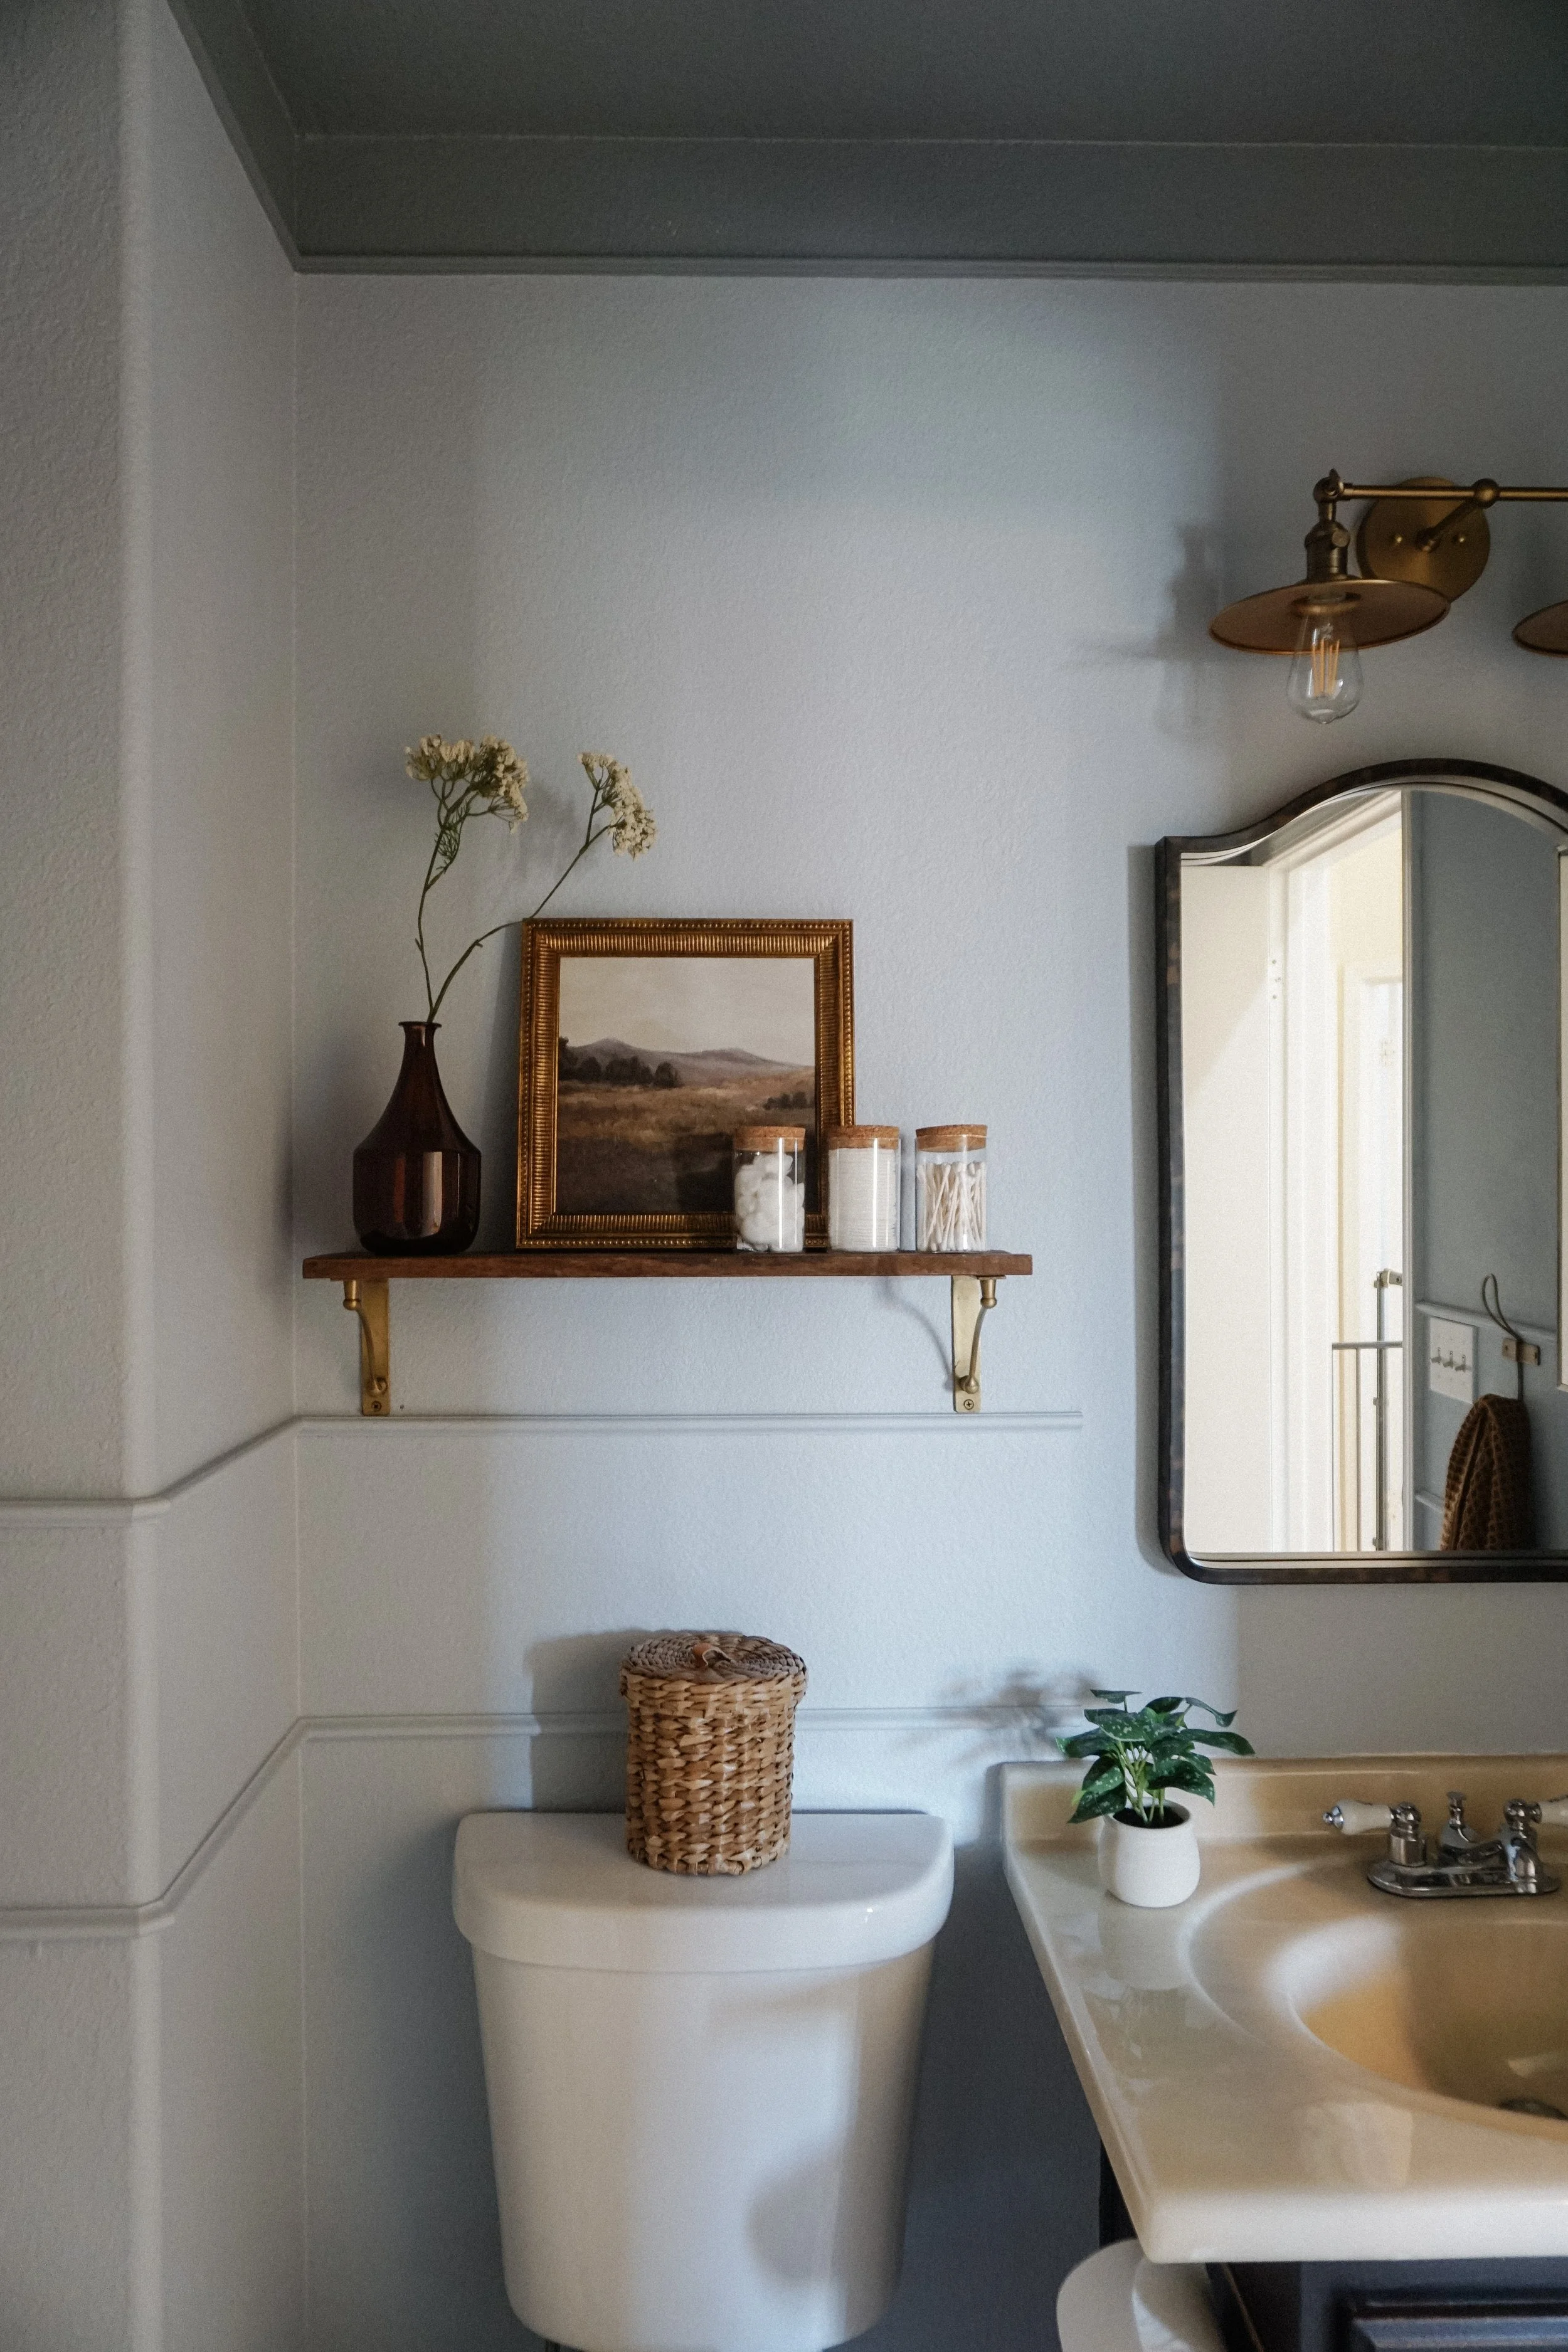
The prettiest wood shelf to hold bathroom essentials.
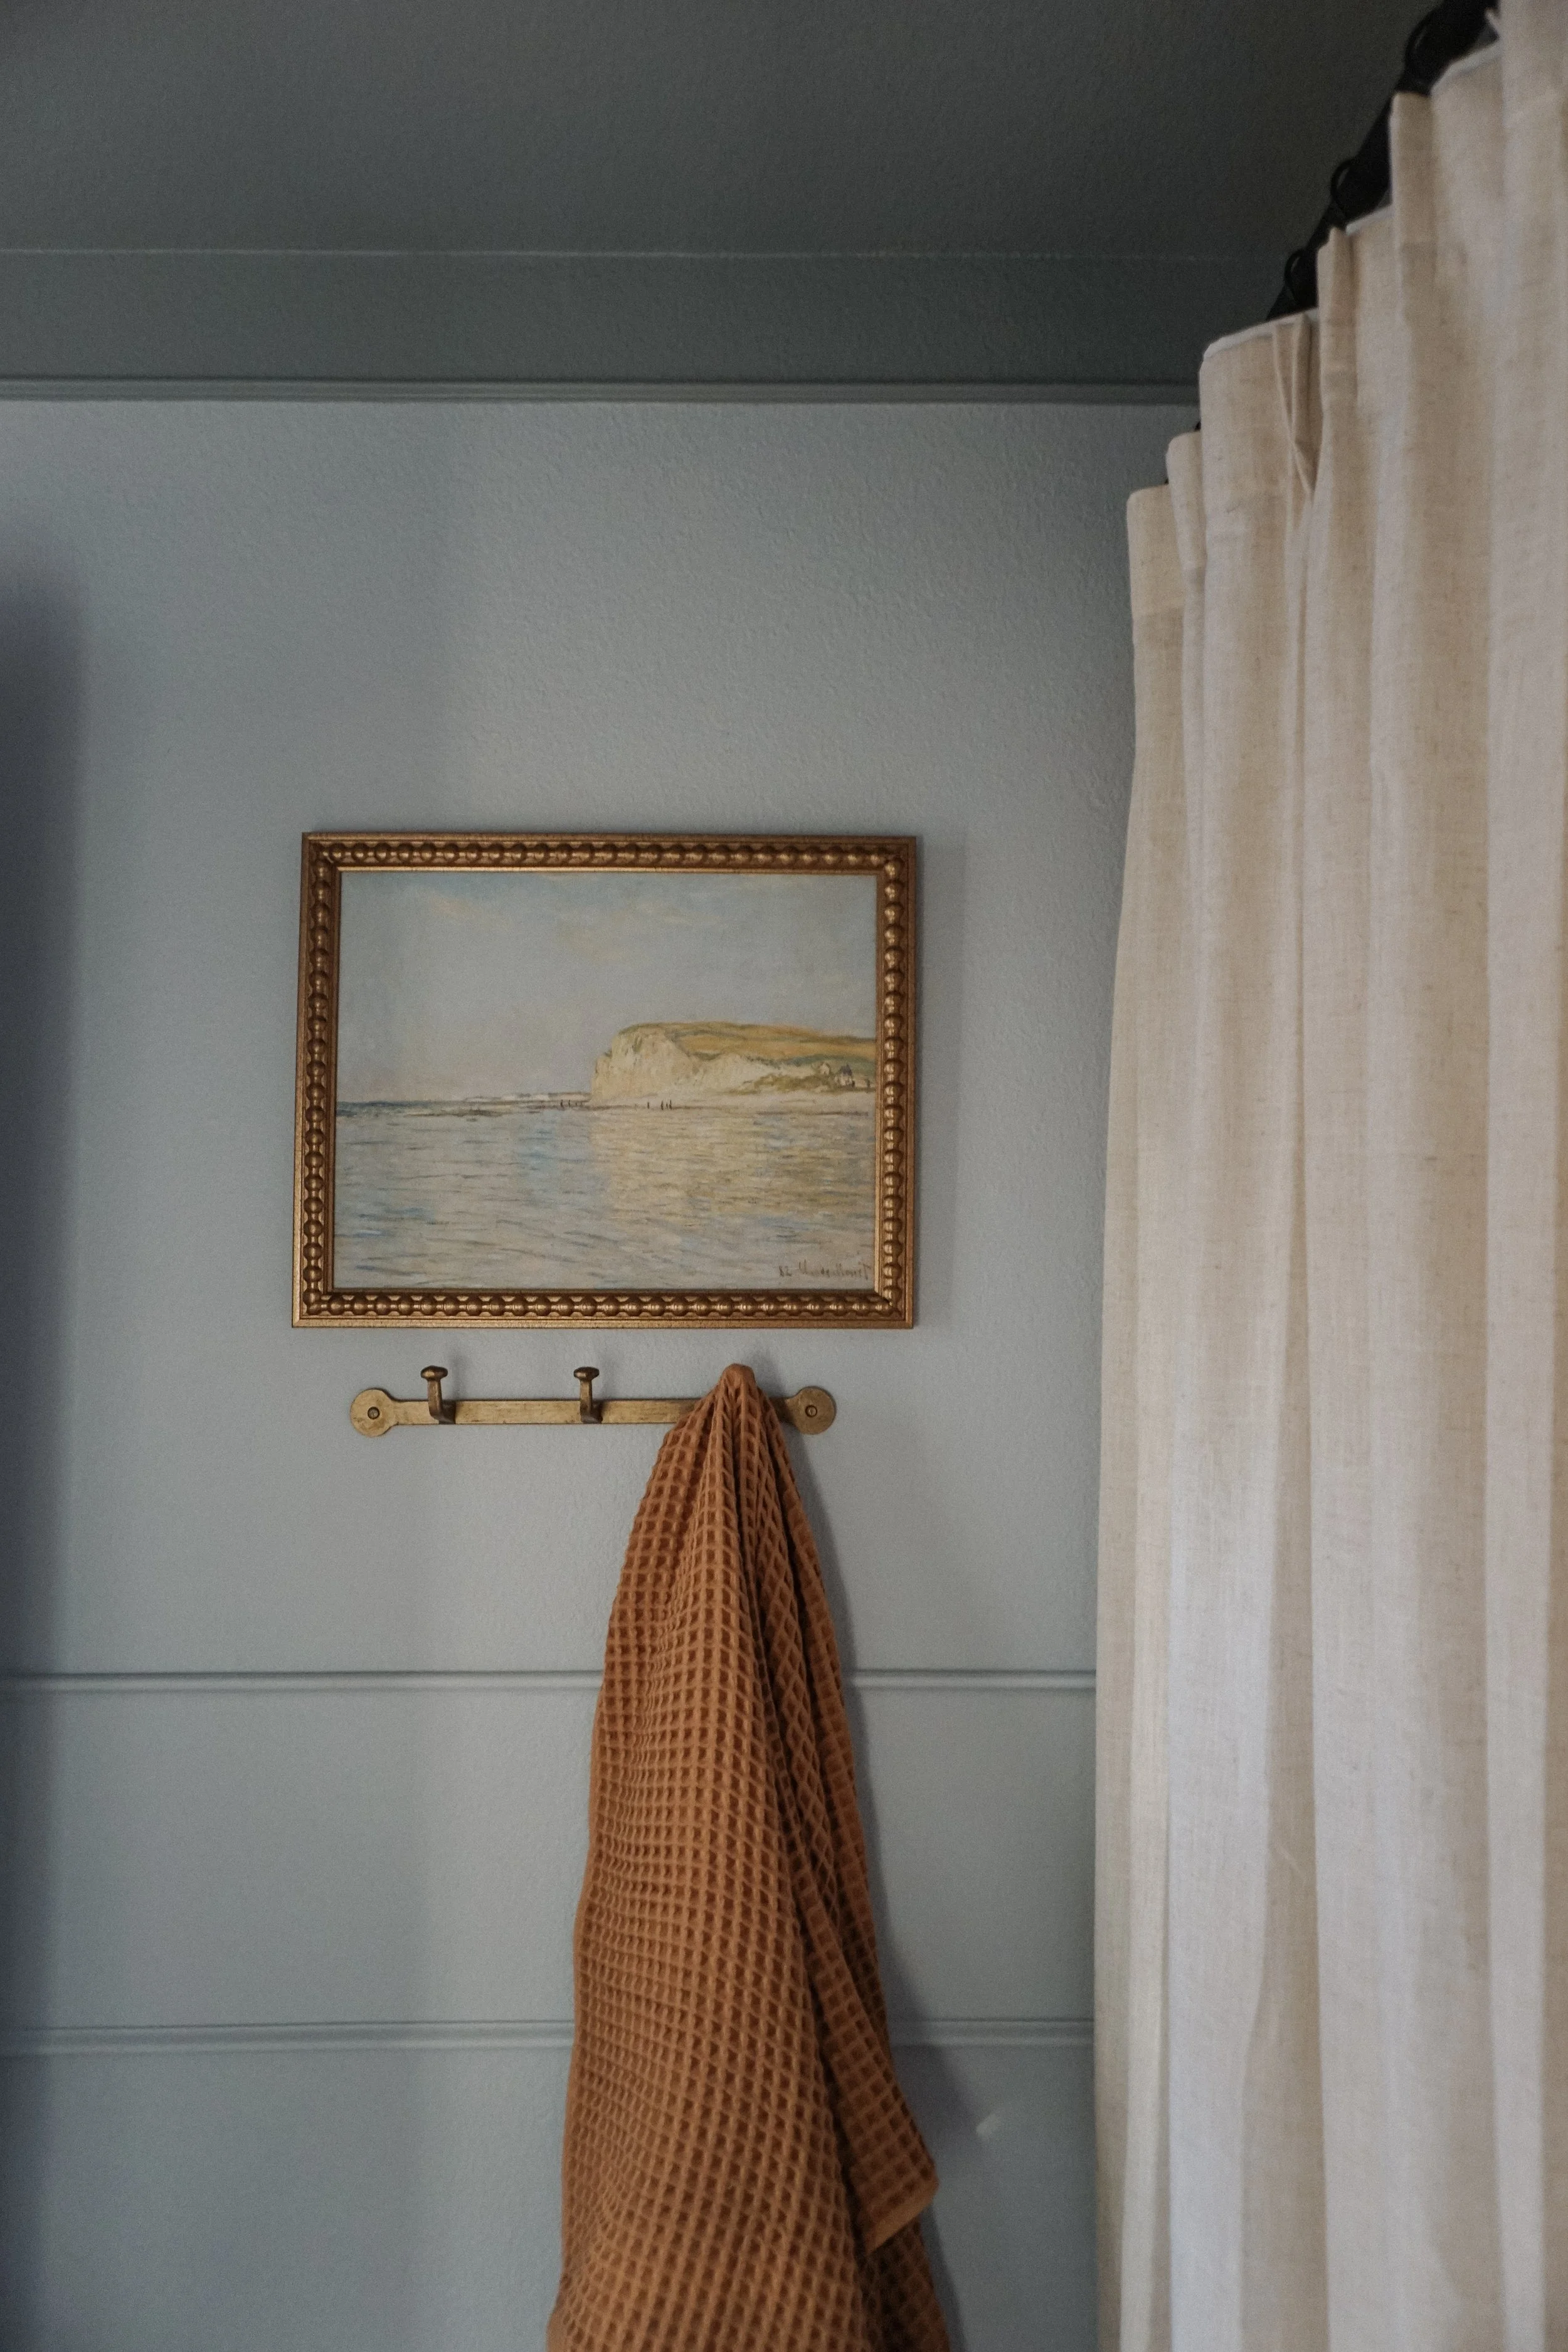
A coat rack as a towel rack.


Peel and Stick tile
Brass vanity light fixture
Shower curtain liner
Curtain rings
Tension curtain rod
LED flush mount
Wood and brass shelf
Aged brass pulls
Aged brass knobs
Linen inspired sheer curtains
Bath towel
Shop this post.


It’s versatile, timeless and quickly became one of my favorite materials to transform spaces and add character in our home. V-groove planks are having a moment lately unlike the most popular wood paneling, tongue and grove. But this type of interlocking wood plank has been used for years and years and you can find it in most homes dated from the 1800 and later.