
DIY Art using house paint and joint compound
I was craving to do a easy project in the house and after seeing some of my Instagram friends Cass and Erin -To name just a few- I decided to get into creating my own art! why not right?
For this project I didn’t wanted to purchase anything. Lucky me, with all the projects going on in the house, I have plenty of materials for random projects like this one. I had a large piece of plywood left over from the bathroom beam and joint compound -used for drywall work- and of course, plenty of regular house paint from all the paint jobs going on.
My approach was very simple, you can do the same too or add your personal touch and get extra creative.
Started with my plywood and joint compound, this is what will add the texture and made the piece come to live. Have fun creating shapes! in my opinion, the more textures the better. But, you can also do a smother surface and then add the details with color, your call.
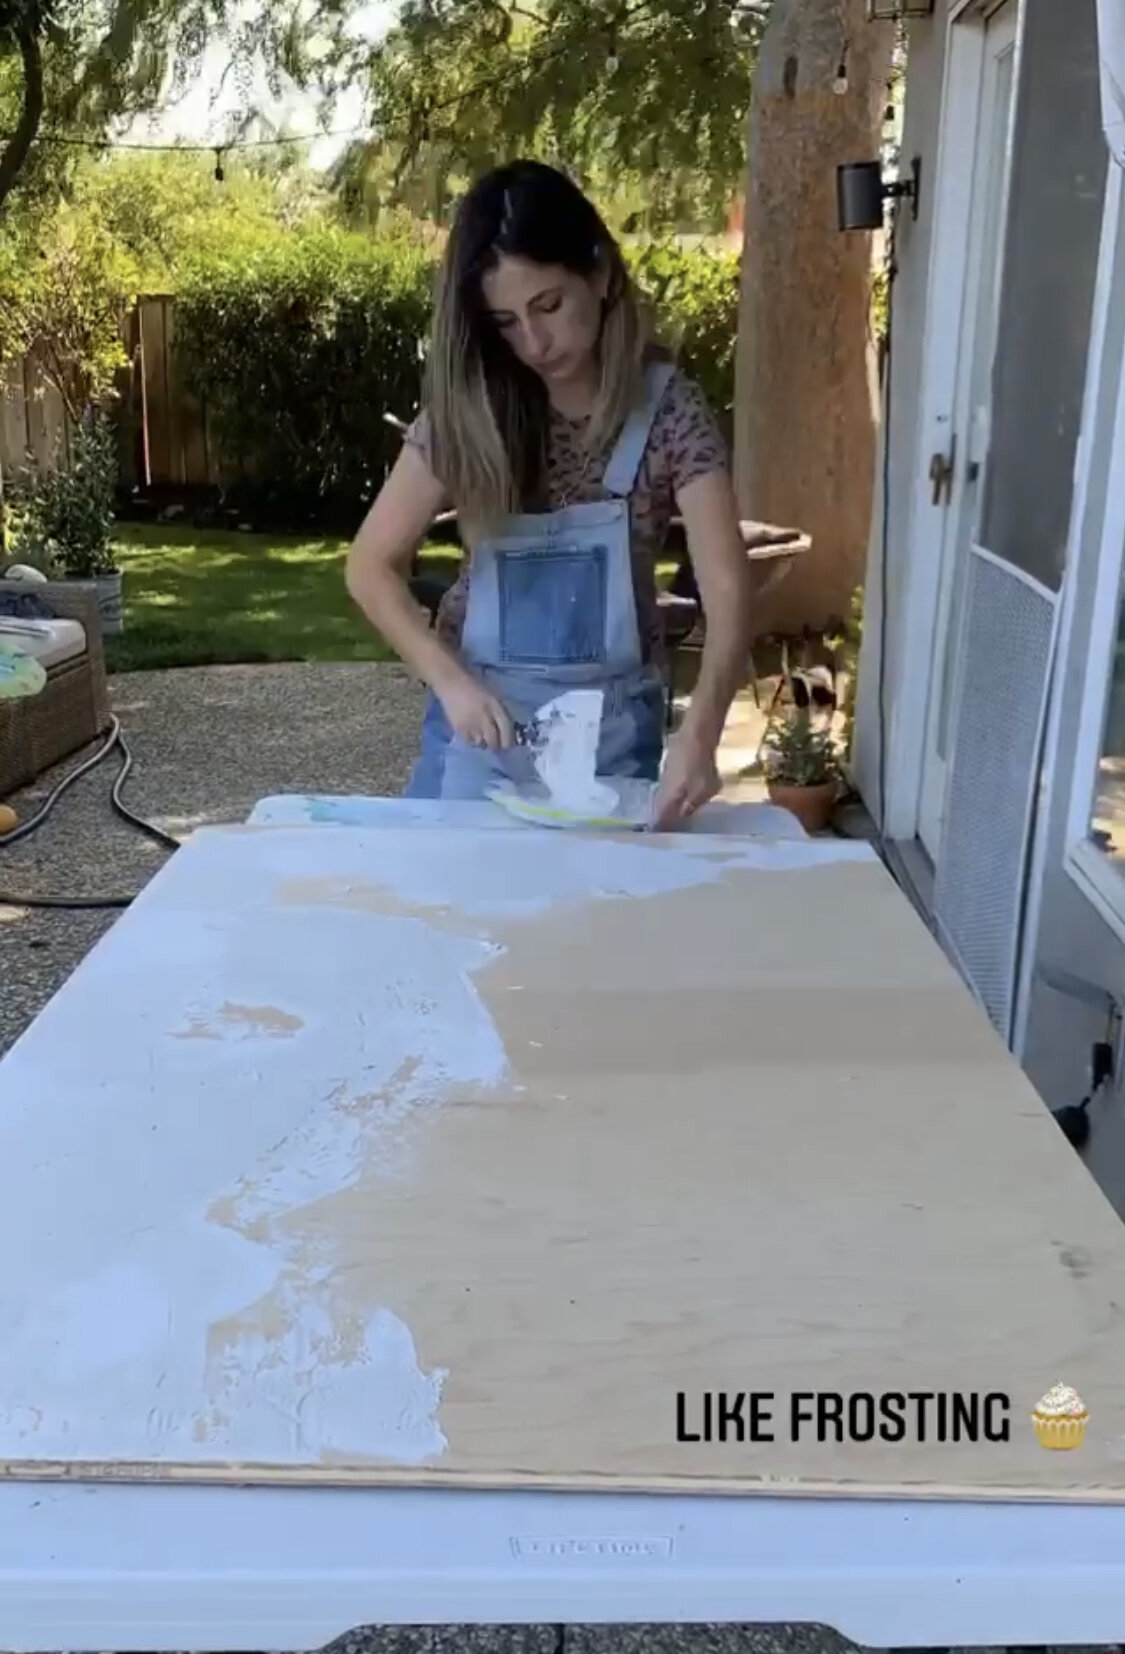
Forgot to take pictures of the process so I had to screenshot my stories :)
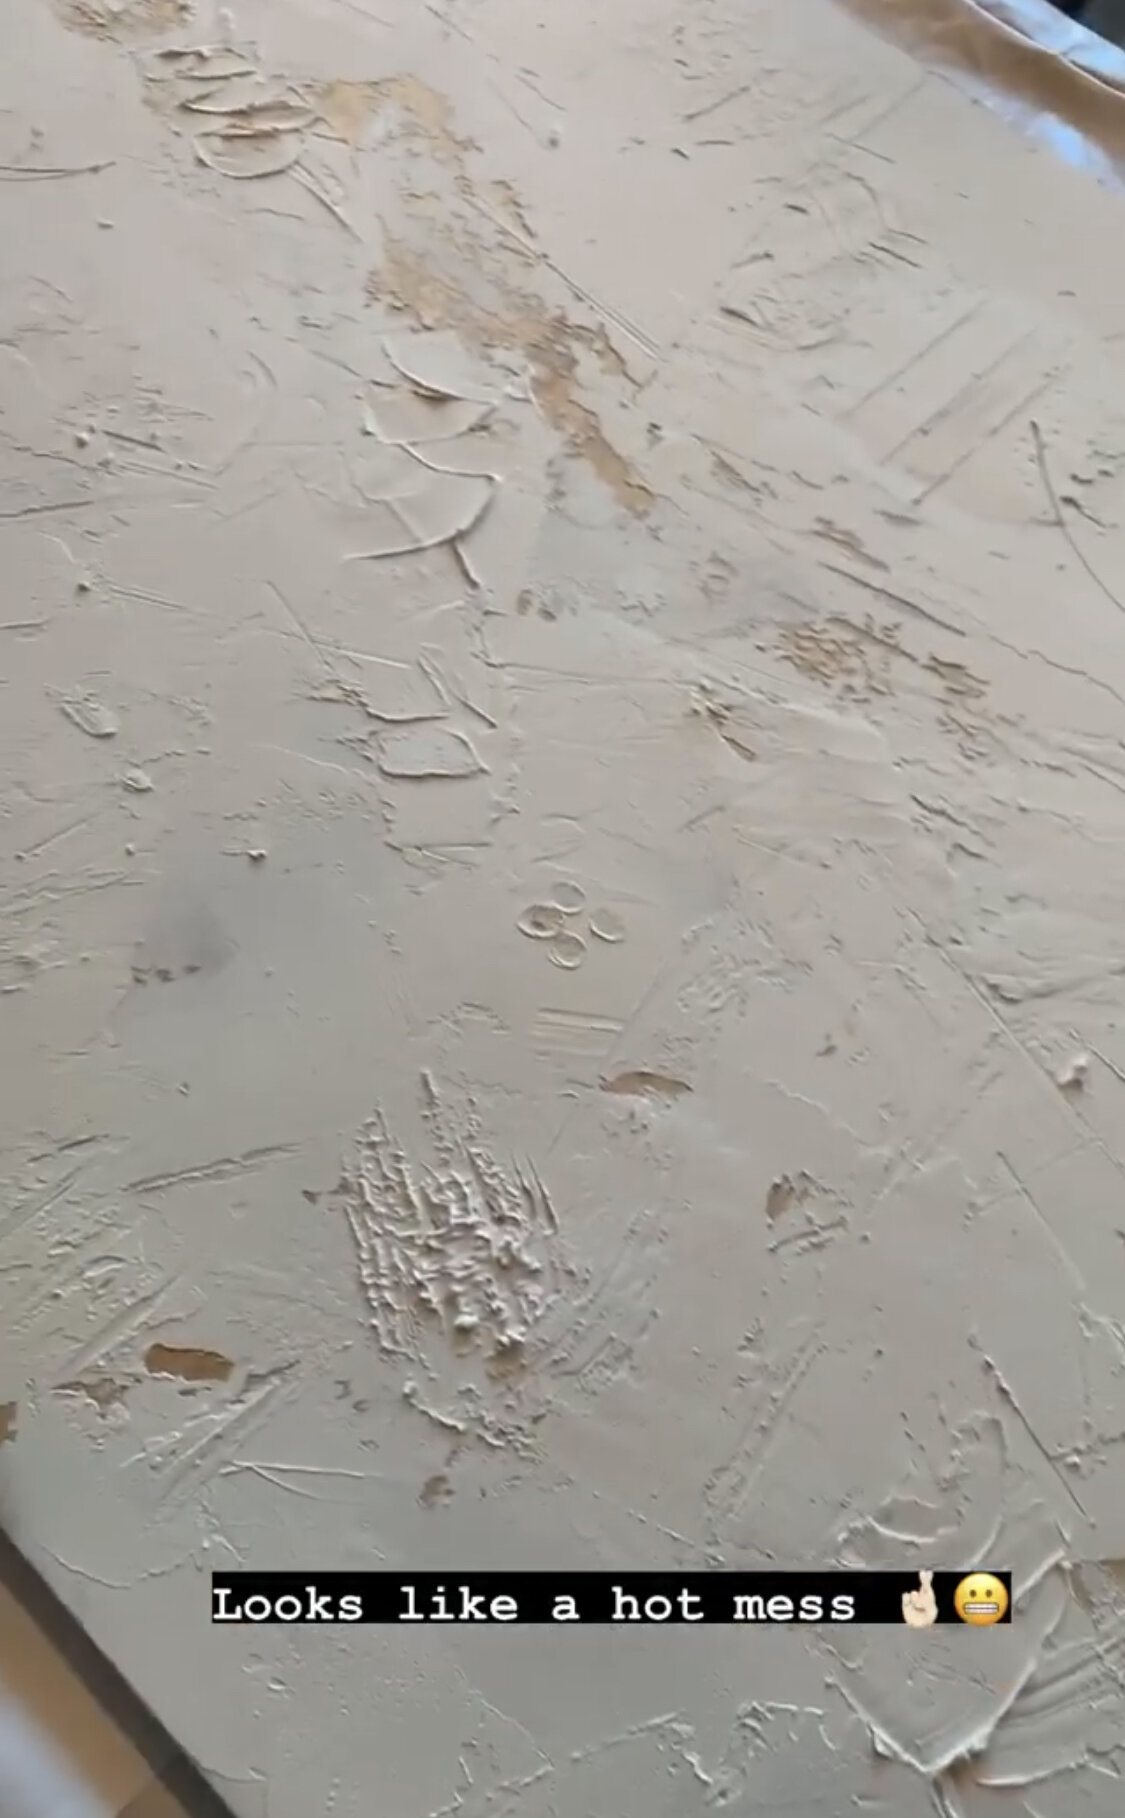
This is how the texture looked
Once my joint compound was completely dried. I started giving it a few coats of white paint in satin finish - that is what I had on hand-. Originally my idea was to add more color, but once I started with the white, seeing all of the texture from the joint compound come to life, color wasn’t part of the picture anymore.
Last step was adding dimension. I used a sample jar of accessible beige with water and with a small paint brush I went over the texture to make it stand out even more. Something very subtle that made a big difference.


The frame.
That wasn’t as fun as I hoped for, just because it was my first time using a miter saw and cutting on a 45 degree angle. I gave more space than needed and the frame ended up 1/8 short on all sizes, not noticeable on pictures :). Like the problem solver that I am, since I didn’t had any more wood to left to redo the cuts, I added some wood filler and call it a day. Not perfect but pretty dam good!
This is the wood that I used and stain color.


This easy and spontaneous piece of art looks great in the living room! can’t wait to do another one soon.
The end.
Val