
$100 DIY Brick Fireplace makeover using Mortar
I knew that this fireplace had a lot of potential already, it has a pretty arch, larger pieces of brick and chunky overpainted mantel. A true diamond in the rough! But how could I make this space with the outdated brick fireplace, look cozy and inviting? That was the question.
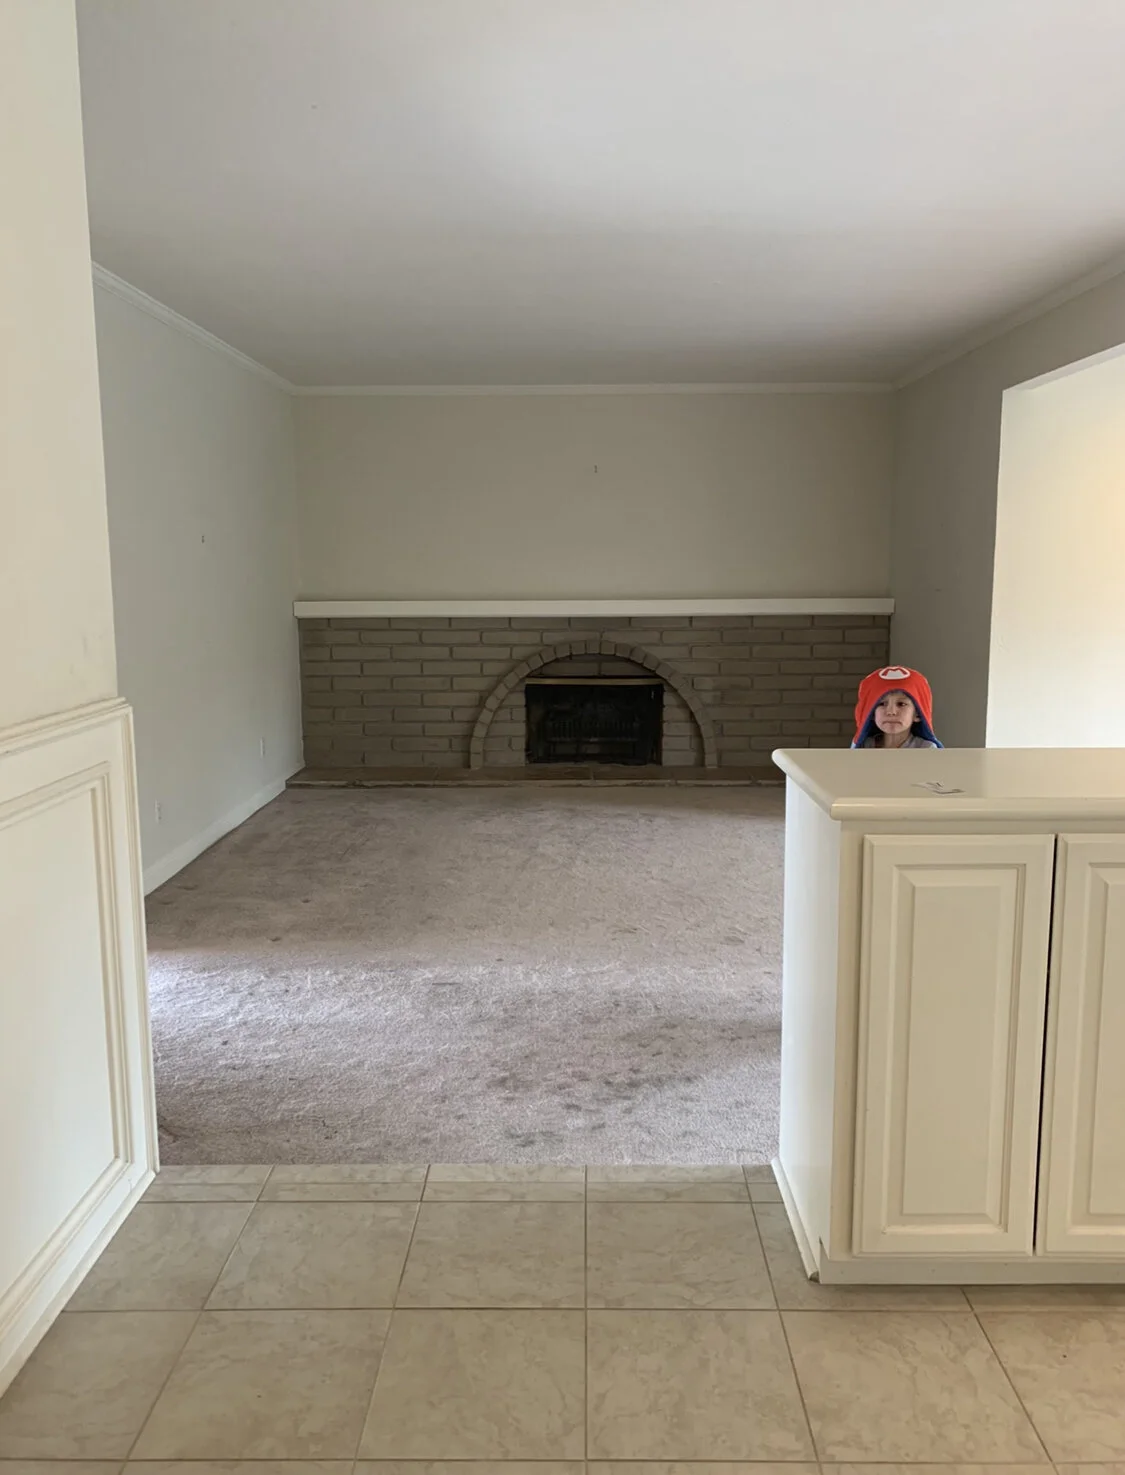
A Picture of a walkthrough the house on the inspection day.

After painting the walls and ceiling. The space looks much better but I still wasn't convinced about the fireplace.
Should I paint it, Black, white? Lime wash?… none of those alternatives felt right. This area of our family room doesn’t get the best light during the day and that sad fireplace just made it look nothing special nor inviting.
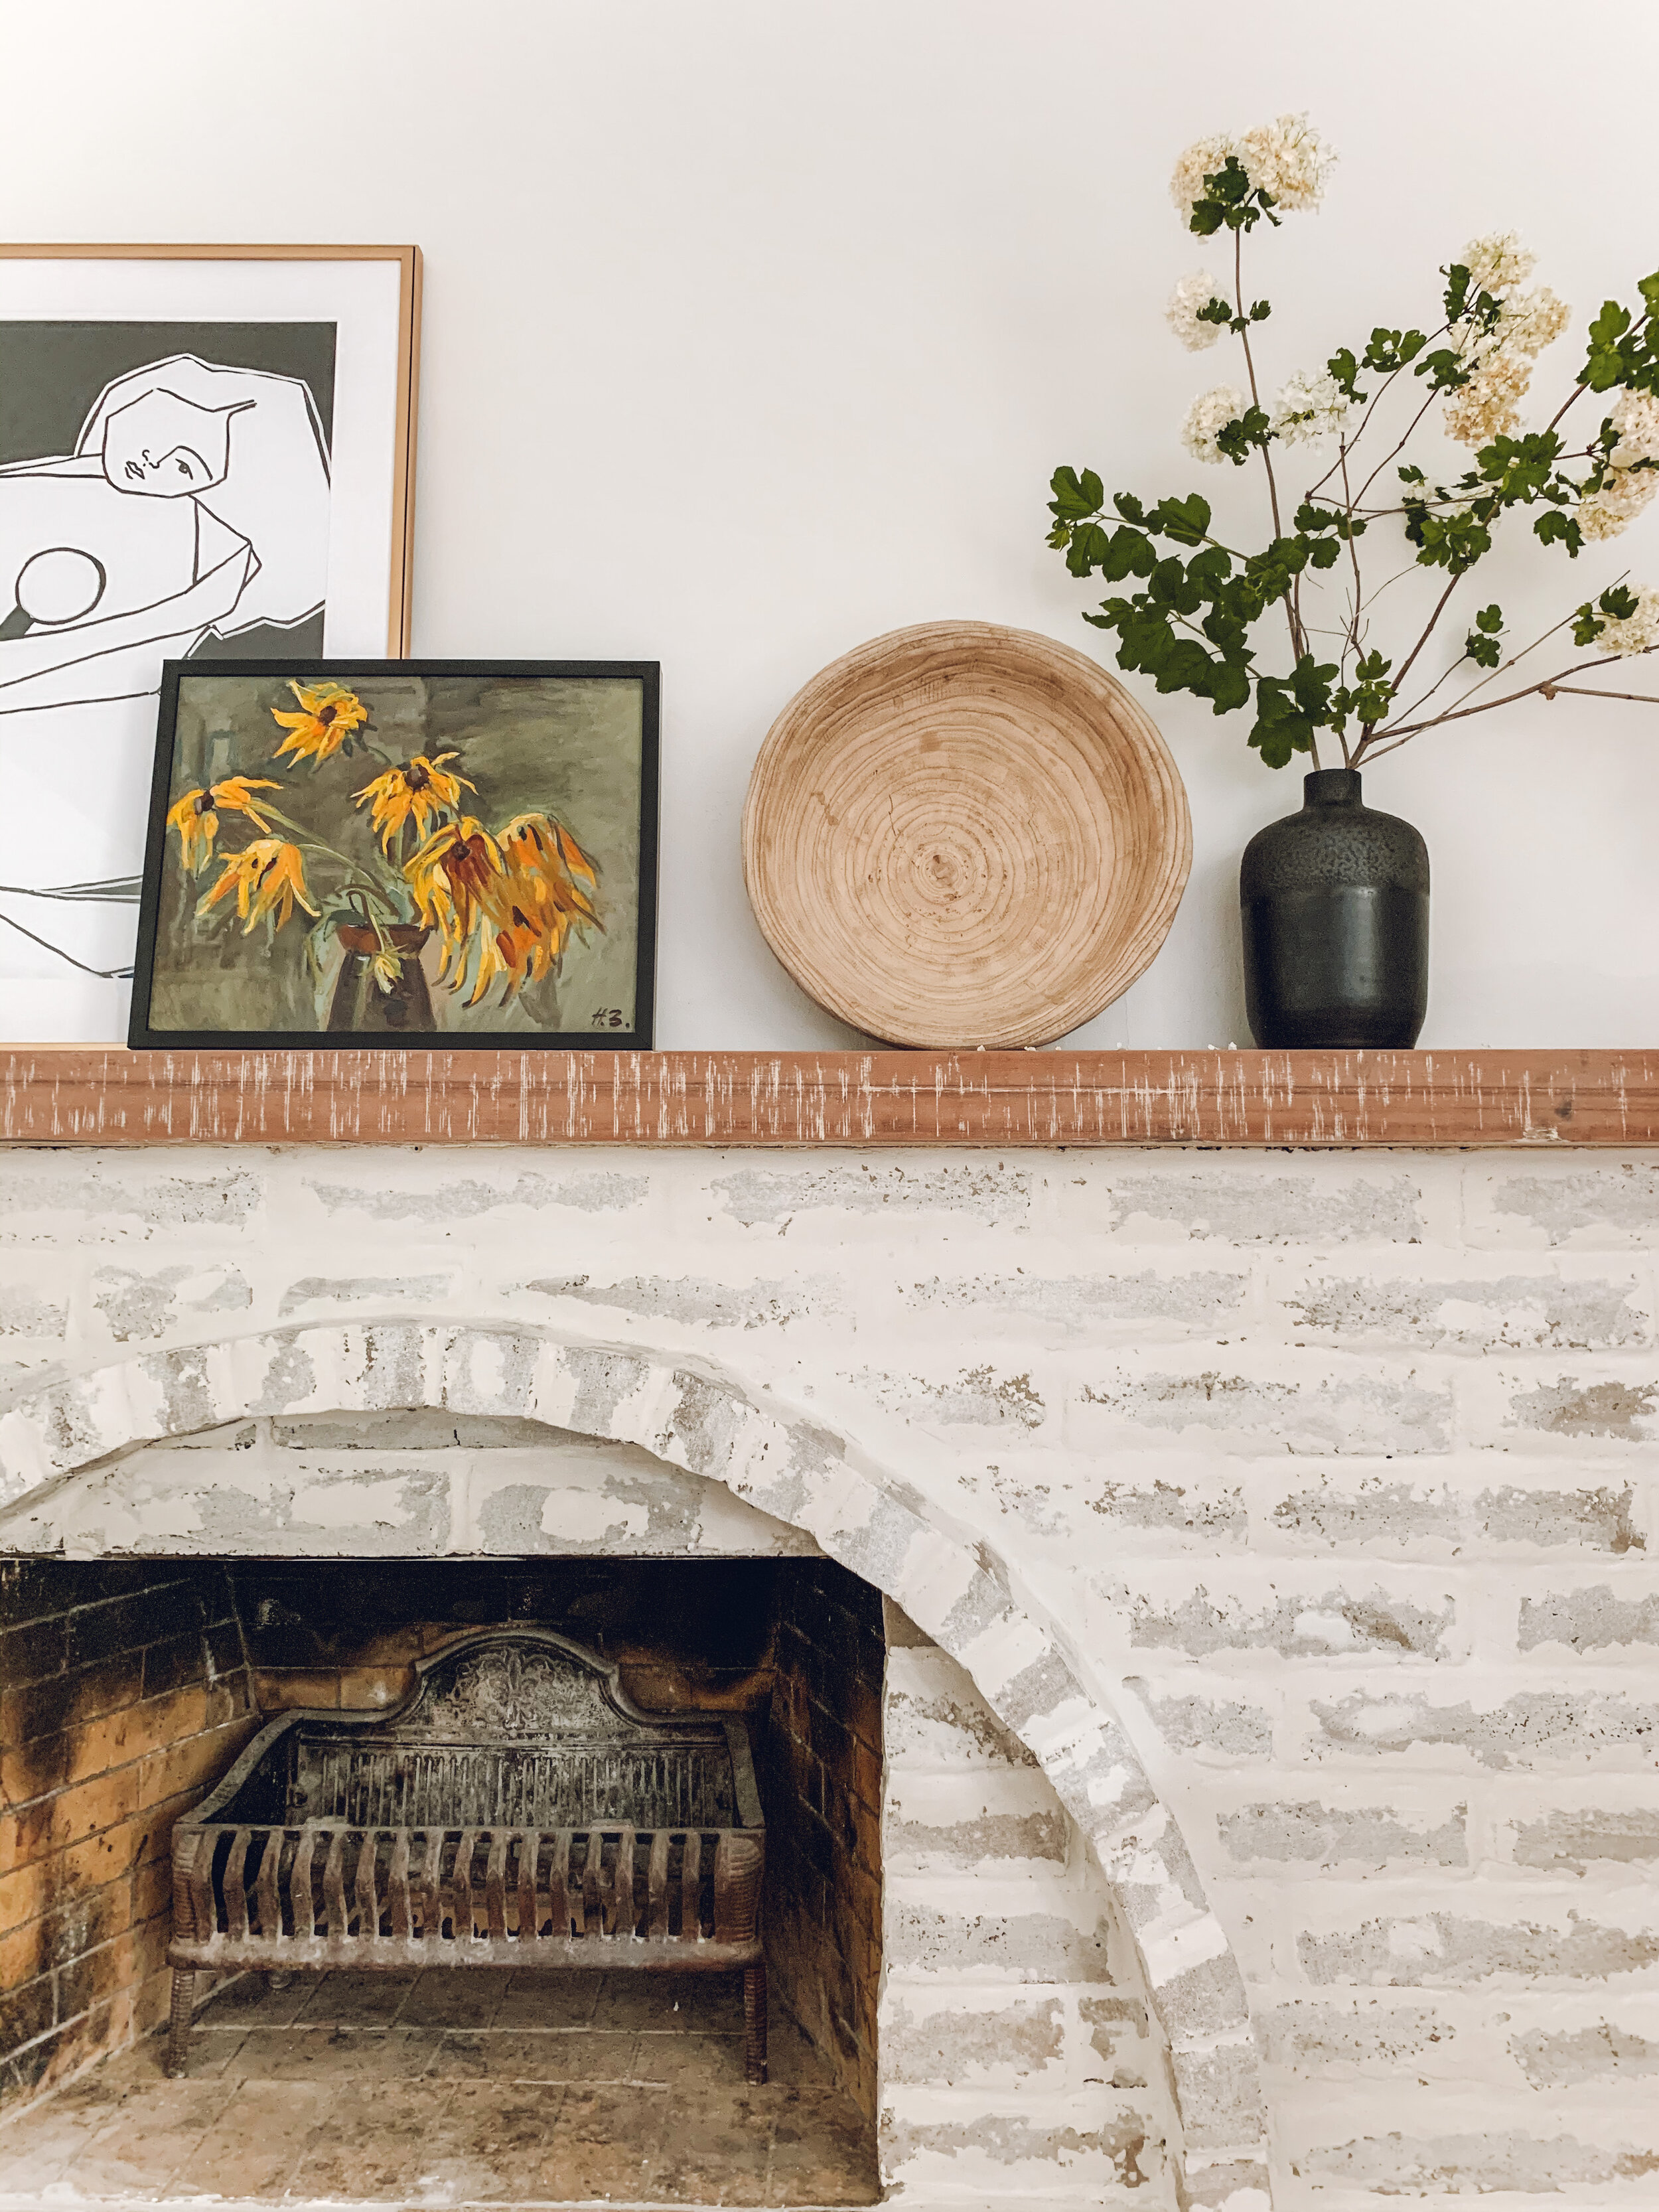
After so much pinning, one night on Pinterest, one of those nights going through Pinterest rabit hole I stumbled upon two pictures that instantly made it click for me.

Photo Source: Magnolia
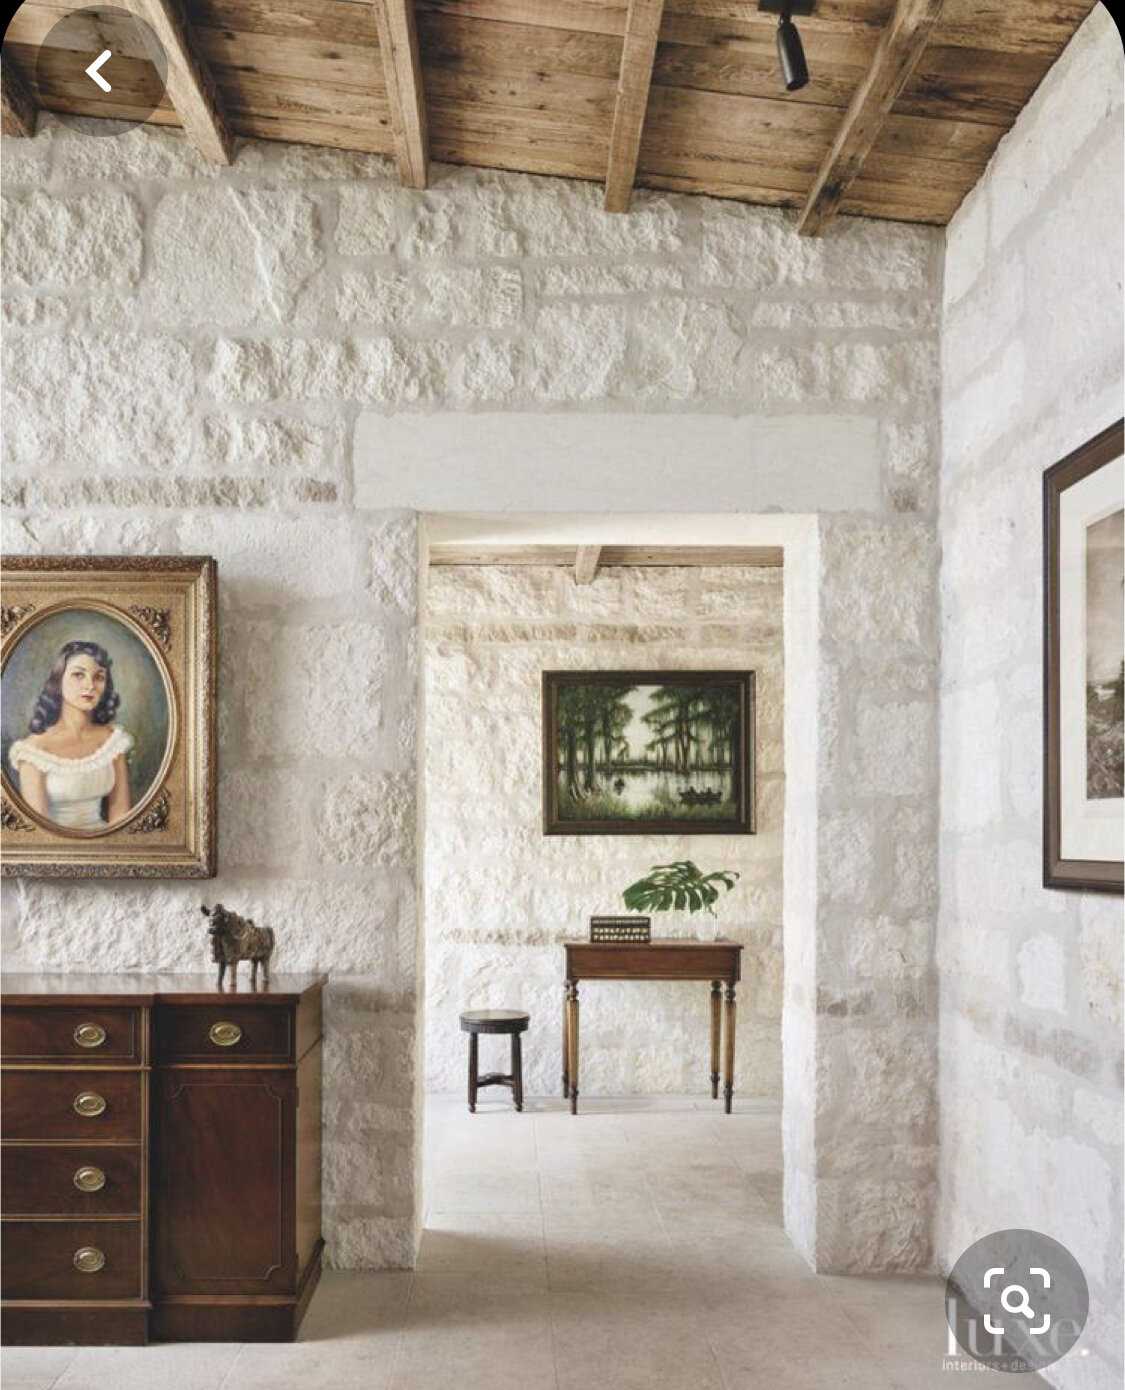
Photo Source: Luxe interiors

Photo Source: Oakstone Interiors
Finally, I knew what I wanted to do for this brick fireplace! and I felt so excited that I just couldn't put myself to sleep, so I research and research some more.
After reading a few blog posts, specially this one from Chris Loves Julia. I made my material list and placed an online order through The Home Depot website to pick up the next day, so convenient!
Like every great cooking recipe - I don’t love to cook but it was a great reference :/- You need to modify it a bit to make it your own perfect concoction. Every fireplace is different, and the look I wanted to achieve for ours was a mix of German smear with over-grouting, if that makes sense. The perfect cottage style fireplace. The current brick color helped a lot to achieve the look I wanted.
Here are the materials I got, everything from Home Depot. I will add the drill I have in case that you currently don’t have one, you will need a drill to stir the mortar mix. Like making frosting.
Materials:
1 Universal Thinset and Grout Mixer Mixing Paddle
Here is the drill that I have and worked great for this project. You can buy it in case that you don’t have one at home, you will use in lots of different projects This drill
Now, the important part, read this! Depending on the size of your fireplace this project can take half day to finish. It took me about 7 hours from start to finish, almost non-stop. The reason why is because the mixture used to grout the brick sets fast, It will dry hard rock the next day. To achieve the effect I wanted I had to smear the mix when it was setting, about two hours from application. If you miss the time frame, you will not get the same results.
Take that into consideration when you decide to go for this project :)

Step one, Mix the mortar.
I did six cups of the dry mortar mixture by three cups water. And then mix using the mixing paddle. I added more of the dry mixture as needed until the consistency looks like a thick frosting or mashed potatoes. You can see my stories highlights on Instagram where I saved some videos for reference.
Step two, Add it to your grout bag and start working.
Be ready for some arm and hand exercise! This part is the hardest of all because it demands using some strength to squeeze the mix into the cracks. You want to “over grout” each crack.

Grouting the last section of the fireplace.

Ideally you want to grout a little more like this.
I prepared several rounds of my mortar mixture as I progressed.
Around 2 hours in, the first part I did started to set. You will notice it when the consistency feels different to the touch. Like my son said, it feels like marshmallows, or like soft play-doh. When that happens you start doing step Three.
Step three, Using a Taping knife, flat out/Spread the mortar.
When the mortar has set you want to start smearing it out a bit. Just enough to make it lay flat and over the brick.


Step four, Smooth out the mortar.
This is the artistic part, my favorite of all! Using a bucket and a grouting sponge you want to soften it out the mortar, make it smooth. And using the same sponge with the remaining white water, smear that over the bricks, like painting the bricks. Again, you can see a few videos of this step on my stories highlights .

The results are a beautiful fireplace! Completely transformed!


Same space, can you believe it?
Project update 2024,
Our family room today, still love this brick fireplace. It’s like the ‘modern’ European cottage style room of my dreams.

Total cost: less than $100!
Now tell me, would you try this project? if you do, don’t forget to tag me to see it!
See you on the next post,
Valeria